NOTE Milling bits MUST be added in the Machines section; they cannot be added from the Processing Options dialog.
1Click on the Machines button on the start screen and select the Kinetic Machine from the dropdown list to display its details.
2Click on the "+" sign for the Milling Tool to display the settings for this tool.
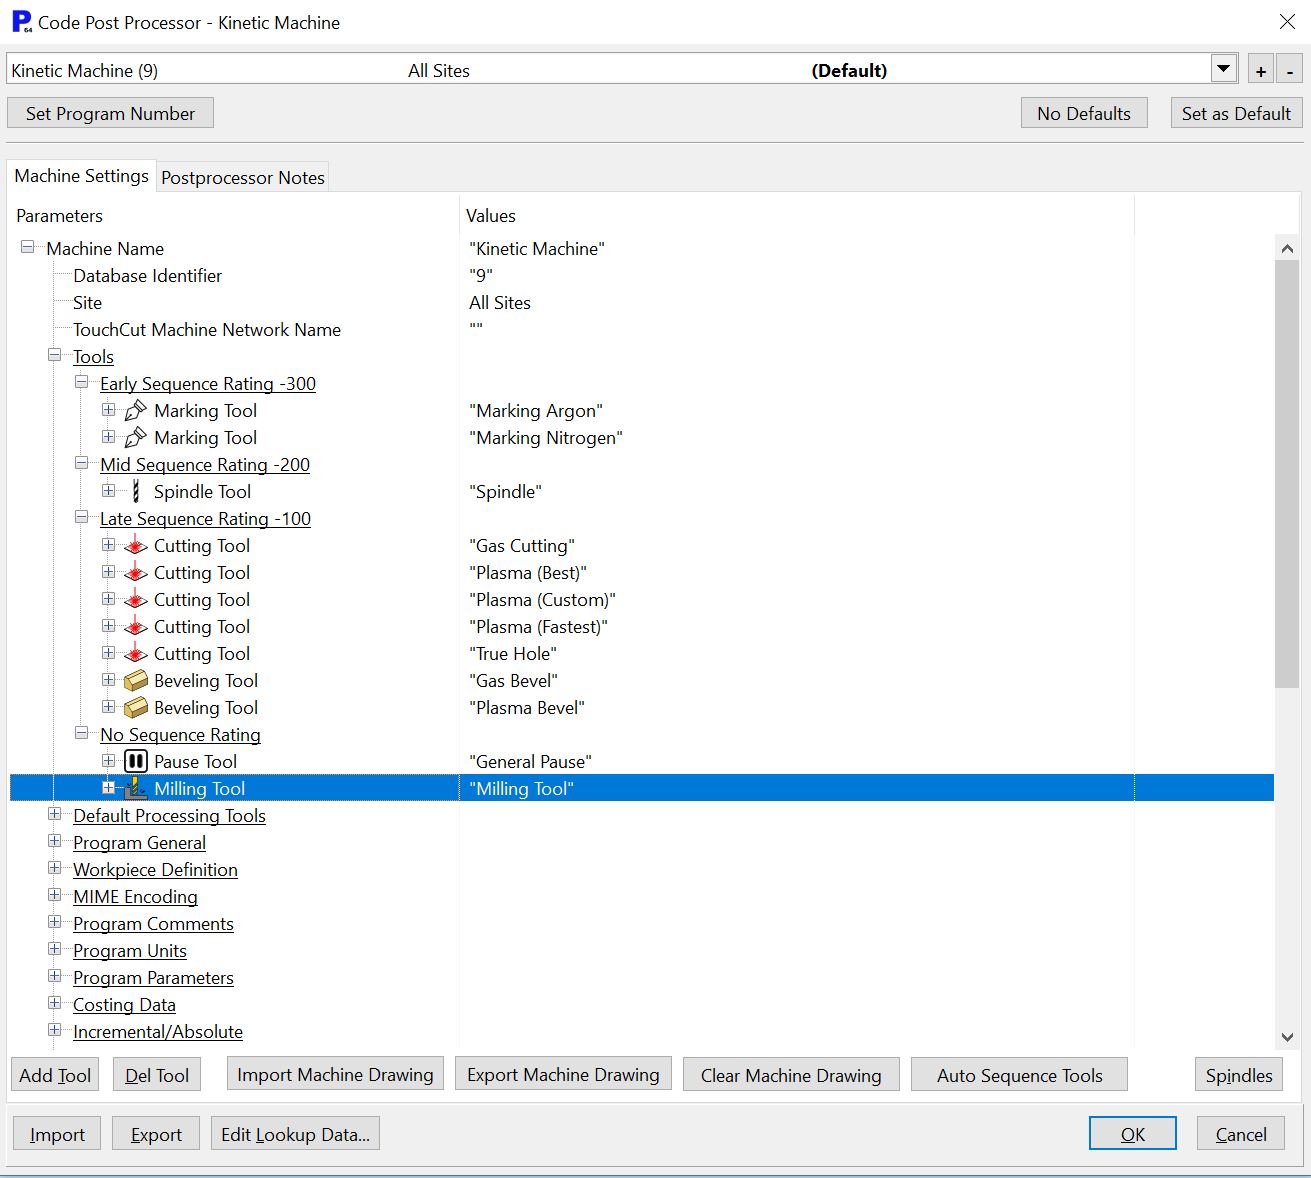
3The second to last setting for the milling tool is the Bit Table. Select the Bit Table Field and Click the Edit... button that appears.

This is where you will store the settings for the milling bits you have installed. We will add two milling bits to the table, one to be used for roughing cuts and the other to be used for finishing cuts.
4Press the Add button to display the Milling Bit dialog.
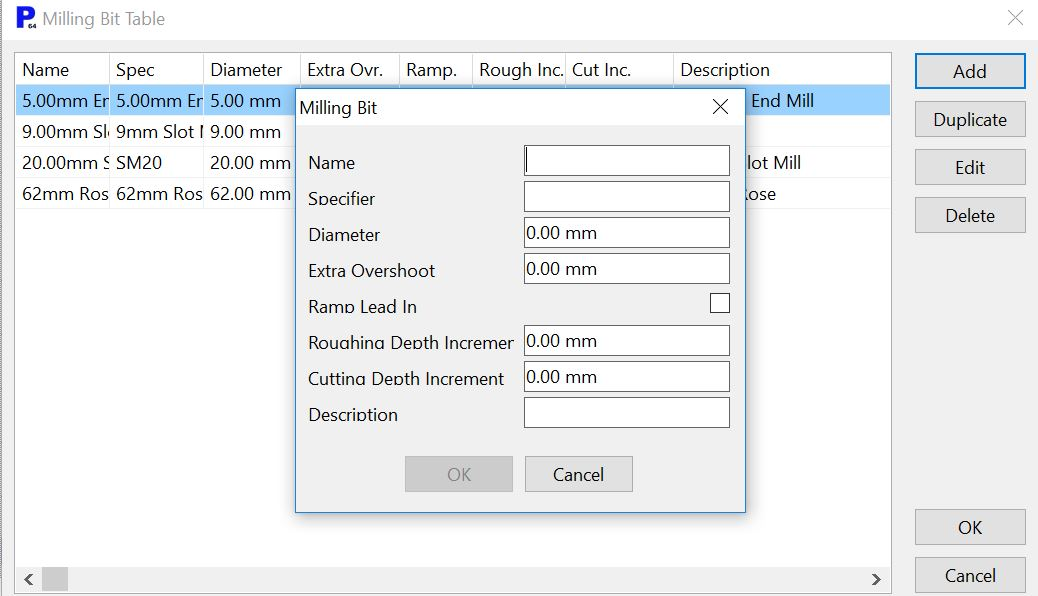
The table contains the following information:
▪Name. This is simply the name you use to describe the bit, so that it can be easily identified in the table.
▪Specifier. The bit specifier that will be placed in the NC code in order to instruct the machine controller to use that bit. It is critical that the name used here matches the name used at the machine, otherwise the correct tool will not be used.
▪Diameter. The physical diameter of the milling bit.
▪Extra Overshoot. How far the bit should go below the bottom of the plate in order to ensure the cut is completed.
▪Ramp Lead In. If ticked then the bit will plunge to the required depth as it moves along the leadin, although it will actually start at the end of the first segment of the leadin and move backward before moving forward (see picture below). This 'backtracking' means that the material is removed in preparation for the next milling pass. When the setting is left unticked the bit will plunge to the required depth before moving in the XY direction.
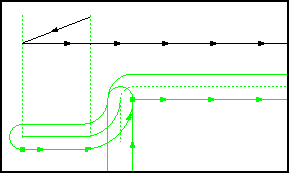
Figure 2: Ramped Leadin
▪Roughing Depth Increment. This is the depth of material removed in each roughing pass. This will depend on the characteristics of the bit being used and its feedrate.
▪Cutting Depth Increment. This is the depth of material that can be removed when the bit is being used for a finishing cut.
▪Description. You can enter text here to describe the bit so that it will be used correctly.
5Enter the following details:
▪Name: 9mm End Mill
▪Specifier: 9mm End Mill
▪Diameter: 9mm
▪Extra Overshoot: 2mm
▪Ramp Leadin: Ticked
▪Roughing Depth Increment: 10mm
▪Cutting Depth Increment: 40mm
▪Description: 9mm End Mill DO NOT PLUNGE
6Press the OK button to add the new bit to the database, then press OK on the Milling Bit Table window to close it.
Note: Some end mill bits are able to plunge, so don't take this example as being representative of all end mill bits.
7Click OK to close the Machines mode. Click Yes when it asks if you are sure you want to save to database.