The process of creating a cluster is common to all three bridging methods.
1Open the Nesting mode.
2Click the Open Parts button in the top left corner of the screen.
3Under the Invoice Number field enter Processing: Bridging (make sure to select "Show All" and "All Cut By Dates"). Click Open All to open the parts for nesting.
4Click Open Plate ![]()
5Click Create New Plate ![]()
6Enter the following details
Plate Material |
GR250(A36), 12.00 mm |
Width |
1200mm |
Length |
2000mm |
Click Add to Stock, and Close.
7Double-click on the plate in the plates explorer on the left to open it on the main screen.
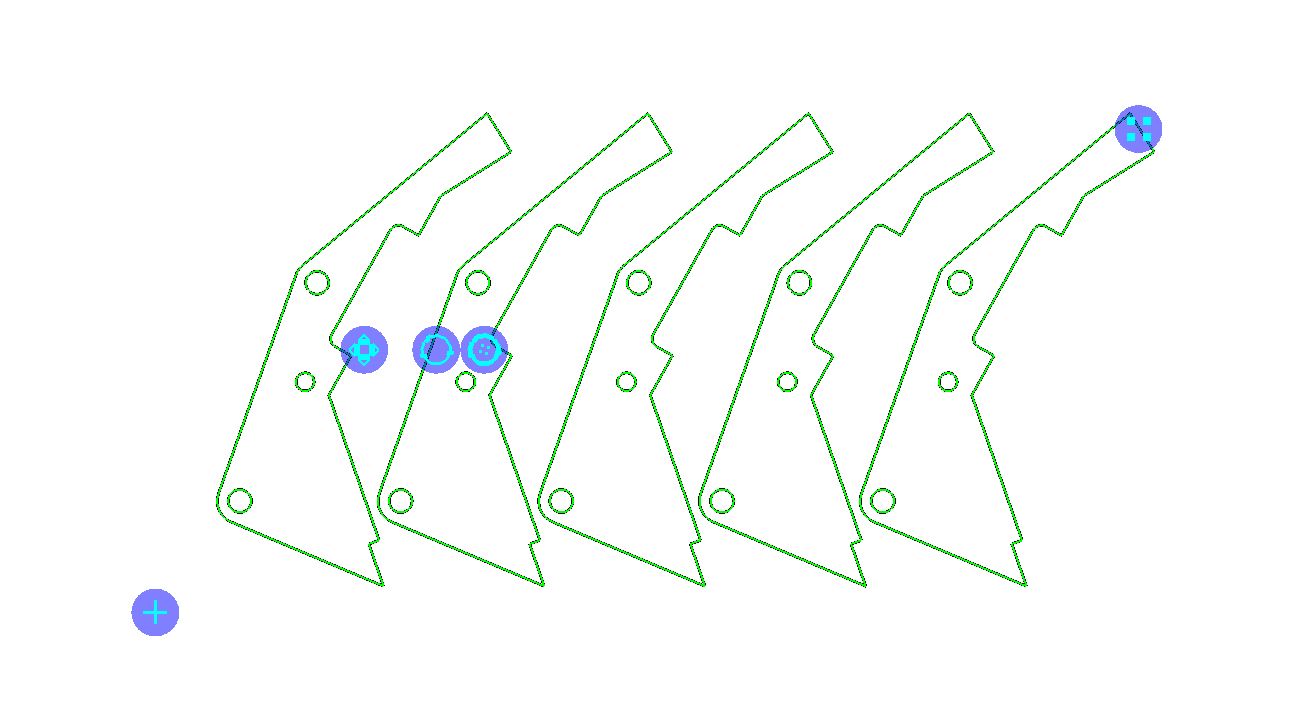
8Drag the Bridging Part 2 part onto the plate and create the array shown below.
9While it is still selected, right-click on the nest to show the popup context menu and select Quick Cluster.
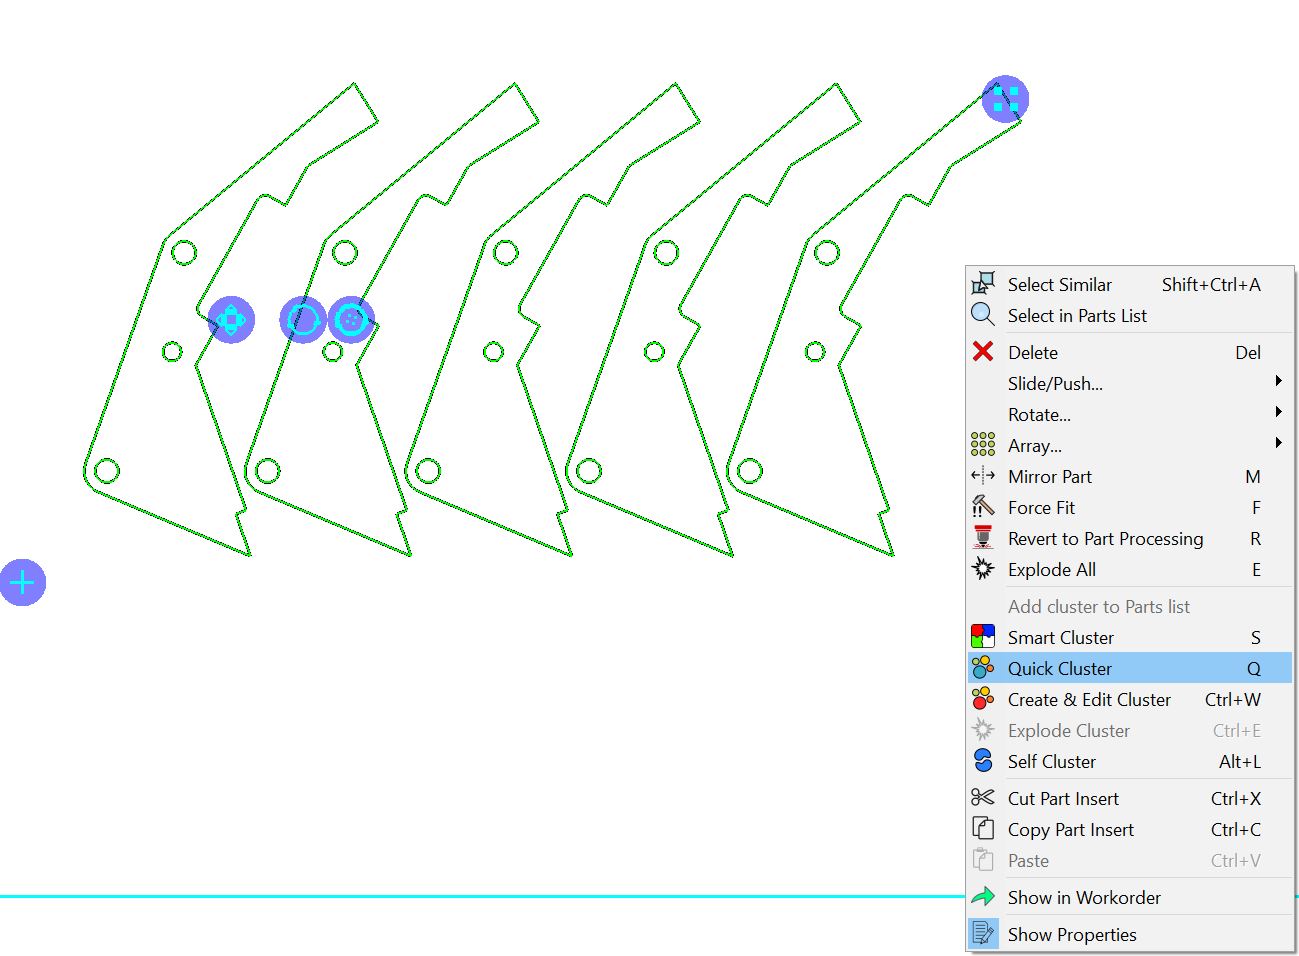
Right click again and click Add cluster to Parts List.
This is crucial so that the cluster can be opened in the geometry editor and the bridging lines added.