It is possible to edit a part while in the Nesting Editor however the part must not already be nested on a plate. Simply double click on a part in the parts explorer and the editor will open if the part isn't already open. This tutorial runs through an example of attempting to edit a part that is already nested on a plate, being denied access, then removing the part from the plate in order to edit it, followed by re-nesting. This happens all in the Nesting mode.
1Open the Nesting mode.
2Click the Open Part button at the top left of the screen ![]() .
.
3Under Invoice Number search for "Edit In Nesting". If the search returns nothing, select Show Nestable or Show All and All Cut By Dates from the drop down list.
4Open the only part that appears in the list by double-clicking on it. The part is called Edit In Nesting.
5Click the Open Plate button at the top left of the screen ![]() .
.
6Click Refresh.
7Click AutoNest at the bottom right to nest the parts on the plate ![]() . Click DONE.
. Click DONE.
8Double click on the part in the parts explorer (top left window) in order to edit the part.
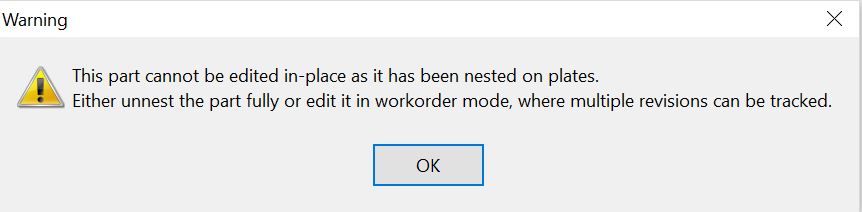
9The following box should appear. Read it and Click OK.
10First select the plate in the plates window so the plates toolbar becomes active, then click the Clear Plate button ![]() on the left hand toolbar. Click Yes to the warning message.
on the left hand toolbar. Click Yes to the warning message.
11Double click again on the part in the top left window to open the Part Editor.
12The part should now open for editing, because there are no parts of this version nested on any other plates. (open or otherwise).
13![]() The key symbol means that the part is locked from other users to edit or nest.
The key symbol means that the part is locked from other users to edit or nest.
14Click the Add Text tool ![]() under the geometry tab, and label the part "SlotPart" somewhere on the part.
under the geometry tab, and label the part "SlotPart" somewhere on the part.
15Double-Click on the plate to open the Nesting Editor.
16Click Nest All ![]() . Click DONE. The nested part should now have its text.
. Click DONE. The nested part should now have its text.
17Home without saving.
Editing the Piecemark in Nesting
The Piecemark is actually a property of the line item, not the part itself. That is, a part may be cut on multiple workorders, or on multiple lines from the same workorder, each with its own unique Piecemark. As such, when the piecemark is edited, you are actually not editing the part itself but the Workorder Line Item.
A special function has been provided to allow this, right click on the parts in the top left of the screen to to access it in the context menu.