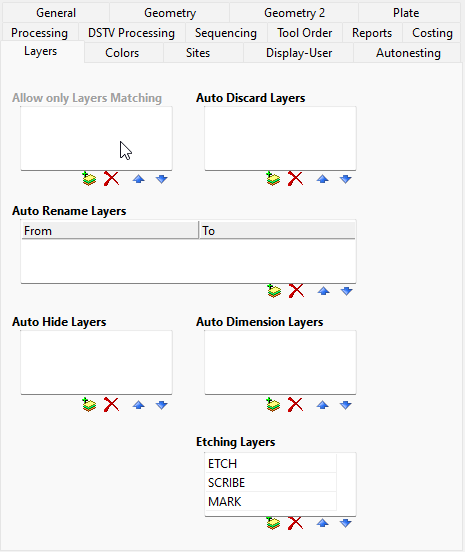
The Layers Options are applied when the part is imported, and are used to modify, discard, or hide certain layers when the part is imported into PrimeCut NE. The same rules will be applied if the Revert Part feature is used. To use these features you just need to type in the names of the layers you want to modify, and where appropriate a new layer name that you want to use. For more information on working with layers see Working with Layers.
There are four buttons next to each table:
▪Add will add another entry to the table. After the entry is added you can enter text to specify the appropriate layers.
▪Delete will delete the currently selected table entry.
▪Move Up and Move Down will change the positions of the table entries, but will not have any effect functionally. Their only purpose is to enable you to sequence the list so that it is more readable. The exception is in the case of Auto Rename Layers the where the first match in the list will be used, and later duplicates will be ignored.
The four tables are:
▪Auto Discard Layers. Layers specified in this table will be discarded/deleted when the part is imported.
▪Auto Rename Layers. Here you can specify a layer name that you expect to find in an imported file, and also specify a new layer name that it should be replaced with. You might use this to merge a number of different layers into a single layer, or specify any layers that should be sent to the Dimensions layer.
▪Auto Hide Layers will hide the selected layers by default. You can make them visible again if so desired via the Layers dialog box.
▪Auto Dimension Layers will make the selected layers frozen and non-processable by default. Once again you can change this via the Layers dialog box if so desired.