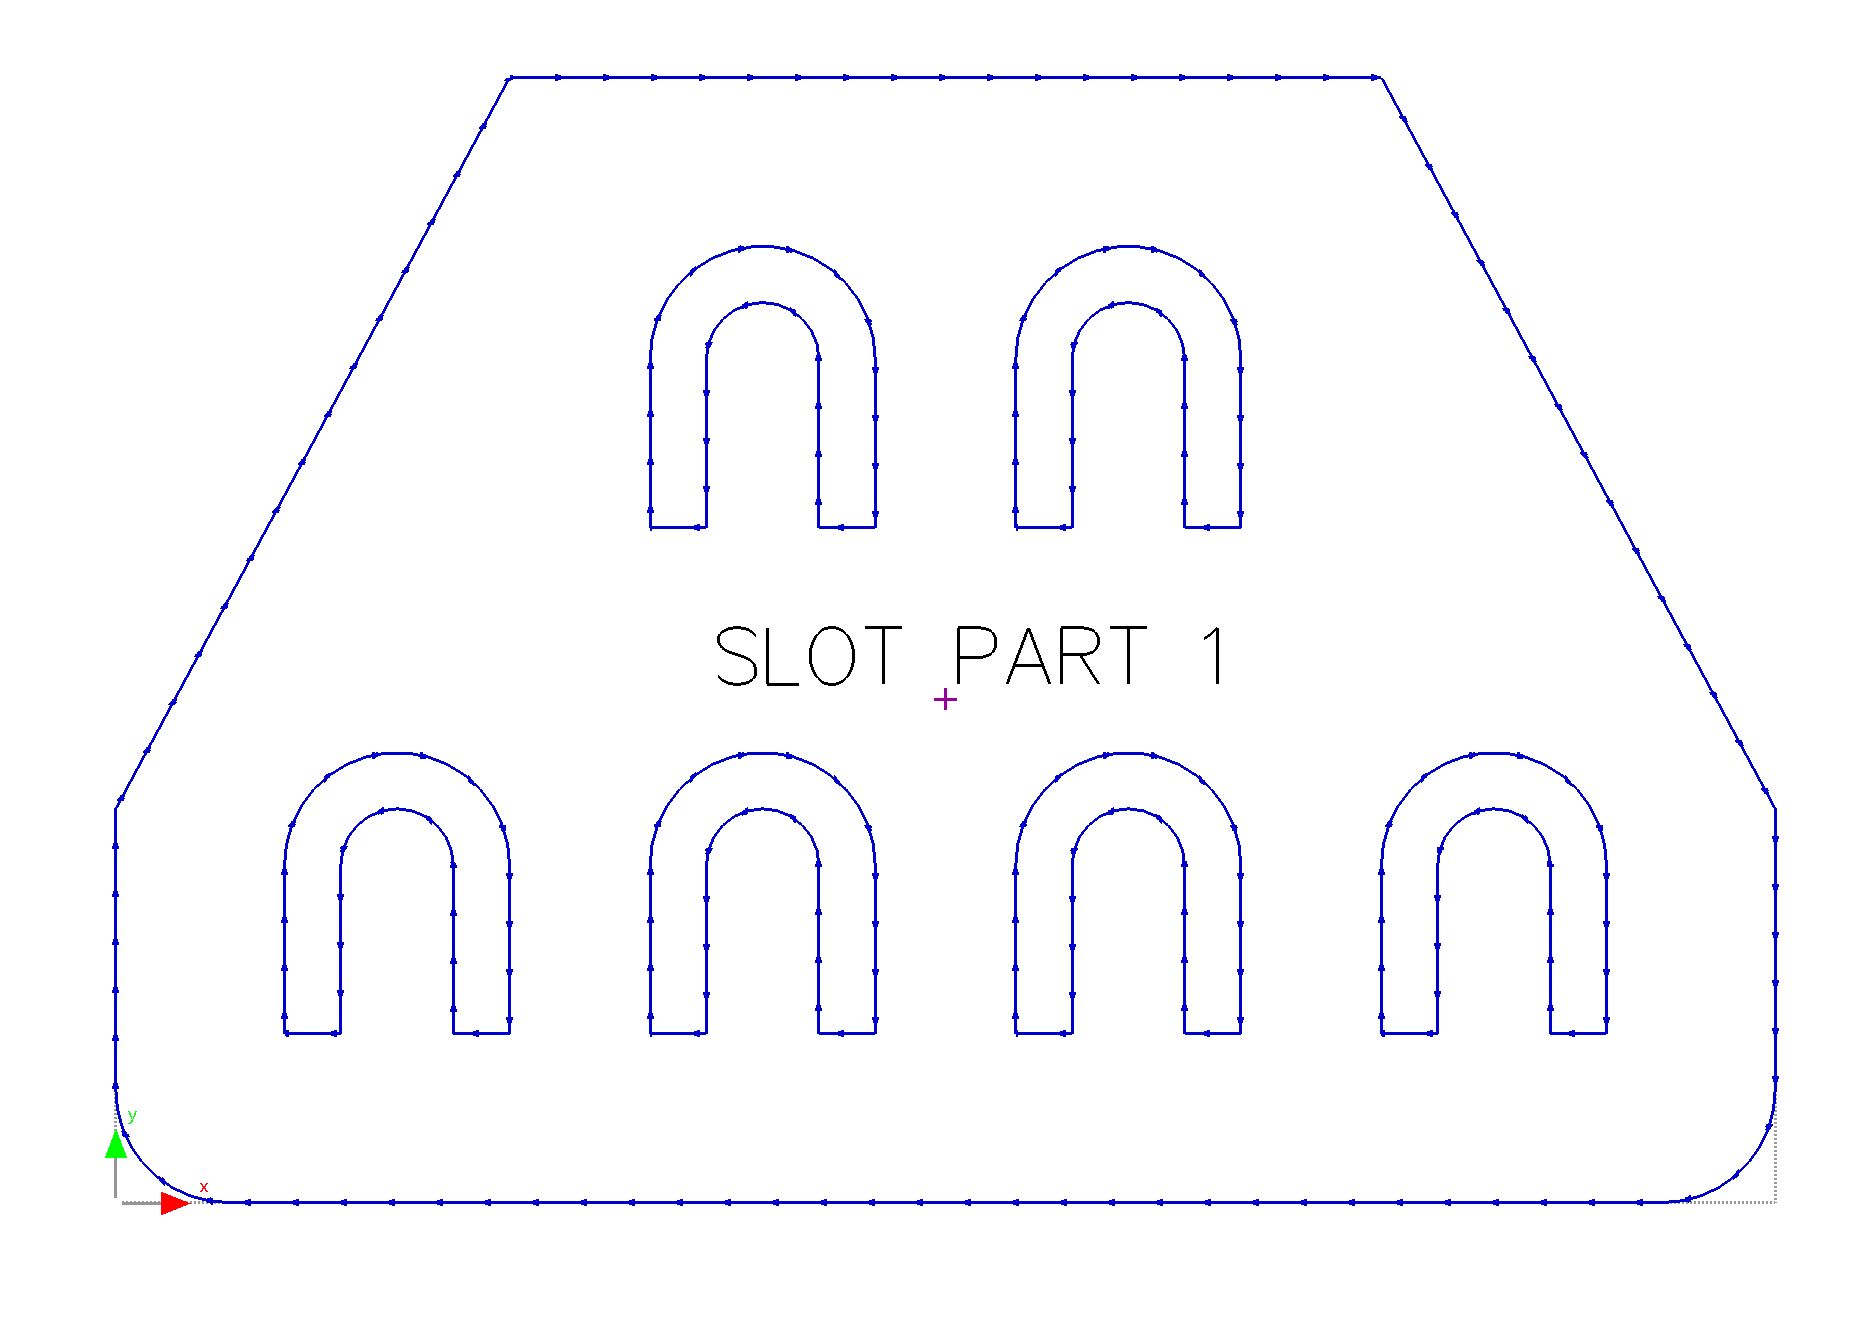
In this tutorial we will make this part, using the shapes library and the array, fillet and text tools.
1Open the Parts mode
2Click the New 2D shape button ![]()
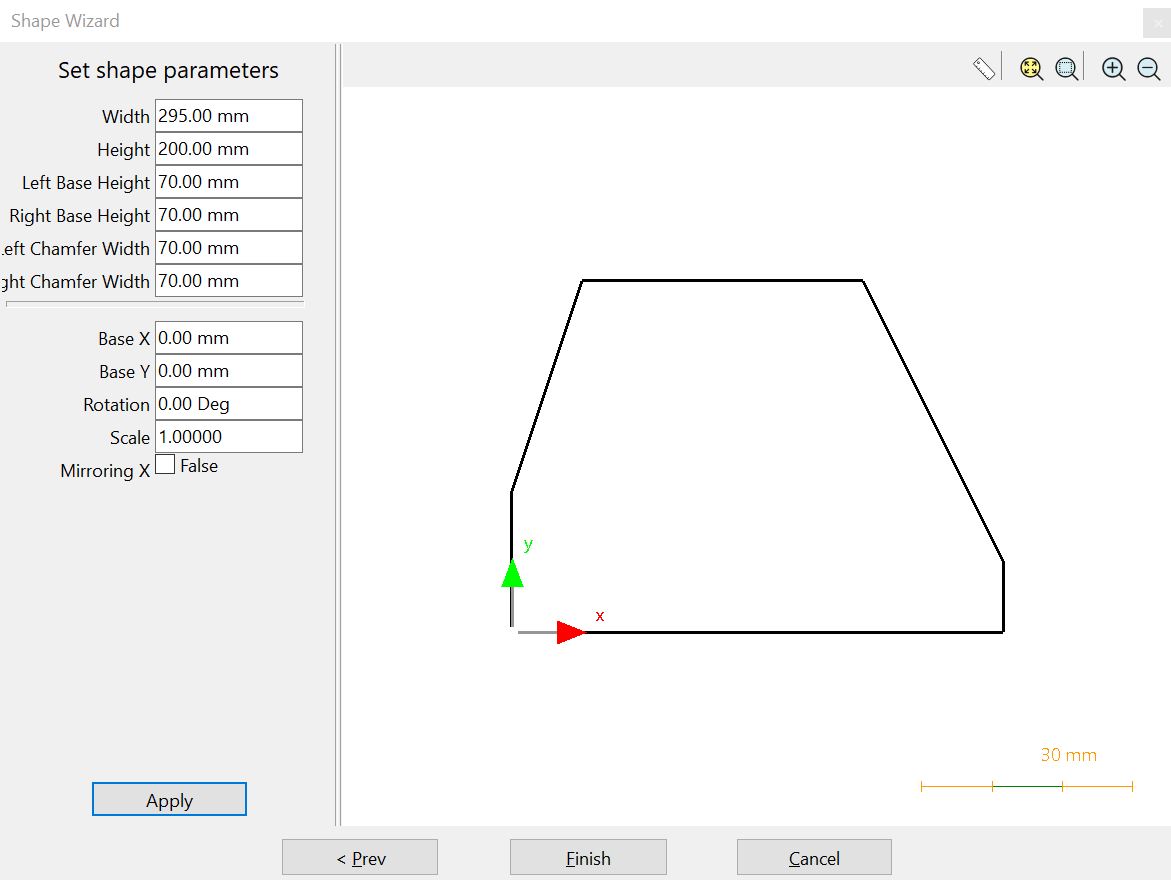
3Search for the Trapezium with Base part.
4Enter the following details and click Finish
5In the Geometry Tab, click the Add shape button ![]() on the left toolbar.
on the left toolbar.
6Add the 'U' shape.
7Under the Scale field, choose 0.5. Click Finish.
8Click the move tool ![]() on the top toolbar.
on the top toolbar.
9Click the bottom left corner of the U shape (i.e. the origin)
10Type 'X30Y30' and press Enter to place the bottom left corner of the U shape at (x,y)=(30,30)
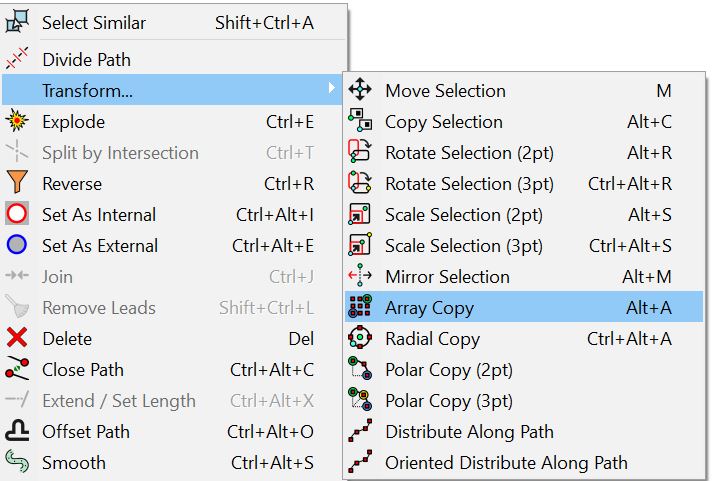
11Right click and go to transform and click array copy.
12Make 2 rows and 4 columns.
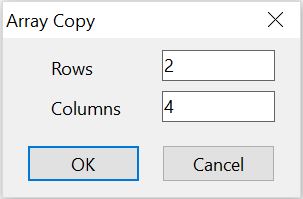
13Type 'X65Y90' and press Enter to give an array spacing in the X direction of 65mm and a spacing in the Y direction of 90mm.
14Select the two U shapes that overlap the external path and press Delete to delete them.
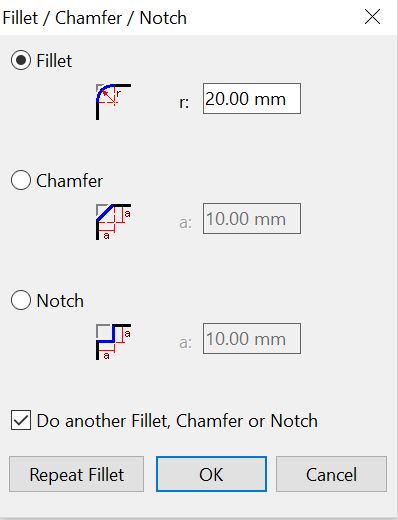
15Click the ![]() Fillet/Chamfer/Notch tool on the left toolbar.
Fillet/Chamfer/Notch tool on the left toolbar.
16Click on the right side of the part, and then click on the left side of the part.
17Select a 20mm radius fillet, and click OK. Note that both corners between the two lines get filleted. This happens in the direction of the arrows.
18Select the Marking Text tool. ![]()
19Click near the center of the part, type SLOT PART 1 and press Enter.
20Select the text, and in the Properties window customize the text to the size and alignment you want.

21Note also the light blue square is for dragging the text, the blue circle is for changing the text size and the green circle is for rotating the text.
22Close the mode without saving.
This completes our geometry tutorial.