In this section we will process a plate of nested parts using plasma. Following this we will select a non-circular hole and add undercut to minimise any chance of blowout. Finally we will select only the circular holes and process them to be drilled using the spindle.
1Open the Nesting mode from the start screen.
2Click Open Parts ![]() .
.
3Under the Invoice Number search criteria, search for the Copy Process to Similar workorder. Change the dropdowns to "All Cut By Dates" and "Show All" if nothing appears. Only the Copy Process Part part should appear in the list. Double-click on it.
Click the Open Plate ![]() button. Select New Plate
button. Select New Plate ![]() . Enter the following details and Click Add to Stock and Close
. Enter the following details and Click Add to Stock and Close
Width: |
1500mm / 59.06" |
Length: |
2000mm / 78.74" |
Plate Material: |
GR250(A36), 5.00mm |
Gap: |
10mm / 0.3937" |
4Open the plate in the nesting editor and create the following array:

5Click on the Processing editor tab at the top of the screen.
6Click the Process All button. Match the processing options to those shown below.
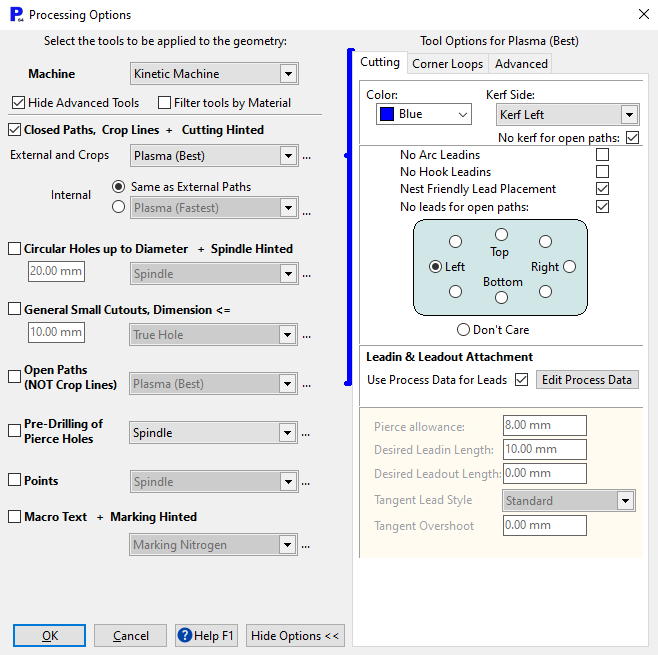
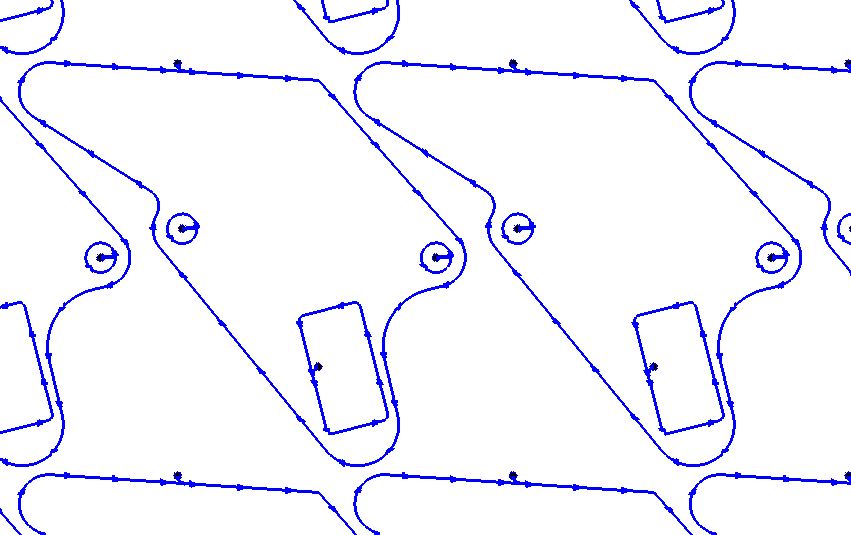
7Click OK to process the plate. As you can see, all paths are being cut using plasma.
Now we will add undercut to the rectangular internal hole. Perhaps we are concerned that the drop (the internal material) might tip on an angle and damage the tip of the torch. We don't want to change each process individually, but PrimeCut allows us to change one and then paste the change to all similar entities.
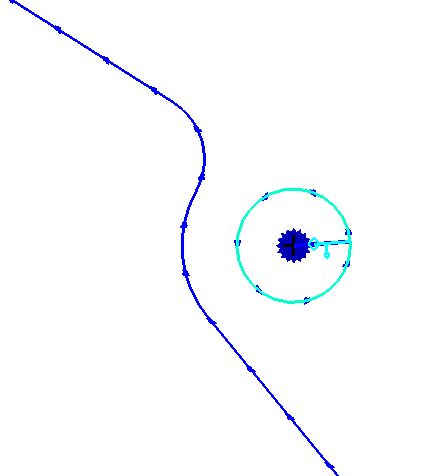
8Zoom in on one of the rectangular holes.
9Select the cutting path (make sure you don't select the leadin or any other path). The 'Place Leads' (the larger diamond) and 'Set Undercut' handles will be displayed.
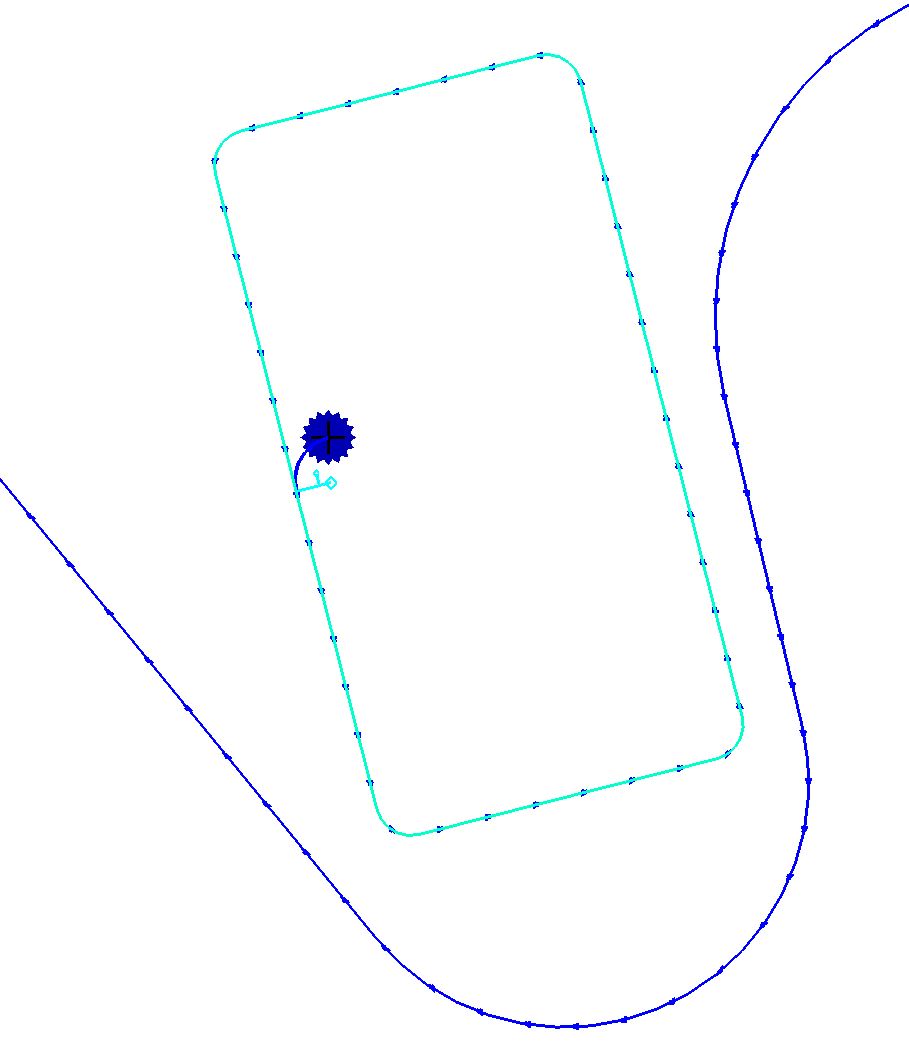
10Drag the 'Place Leads' handle anti-clockwise and release it in the position shown below:
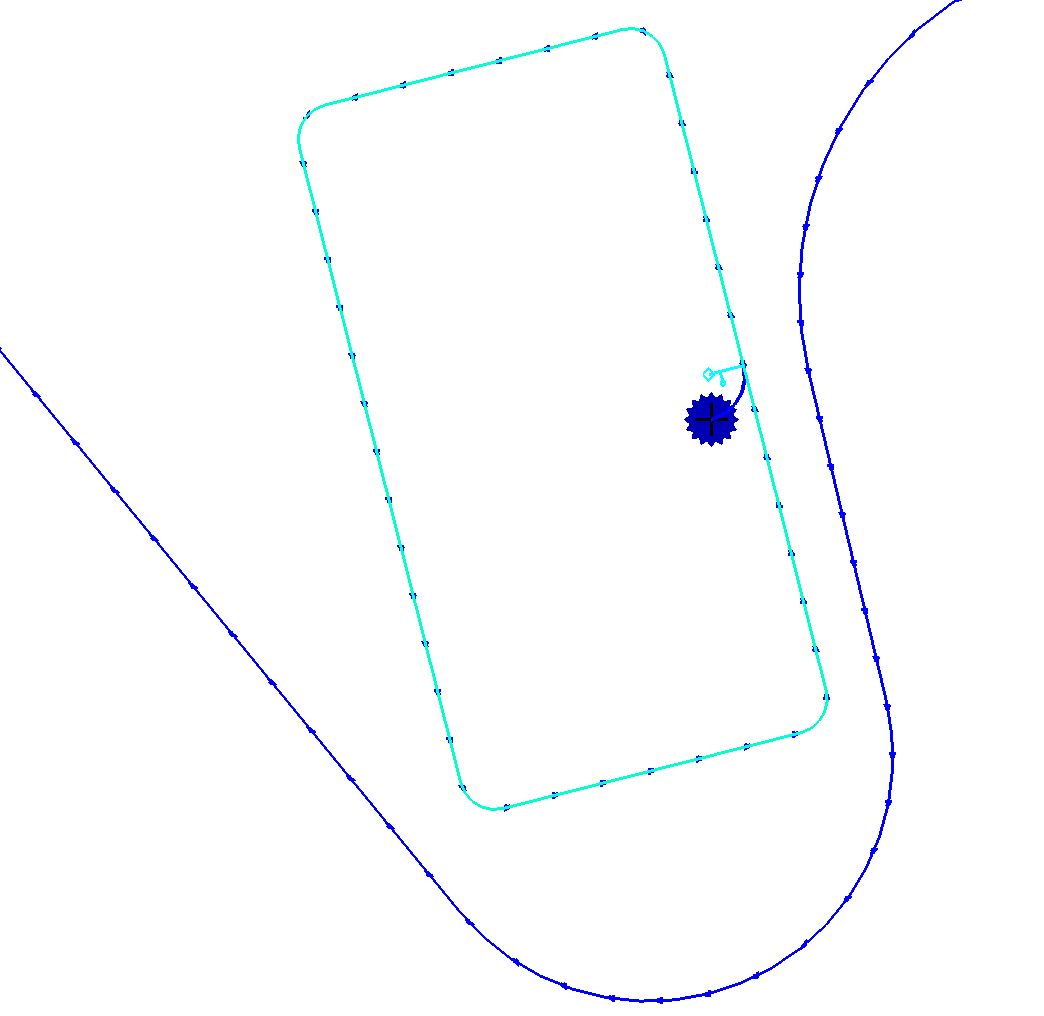
11Select the process again (in the same way) so you can view its properties.
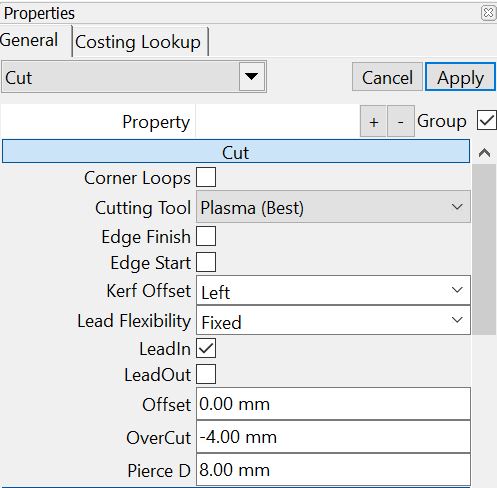
12Change the Overcut value to -4mm as shown above, and Click the Apply button.
We now want to copy this process to all of the other rectangular holes.
13Select the process once again.
14Right-click to view the popup context menu.
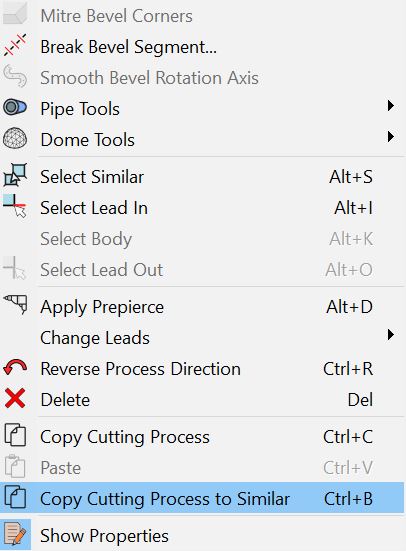
15Select Copy Process to Similar from the menu. A warning will appear asking if you wish to re-optimize the cutting sequence; Click the Yes button.
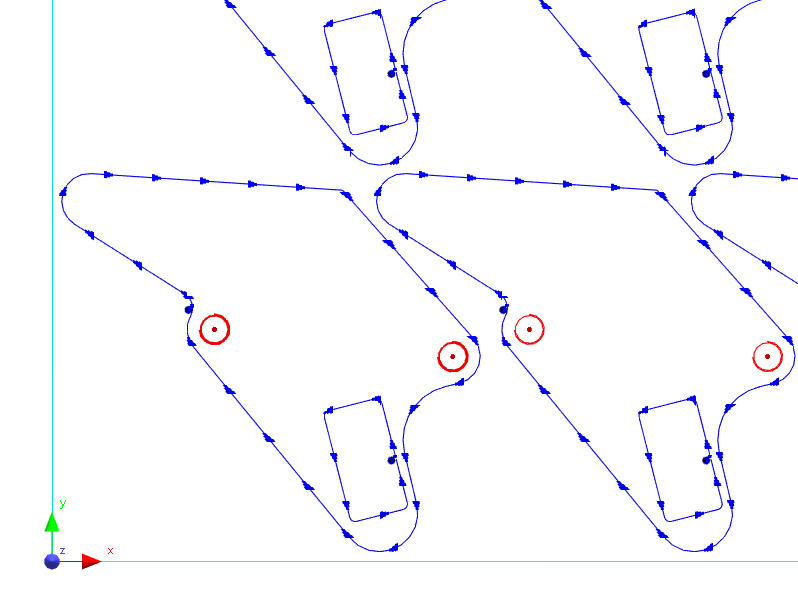
16Look at some of the other rectangles and you will see that they all have the same characteristics.
Suppose we now want to use the spindle to drill and tap all of the circular holes. We could process the entire plate again, but then we would lose the changes we have made to the rectangular hole. Because of this we need to apply the processing to the circular holes only. By selecting all of the holes before we process geometry, we ensure that the processing is applied only to those entities. Processing for the outside path and the rectangular hole will be unaffected.
There are two methods you could use for making this selection. In this particular case the easiest method would be to use the Select Items button on the toolbar, and choose Select Holes from the menu. We will use this method, but will first demonstrate an alternative method, which can be useful for geometric entities that do not appear on the Select Items menu (our rectangular holes for example).
17Zoom in on one of the holes.
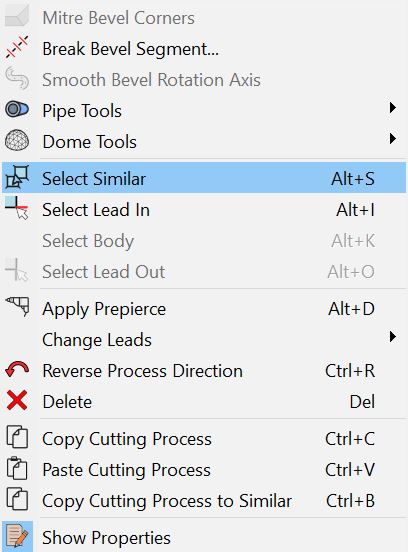
18As before, select the cutting path for the hole, but do not select the leadin or any other geometry.
19Right-click to display the popup context menu and choose Select Similar.
20Click the Auto Zoom (Z) button to view the whole plate. You will see that all of the circular holes are selected but none of the other geometry.
You could now click the Process button and only those holes would be affected, but first we will use the other method for selecting the holes.
21Click off the plate to de-select the holes.
22Click the Select Items button on the toolbar and choose Select Holes.
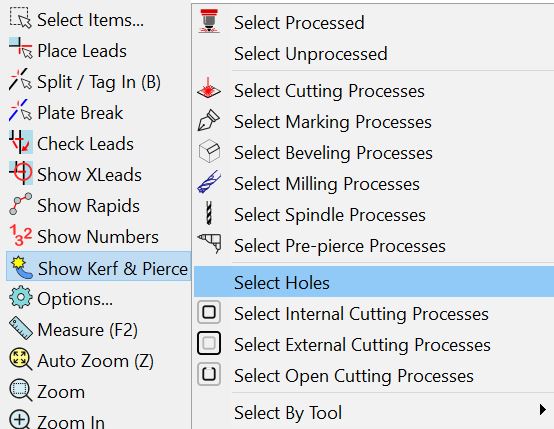
As with the previous method, only the circular holes have been selected.
We can now apply processing to those holes.
23Click the Process button.
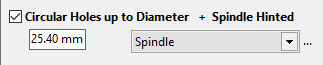
24As shown above, tick Circular Holes up to Diameter and change the value to 25.4mm / 1" (you can type 1") . Select Spindle as the tool to apply. Press the ![]() button and change the drop down list from * to Drill, Tap so PrimeCut will know to select the 25.4mm process with drilling & tapping. Failure to do so will bring up the spindle disambiguation window. Leave the rest of the dialog unchanged. Click the OK button.
button and change the drop down list from * to Drill, Tap so PrimeCut will know to select the 25.4mm process with drilling & tapping. Failure to do so will bring up the spindle disambiguation window. Leave the rest of the dialog unchanged. Click the OK button.
25You can see that the holes are now circles without a path, showing that they are being drilled.
26Home, without saving.