PrimeCut will not apply a pre-pierce to an automatically generated mill roughing cut by default, however you can apply the prepierce manually by selecting the roughing cut and reprocessing it:
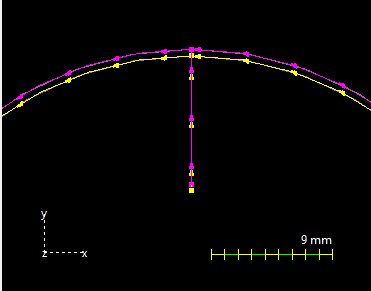
1.Process using a milling tool, selecting a cutting tool as the roughing cut, no prepiece will be applied. The plasma roughing cut is shown in yellow.

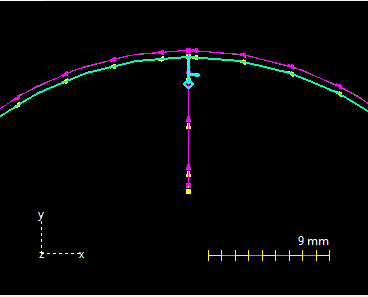
2.Select the plasma cut only; do not select the milling process. If there are many of these to pre-pierce, you may want to right click and Select Similar at this point. In the image below, plasma roughing cut has been selected.

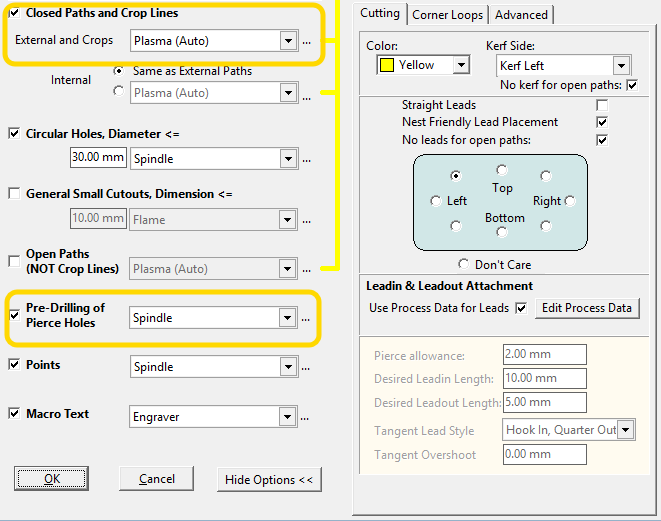
3.Click the Process Geometry button to reprocess the selected geometry. Ensure the Closed paths tool is set back to your cutting tool (plasma in this case, it would have been the mill before) and also ensure that Pre-drilling of Pierce holes is checked.

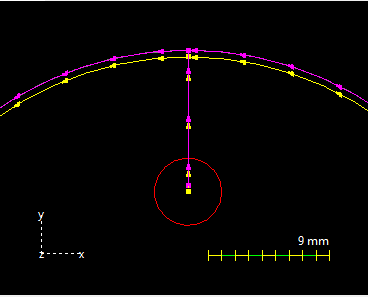
4.The prepierce will be applied. As usual, the Pierce Allowance is used as the diameter for the pierce hole and is used to look up the spindle table. Below, pre-pierce has been applied to the plasma roughing cut.
