Moving clockwise around the part, the next problem we find is a small redundant line segment lying in the path. This is found on the upper right side of the part. Check the diagram at the beginning of this tutorial if you are unsure. Again you can see that there is a problem because of the red squares at each end of this line.
1Zoom in on the area concerned:
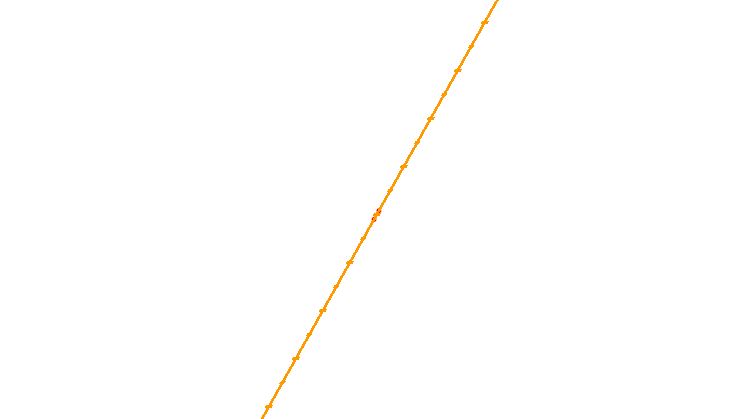
If you were to measure this segment you would find it is less than 4mm (1/64") long.
2Draw an 'enclosing rectangle' (from left to right) around the extra line segment to select it. (If you used a crossing rectangle (right to left), or just clicked on the line, you would also select the valid path. Confirmed Selection however is also an option)
3Press the DELETE key to remove the segment.
By using an 'enclosing rectangle' we are able to confirm that the problem is a redundant line segment and not an overlap. If it had been an overlap, then nothing would have been selected since we would not have enclosed a complete line segment.