Continuing to move clockwise, the next problem is the corner with crossed ends. To solve this we will use Corner Join.
This feature has some similarities with the 'trim' and 'extend' functions found in CAD programs.
The Corner Join feature will attempt to make end points meet by extrapolating (or shortening) lines. Unlike Join it will not 'nudge' lines, instead it will extrapolate regardless of where the lines eventually meet. It is necessary to explode a path into its constituent parts in order to use Corner Join.
1Zoom in on the corner concerned.
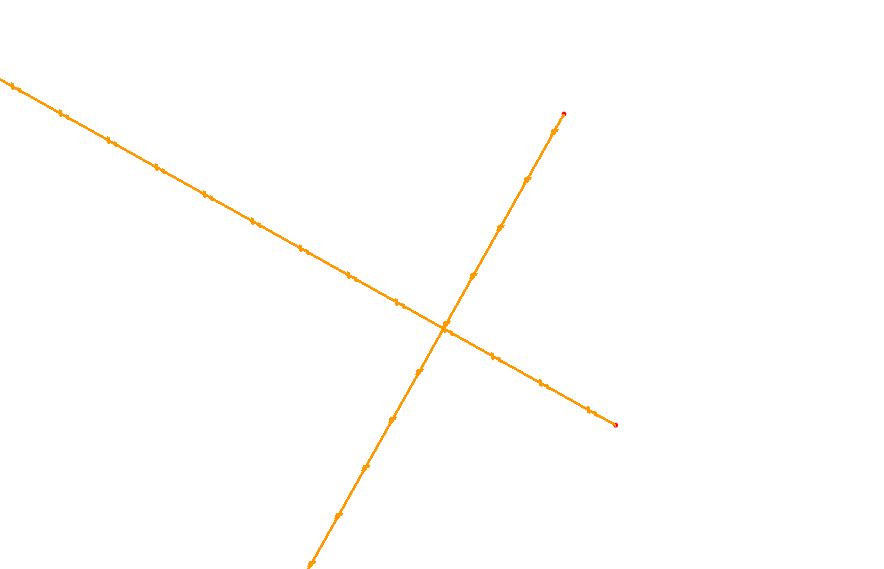
You could easily use corner join without zooming, but this makes it easier to see the result.
2Use a 'crossing rectangle' (right to left) to select both segments and right-click to view the popup context menu:
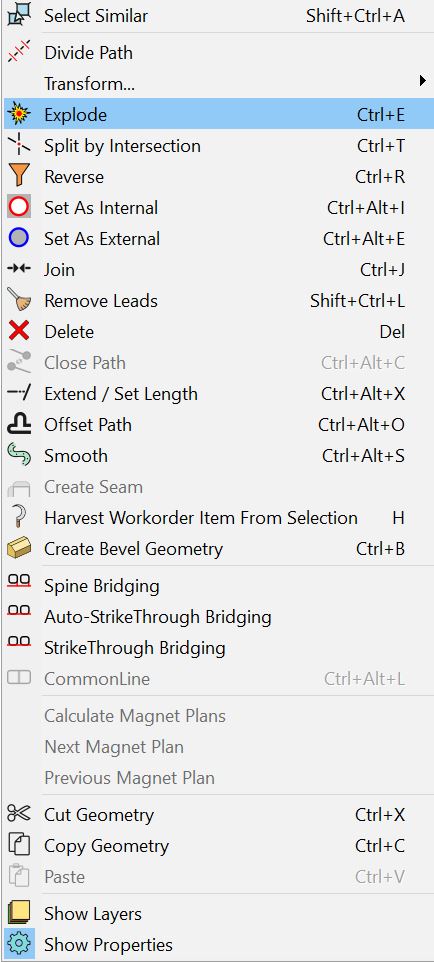
3Select Explode from the menu. This will split the segment into lines and arcs, and allow us to use the corner join feature.
4Click the Corner Join button on the editor toolbar:
![]()
The mouse pointer will now appear as a box, and a tick will show when it is held over a valid selection. Note: lines should be selected in order of the path direction.
5Click on the uppermost line segment first, then Click on the lower segment.
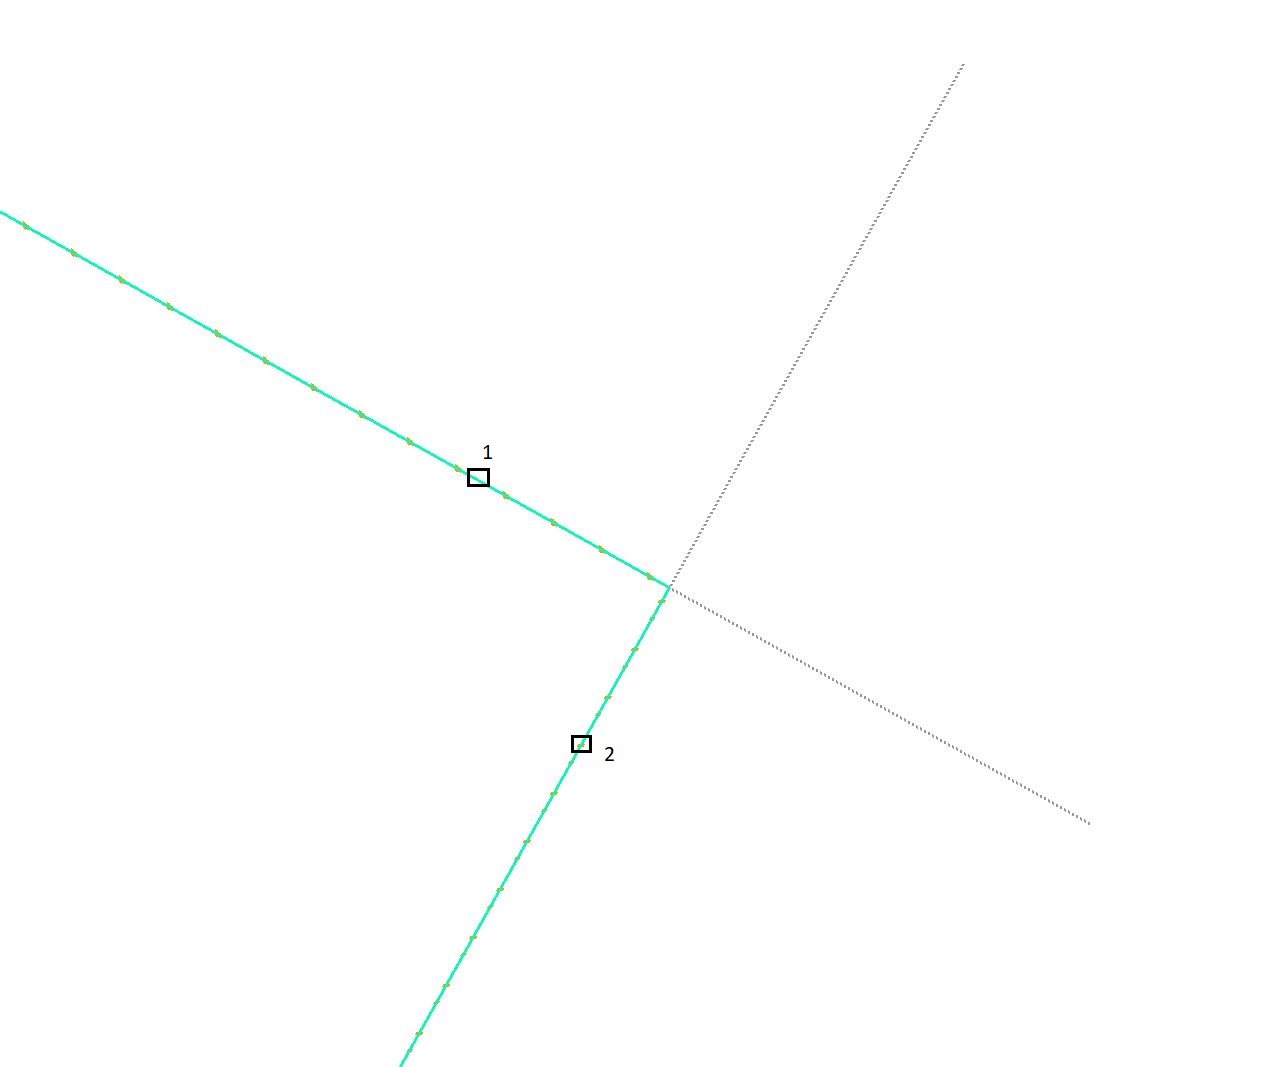
The corner is now correctly joined.
6Click on the Corner Join button again to disengage the feature.
We will now reverse the effects of the 'explode' using the join feature.
7Select one of the lines only and right-click to view the popup context menu and select Join.
8When the Join Distance dialog appears, accept the value and Click OK.