Perhaps the most basic method of tidying a part is to manually manipulate the lines and arcs that make up the path. Despite being basic, it can be a highly effective and efficient technique.
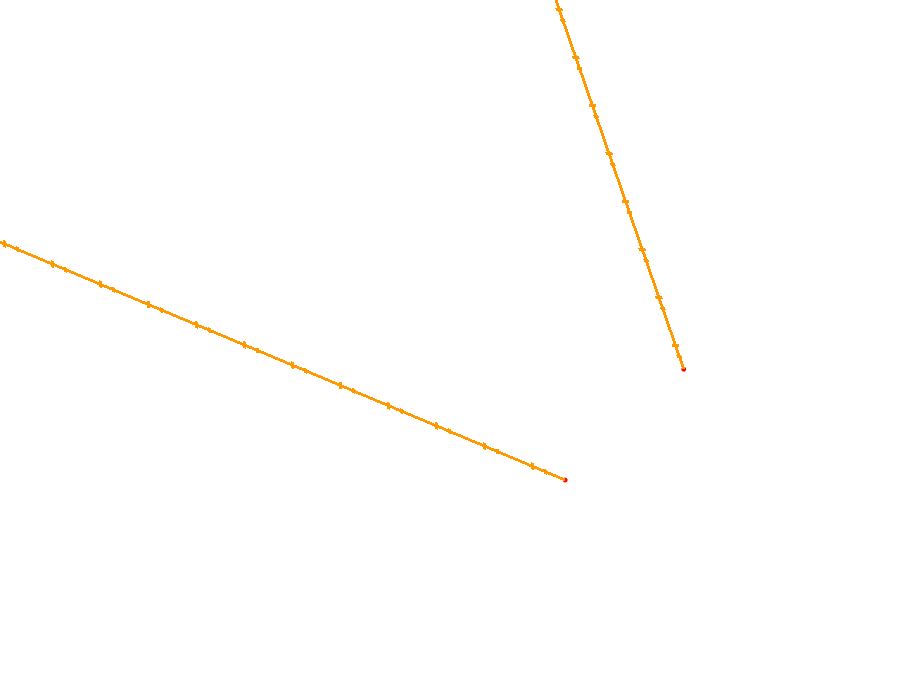
The problem we are looking at here is at the bottom right hand corner of the part.
This particular gap could just as easily be closed using the Corner Join feature, but we will use this technique for illustrative purposes.
1Zoom in on the area concerned:
As with using corner join, we need to explode the paths so that we can manipulate the lines.
2Click the Select all Snaps button.
3Select both lines using a 'crossing rectangle' (from right to left) and right-click to display the popup context menu.
4From the context menu Click the Explode option.
5Select the top line segment.

Notice that the end of the line has a larger cyan colored square. This indicates that it can now be manipulated.
6Click on this square and release the mouse button. We don't want the line to be modified yet, so keep the cursor within 'snapping distance' of the original line end.
7While the line snapped to its original endpoint, press the A key on your keyboard. This will fix the angle of the line so that when we move the end point it will follow the correct path.
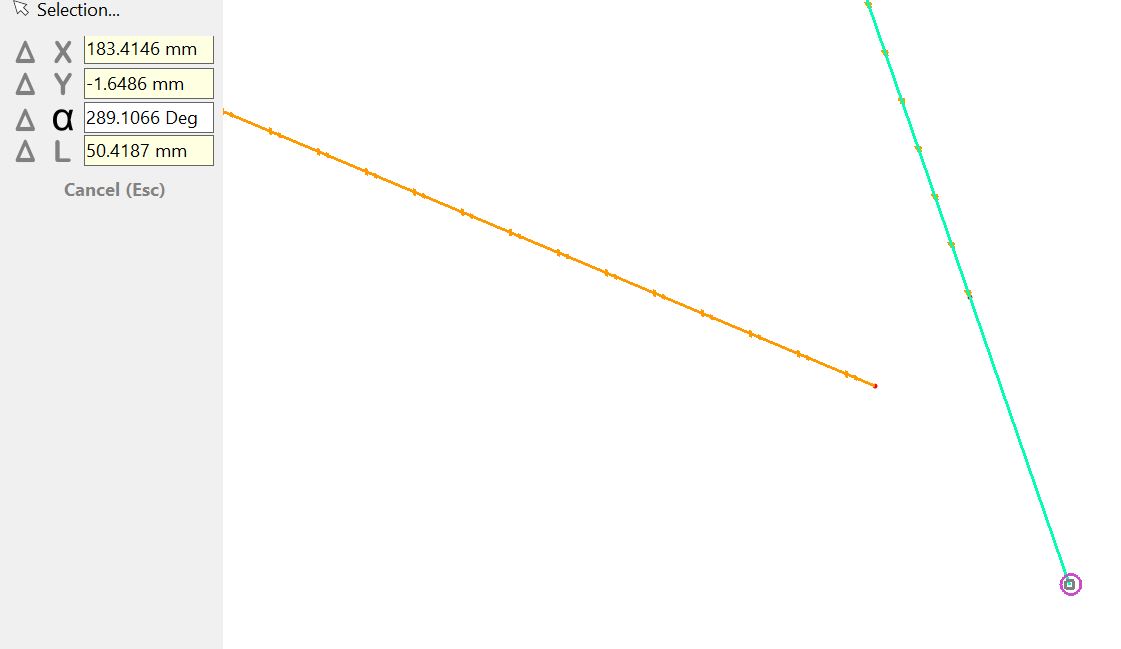
At the left of the picture you can see the alpha symbol highlighted indicating that the angle is fixed.
8Drag the end point past the area where the two lines will meet and Click the mouse button to release:
9Now select the lower line.
10Click on the square at the end point of the line, and release the mouse button.
11Again press the A key on your keyboard, while the line is snapped to its original endpoint, to fix the angle of the line.
12Drag the end point past the top line, and Click to release.
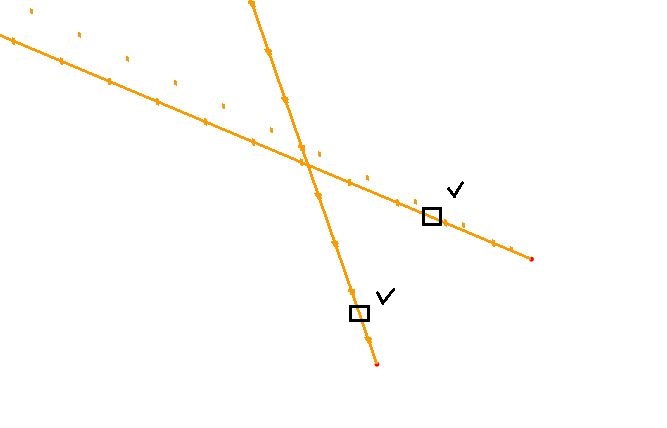
13Select the Trim tool ![]() from the geometry sidebar.
from the geometry sidebar.
14Select each of the protruding lines to delete the protrusions, then right click to deselect the Trim tool.
15Select one of the lines only and right-click to view the popup context menu.
16Click on Join in the menu.
17When the Join Distance dialog appears, accept the value and Click OK. The lines are now part of one segment.