On the left hand side of the part we can see that the CAD operator has drawn overlapping lines. This causes a problem because PrimeCut needs the ends to meet in order to create a path.
1Zoom in on the area concerned.
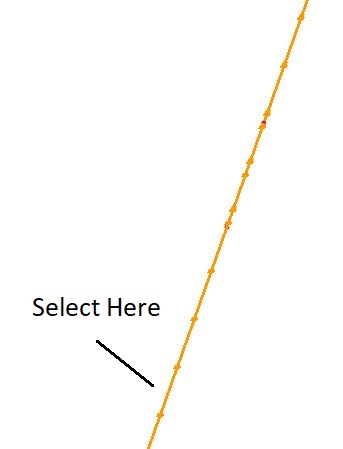
This problem is made apparent due to the doubled up direction arrows on the line.
2Click the Select all Snaps button.
3Select the bottom line (below the overlapping region, as shown above) and right-click to display the popup context menu.
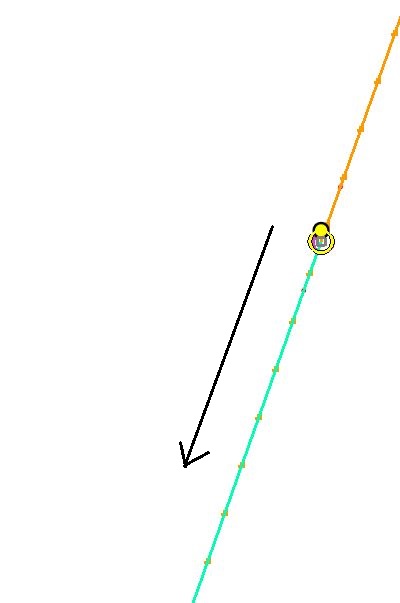
4From the context menu Click the Explode option. Click the bottom line again. As with the overshoot problem, the end of the line has a large cyan colored square to indicate that it can be manipulated.
5Click on this square and release the mouse button.
6Drag the end point back to the end point of the following segment. The points will snap together. Click the mouse to release the end point.
7Select one of the lines only and right-click to view the popup context menu.
8Click on Join in the menu.
9When the Join Distance dialog appears, accept the value and Click OK.
If you Click the Auto Zoom button you can see that the part is almost a single path. There is only one more problem to fix before it can be processed.