In this section we will use the circular flange from the shapes library to create a staggered array.
1Make sure you are in the Nesting mode.
2Click Open Part ![]() from database.
from database.
3Under the <All Invoice Numbers> search criteria, search for the Nesting: Staggered Arraying. Only the Flange part should appear in the list. Double-click on it.
Alternatively search for *Staggered*, using the * as a wild card before and after the word.
4Click the Open Plate ![]() button. In the top left 2 drop-down boxes, select Available Not Nested and Workspace Materials, and Click Refresh.
button. In the top left 2 drop-down boxes, select Available Not Nested and Workspace Materials, and Click Refresh.
5Scroll down and Double-click on a 3000x2000mm, 5mm GR250(A36) plate to open it. Create a new plate if this no longer exists.
6Drag a copy of the part from the Explorer onto the plate and place it at the bottom left hand corner. Remember to drop it slightly off the plate so that it is nudged into the first feasible position.
7Drag the array handle to create an array that covers the entire plate.
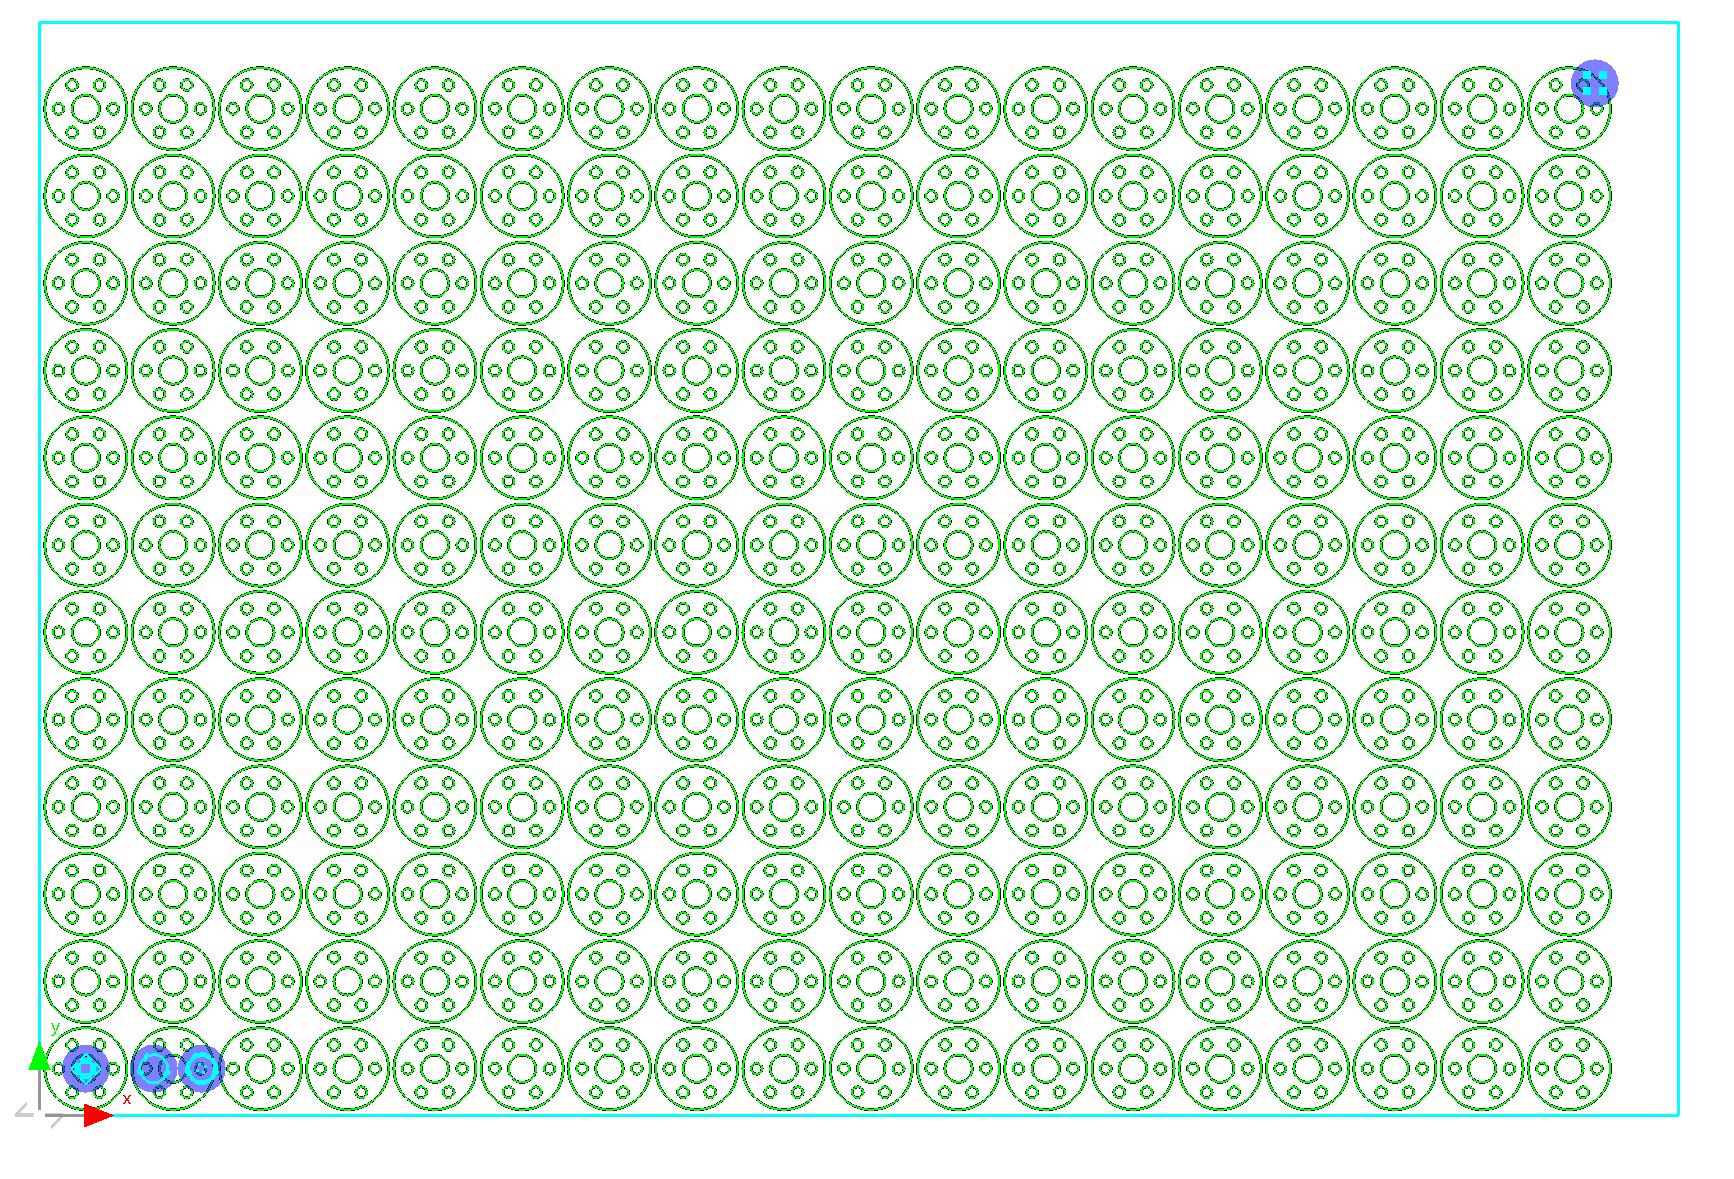
Note that we have been able to nest 216 copies of the part using the standard array.
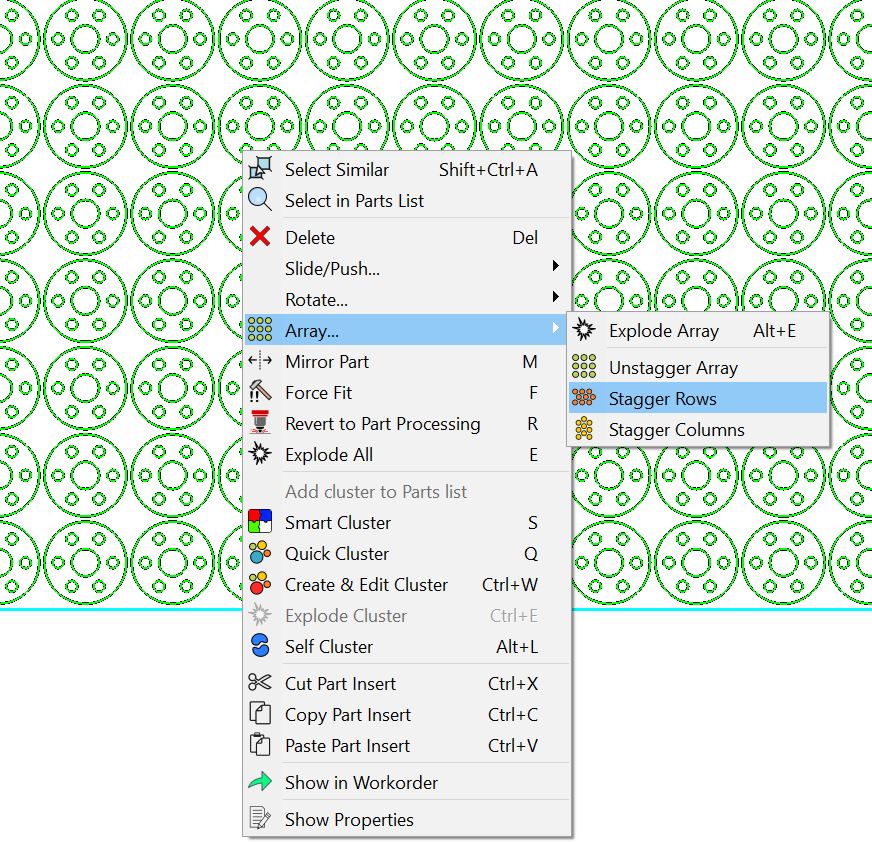
8While all the parts are still selected, right-click to view the pop-up context menu.
9Hold the mouse pointer over Array... to view the sub-menu (as shown below), and select Stagger Rows.
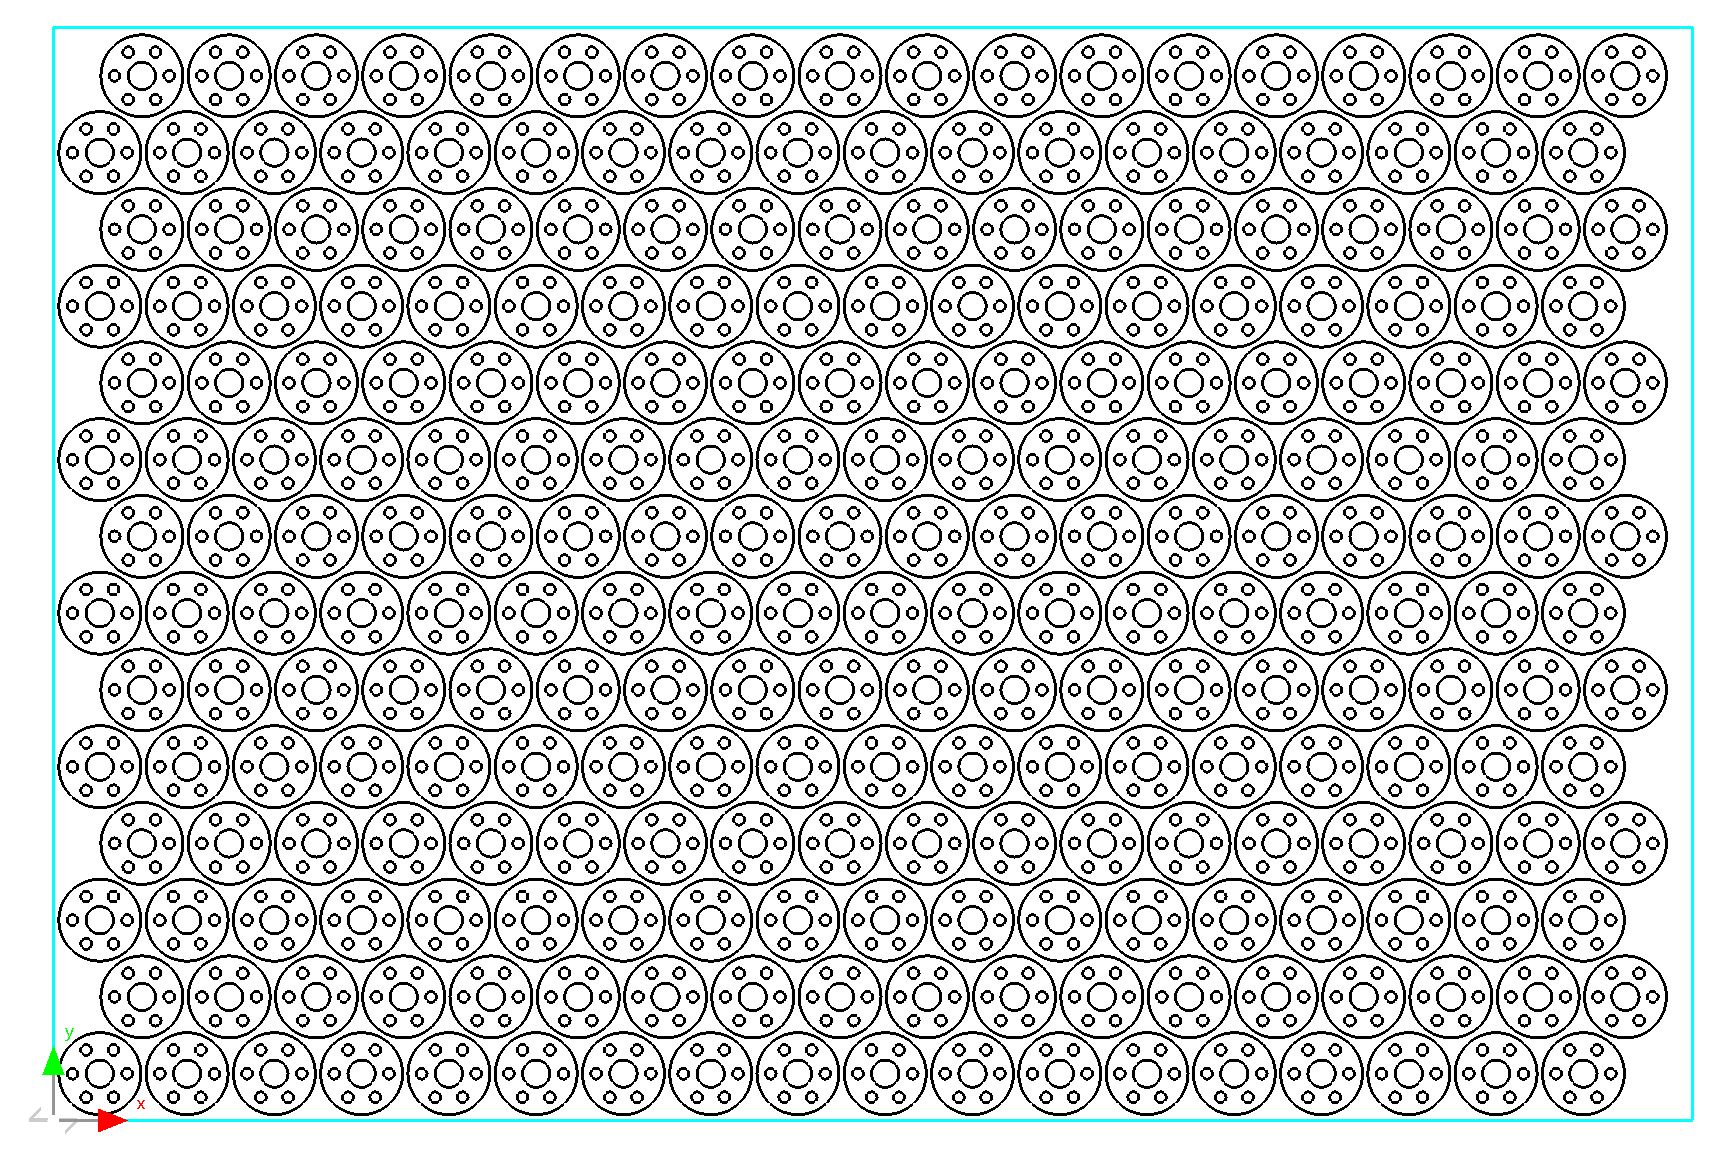
10 As you can see, the array has been staggered. We now have room at the top of our plate. Drag the array handle to grow the array into this space as well.
You should be able to nest 252 copies of the Flange part, as visible in the explorer on the left. This is 36 more than we could nest with a standard array.
11Home without saving.