In this section we will use a diamond shaped flange from the shapes database, and will rotate the part insert to create a better interlocking pattern. Auto-spacing will then be used to minimize the gap between parts.
Perhaps the simplest method for arraying this particular part would be to stagger the array. You can try this for yourself if you want to see the result.
1Open the Nesting mode from the start screen.
2Click Open Parts ![]() from database.
from database.
3Under the Invoice Number search criteria, search for the Nesting: Spacing Adjustment. Only the Flange 2 part should appear in the list. Double-click on it (if there are no results, check you have selected "Show All" and "All Cut By Dates" from the dropboxes).
4Click the Open Plate ![]() button. In the top 2 drop-down boxes, select All Available for Workspace Materials, and Click Refresh.
button. In the top 2 drop-down boxes, select All Available for Workspace Materials, and Click Refresh.
Scroll down and Double-click on a 3000x2000mm, 5mm GR250(A36) plate to open it.
5Drag the part onto the plate and place it near the center.
6Use the array handle to create a 2x2 array.
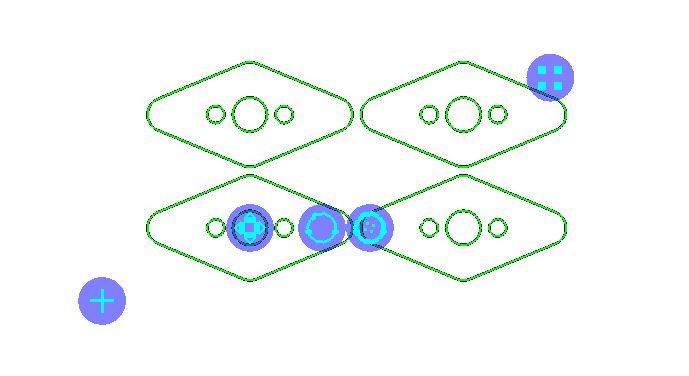
7Using the 'rotate part insert' handle (the empty circle), rotate the part counter clockwise until the bottom right edge is horizontal (as shown below). Note how the part inserts have automatically been abutted.
The automatic spacing of the parts can be manually overridden.
NOTE when manually overriding a negative spacing overlapping of the parts will be allowed on the plate, so the user must be careful when using the following operation.
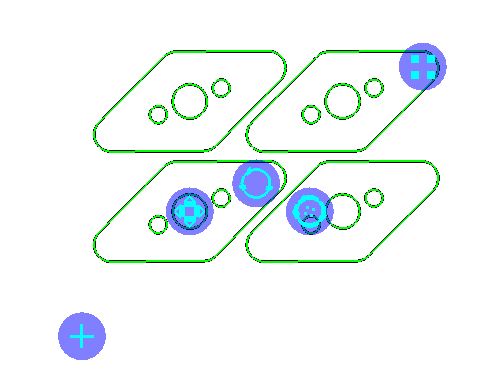
8Hold down the SHIFT key and Click on the array handle (keep the SHIFT key depressed). Drag the array out, to increase the spacing as shown.
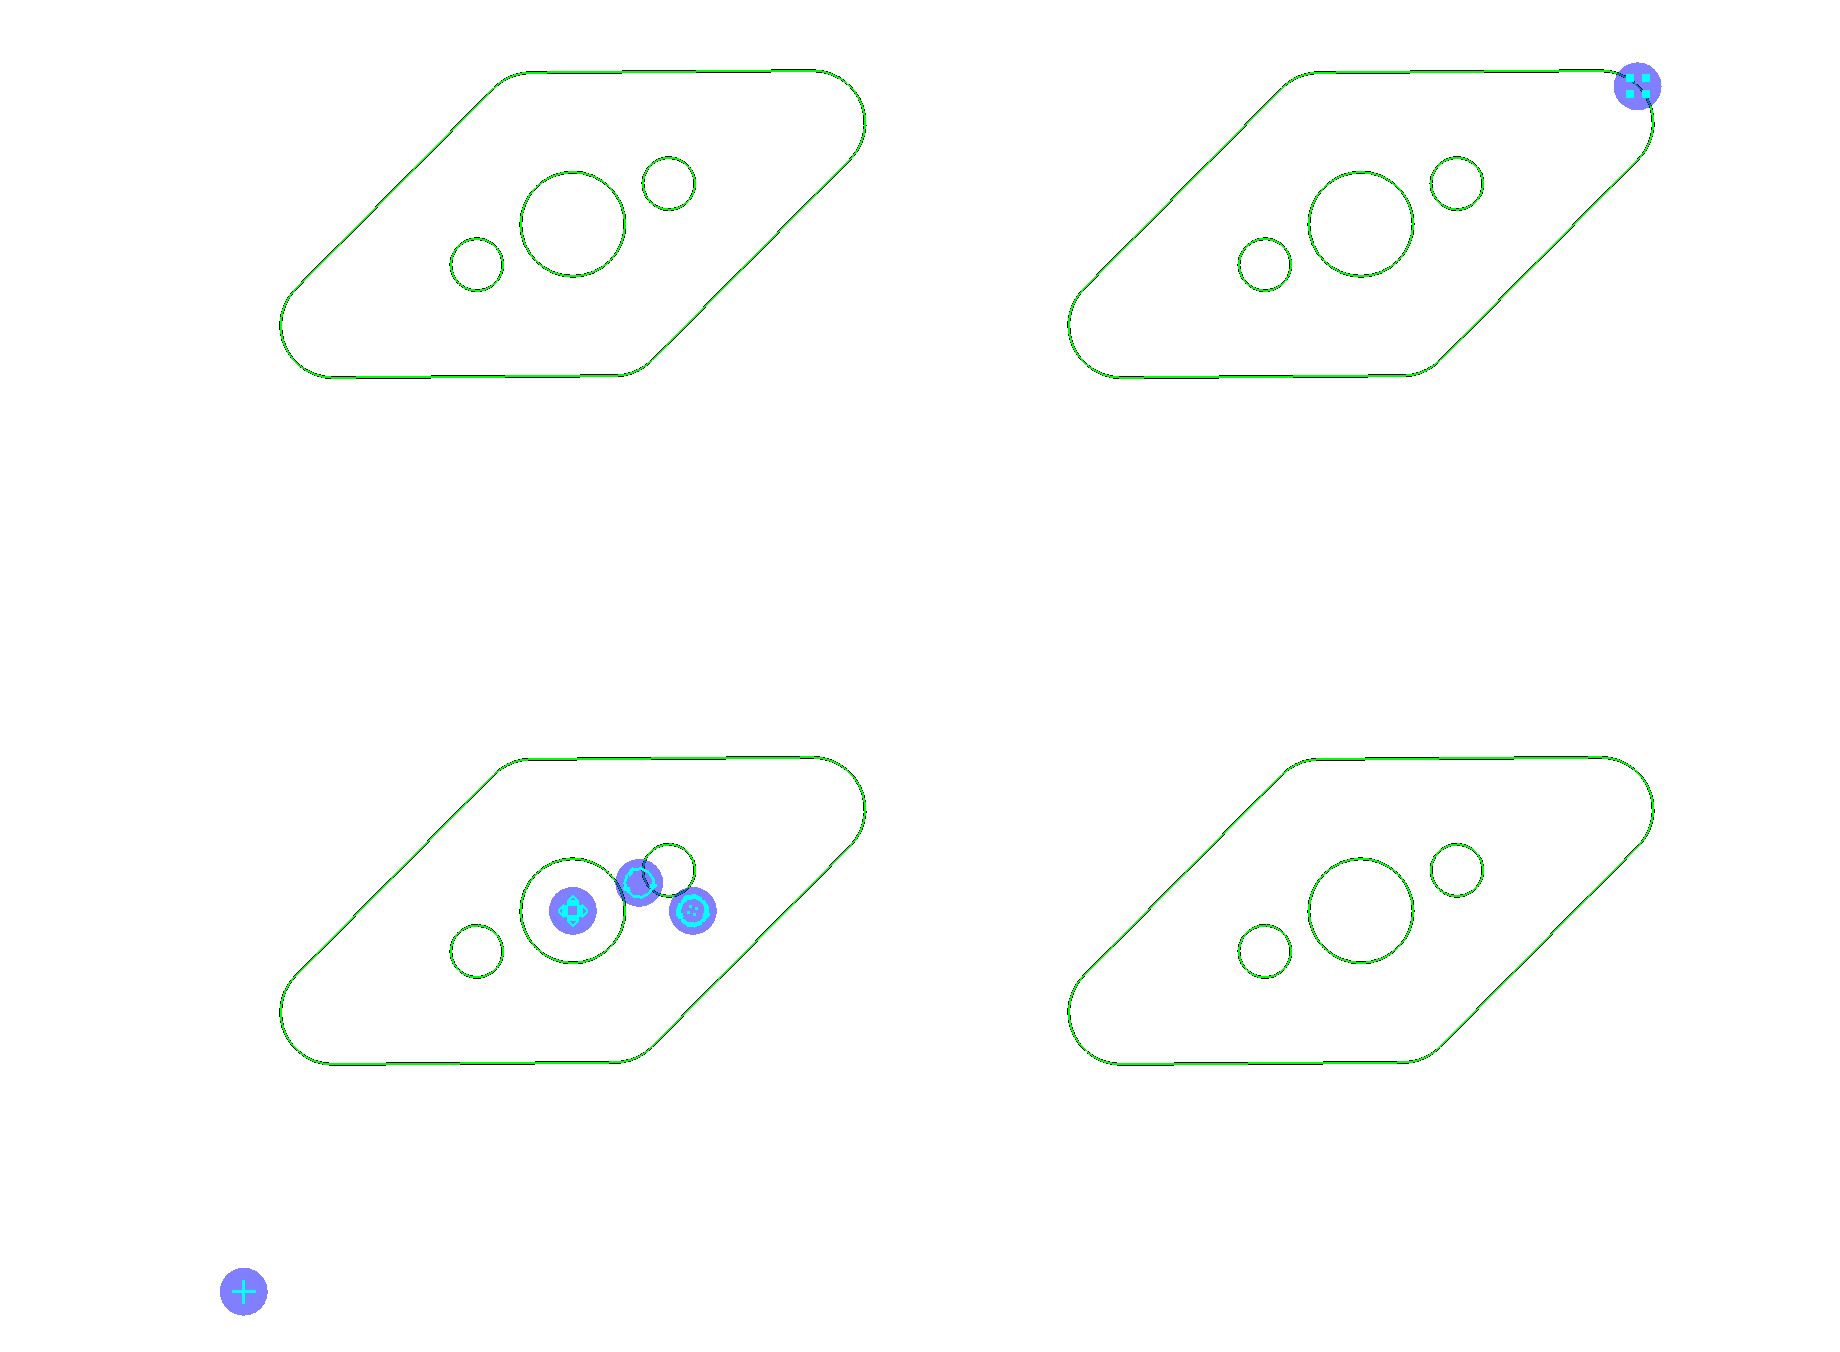
9Return the part to its automatic spacing.
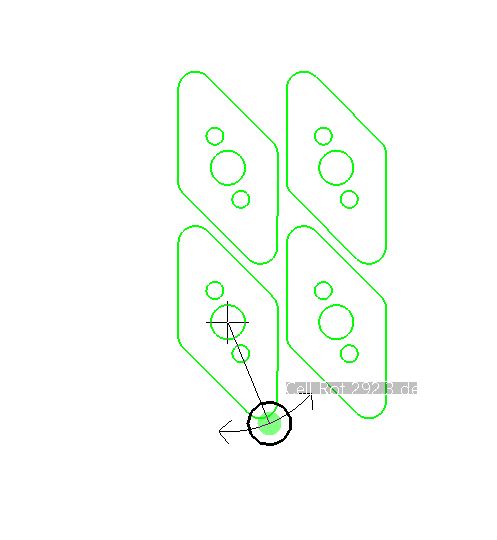
10Click on the Rotate Array handle (the blue circle with four dots inside) to rotate the array as a whole. Rotate the array about 90 degrees to the position shown.
Note the further your mouse is from the center of rotation, the more control you will find you have.
Note: for reasons we won't go into, you must always finish rotating the individual part inserts before rotating the array.
Do not attempt to rotate the part inserts after the array is rotated, as the spacing between parts will no longer definitely be adequate.
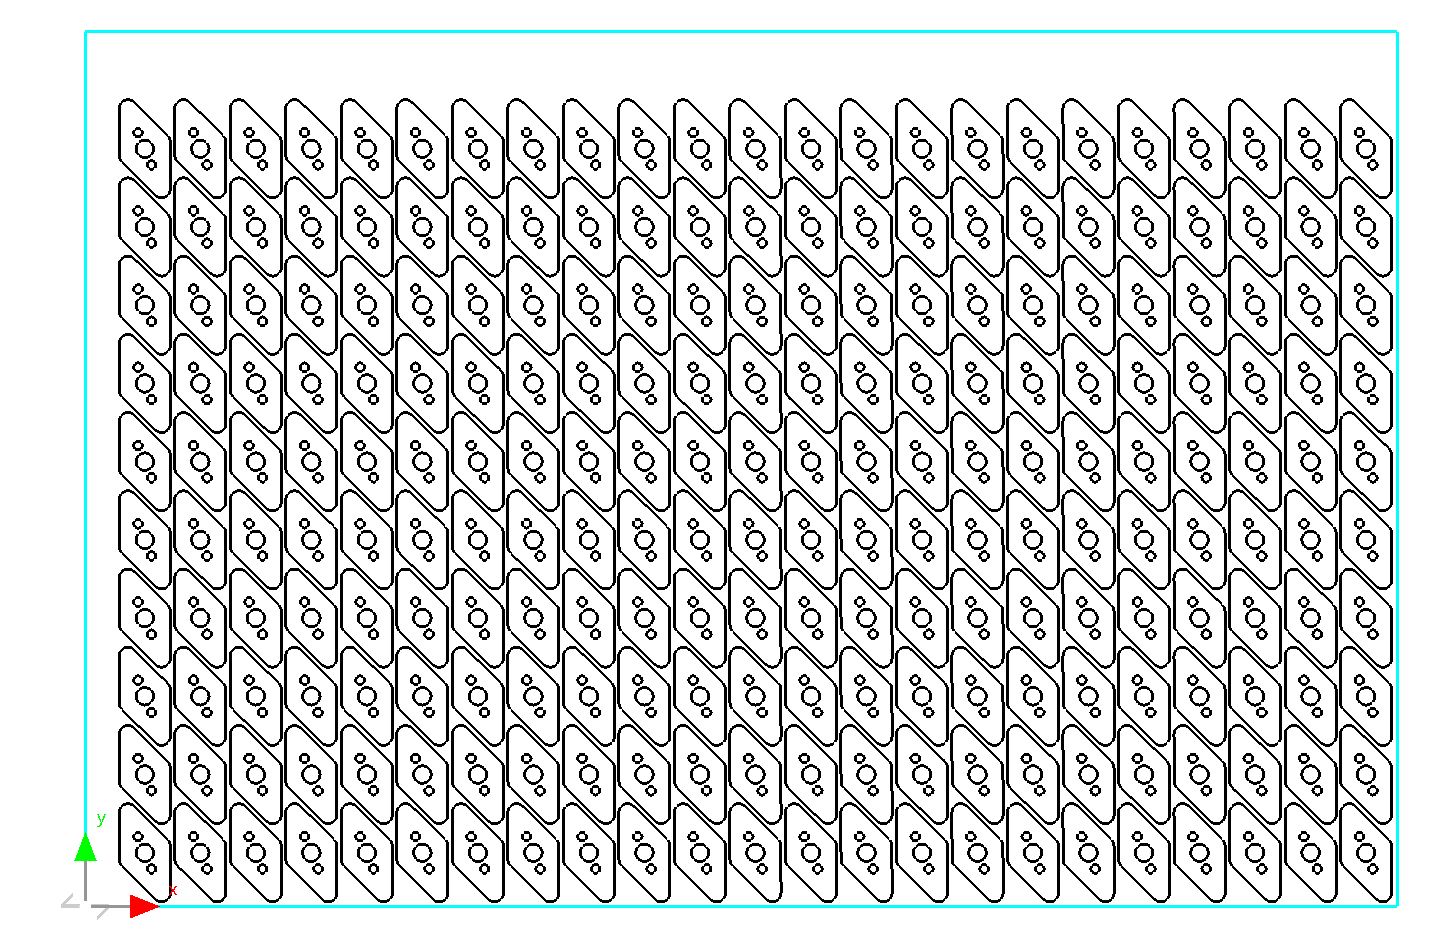
11Drag the array to the bottom right corner of the plate and use the array handle to populate the whole plate. Further rotational adjustment can be necessary if the part isn't nesting well.
12Close the mode ![]() without saving, so this tutorial is ready to do again.
without saving, so this tutorial is ready to do again.