In this exercise we will create a row of part inserts using the array feature, then we will create a cluster from the array. Finally we will copy and alternately rotate this cluster to create an interlocking nest arrangement.
1Make sure you are in the Nesting mode
2Click Open Parts ![]() .
.
3Under the Invoice Number search criteria, search for the Nesting: Cluster Copying. Only the Cluster Part 1 part should appear in the list. Double-click on it.
4Click the Open Plate ![]() button. In the top 2 drop-down boxes, select Available Not Nested and Workspace Materials, and Click Refresh.
button. In the top 2 drop-down boxes, select Available Not Nested and Workspace Materials, and Click Refresh.
Scroll down and Double-click on a 3000x2000mm, 5mm GR250(A36) plate to open it.
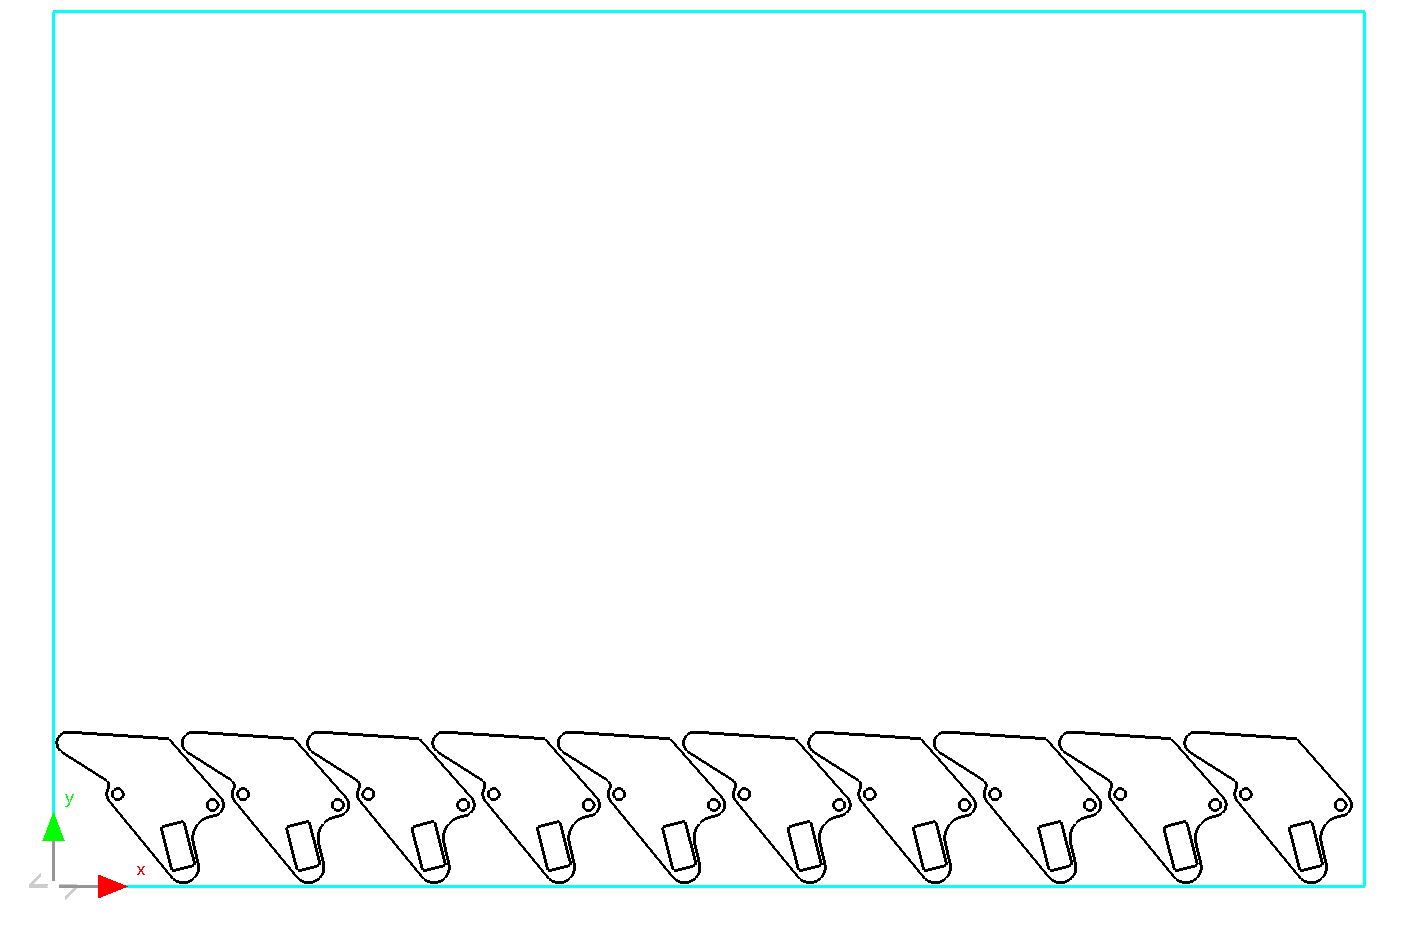
5Drag a copy of the part onto the plate and create the array shown below.
6Select the array and right-click to display the popup context menu.
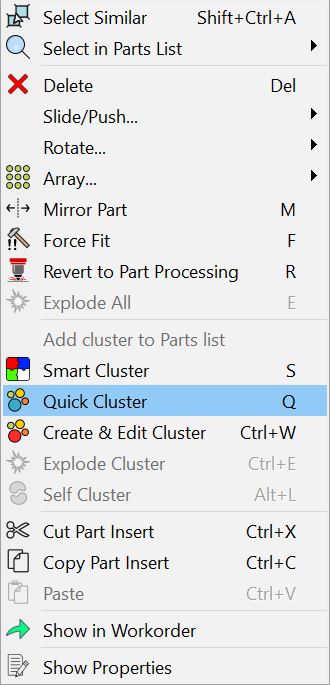
7Select Quick Cluster from the menu.
We now want to copy this cluster and rotate the copy so that it will interlock with the original.
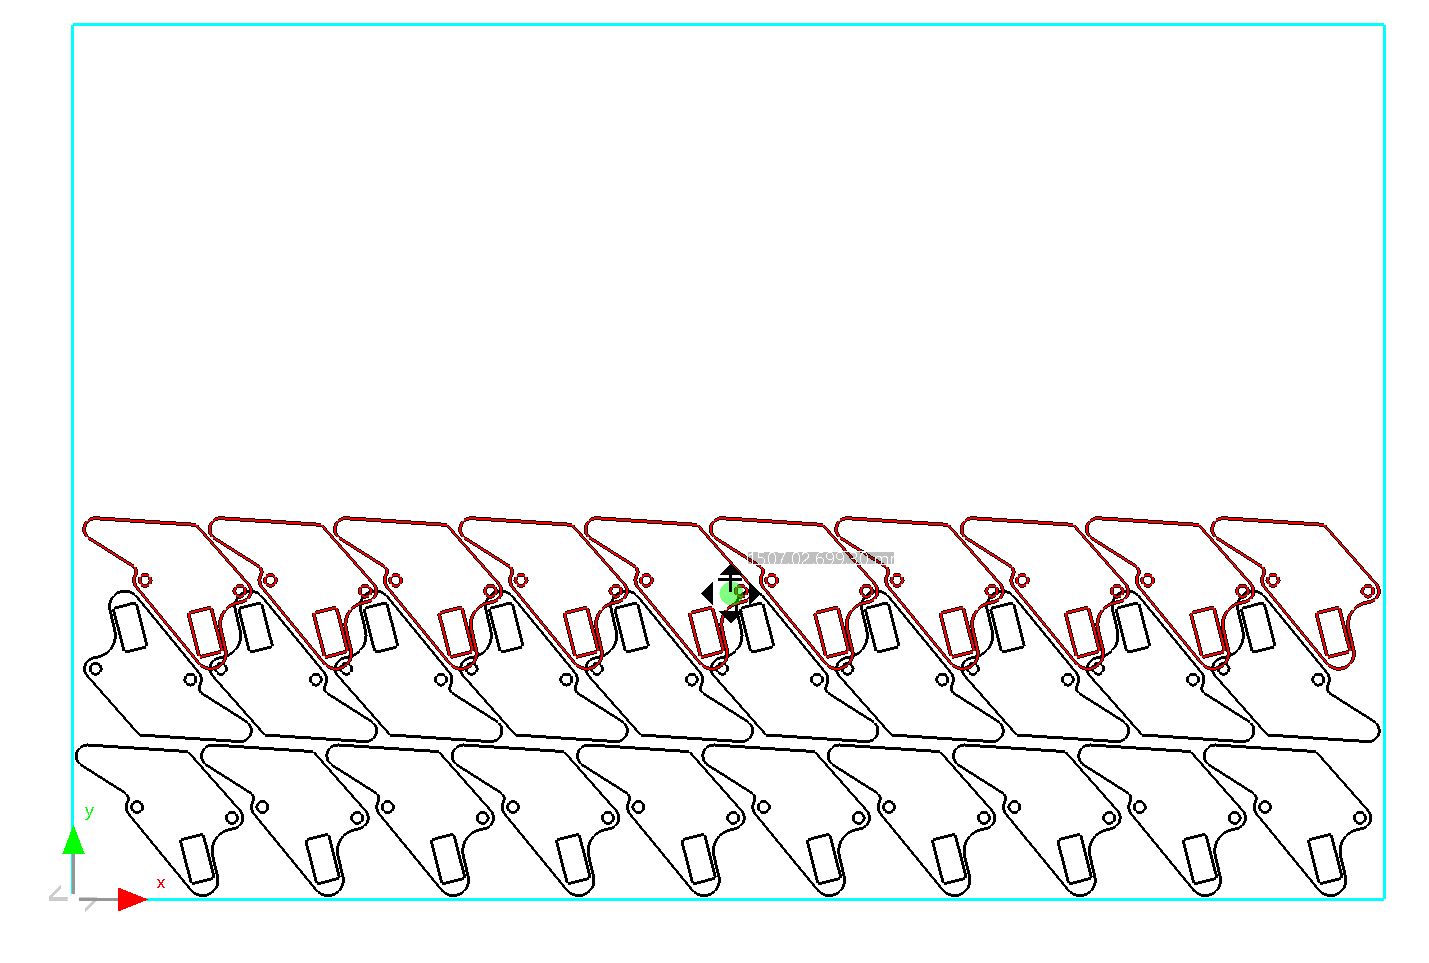
8Hold down the CTRL key, and Click and drag the cluster. A copy will be created.
9Hold down the SHIFT key and drag the 'rotate part insert' handle to rotate the cluster by 180 degrees.

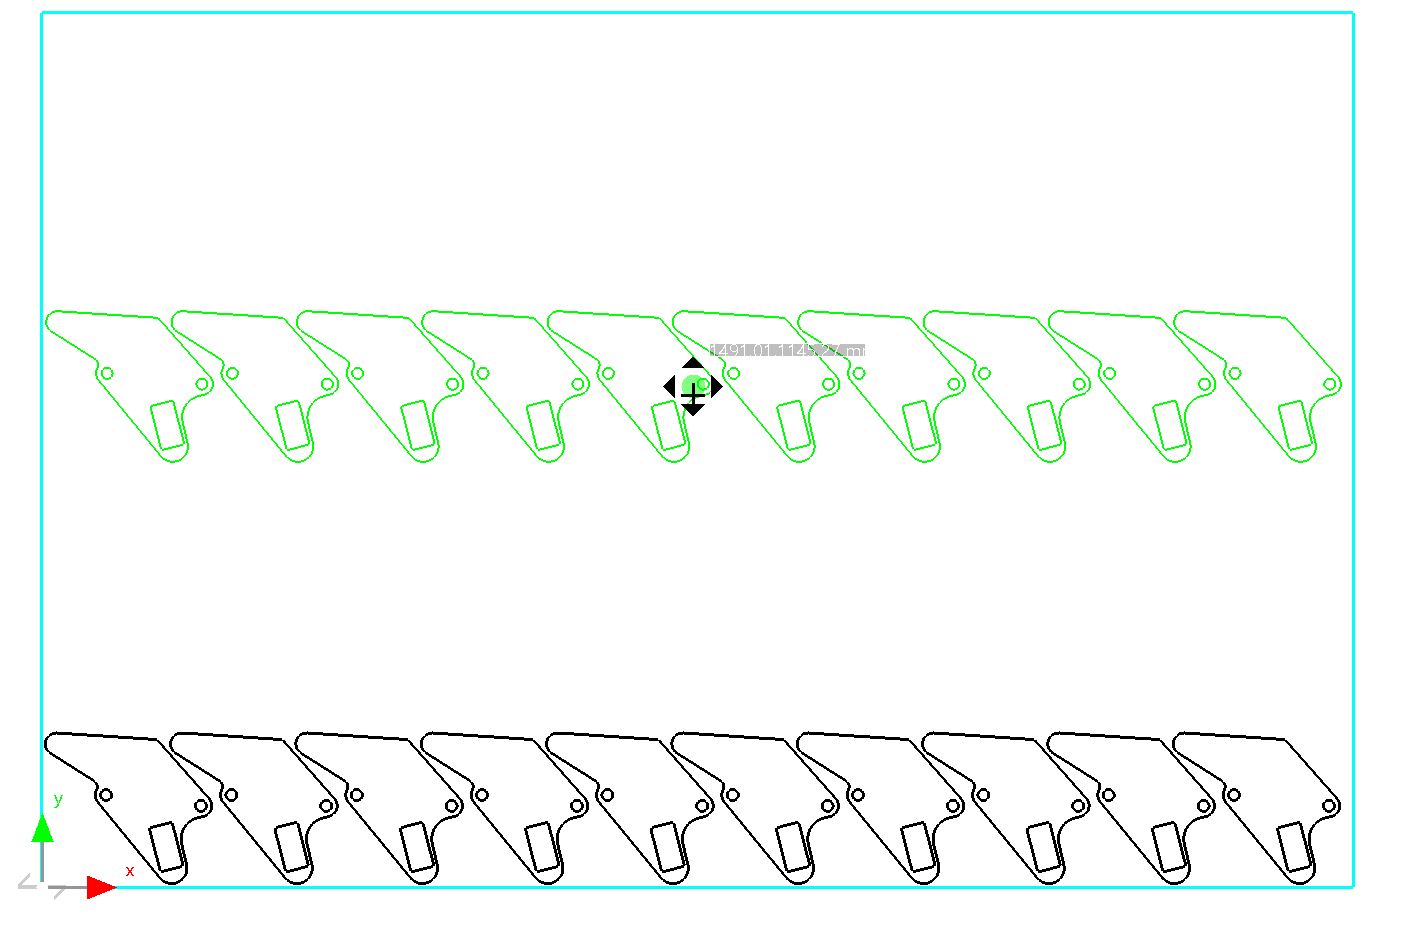
10Now drag the rotated cluster and place it just off the original cluster (as shown below) so that PrimeCut nudges it to the nearest feasible position. (for purposes of this tutorial use nudge with the clusters slightly overlapping to the left).
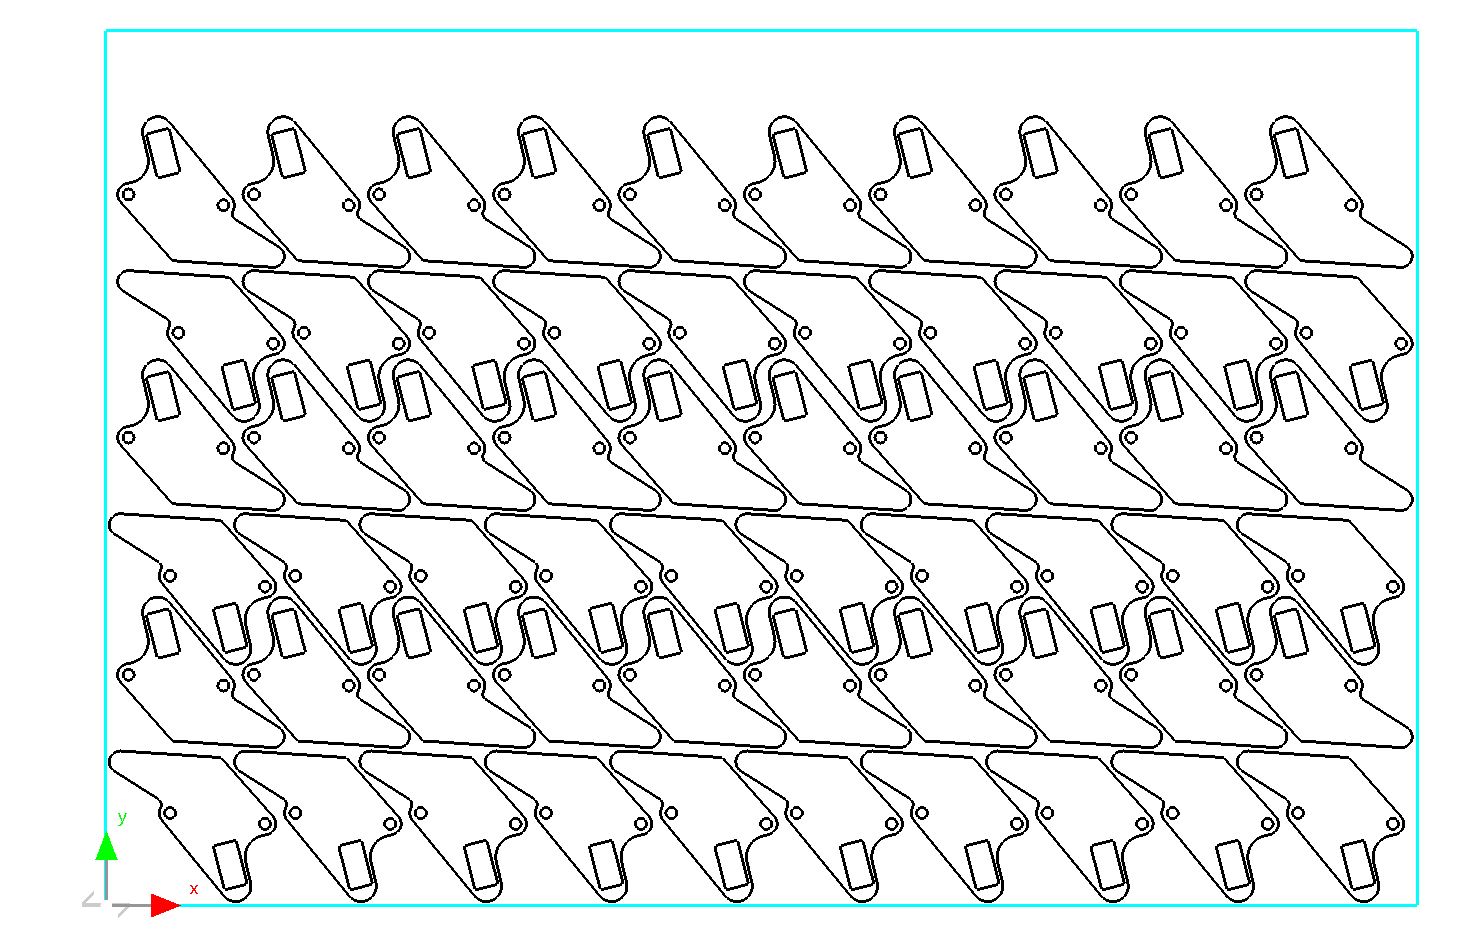
11Now use CRTL-drag again to make a copy of the bottom cluster. Place the new copy so that it interlocks as shown below. Once again it will be nudged into a feasible position.
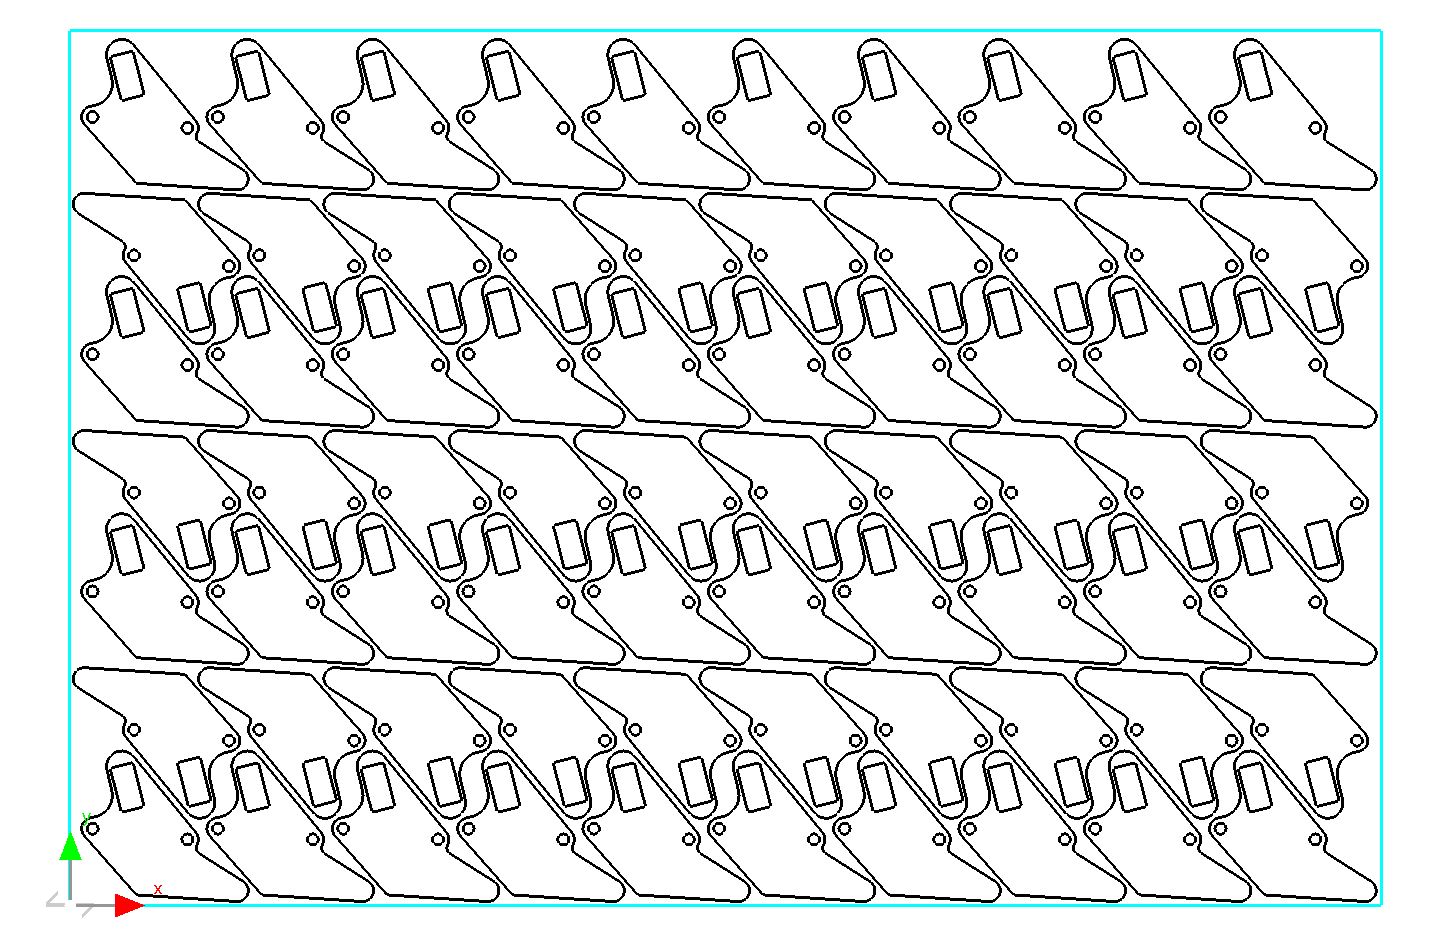
12Now use CTRL-drag to make a copy of the rotated cluster, and continue along these lines until you have the nest shown below.
This has created a tightly packed nest, but as you can see there is still a lot of unused space at the top and bottom of the plate. If we move the bottom cluster to the top and drop the rest down we should be able to create an even more effective nest.
13Drag the top cluster off the top of the plate.
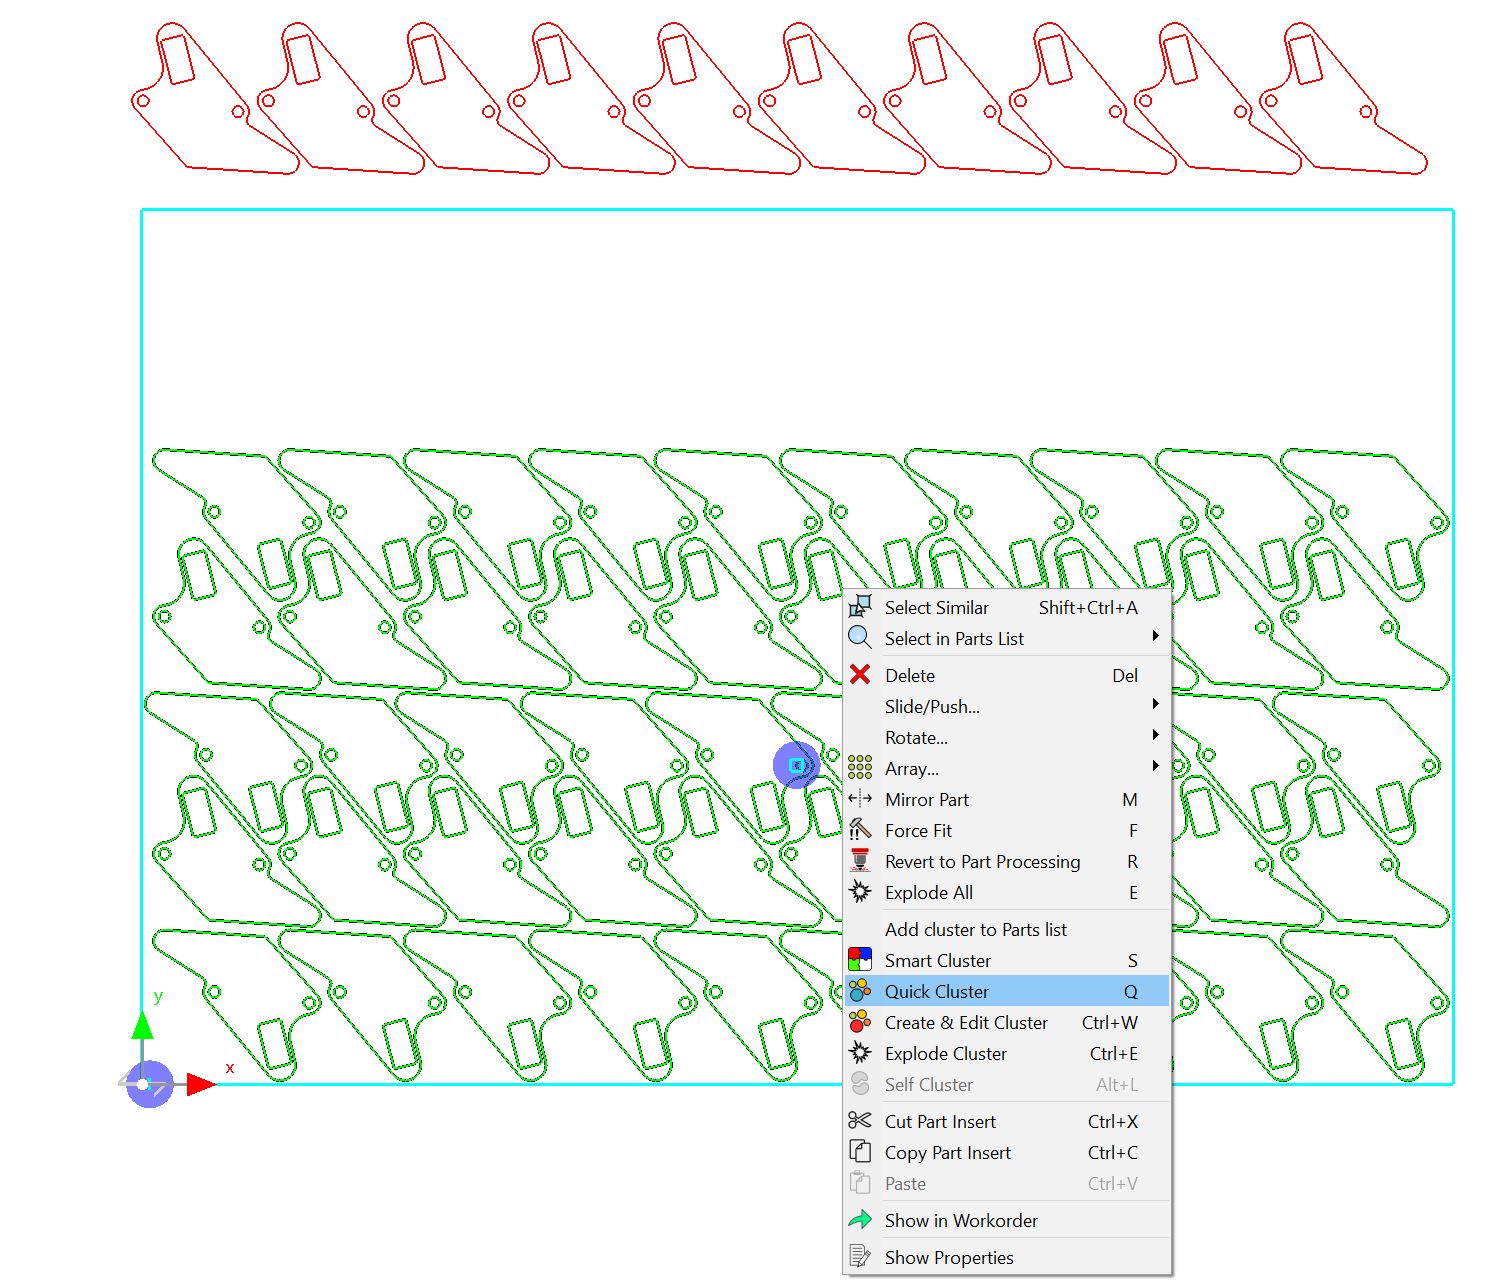
14Select all currently nested clusters. right-click and Click on Quick Cluster from the popup menu.
15Drag the cluster to the top of the plate, or press ALT + UP (the up arrow) (to 'slide' the cluster to the top of the screen)
16Drag the cluster from above the plate so that it nudges to the bottom left corner.
17Drag the main cluster down and slightly left, to nudge so that it meshes as close as possible with the bottom cluster (or Select and Press ALT + DOWN arrow).
18Press CTRL and Drag the bottom cluster in the parts list to the top of the plate. Note that it almost fits. In cases such as this it is worth fiddling with the nest to get a few more parts nested. Press DELETE to delete the unnested cluster.
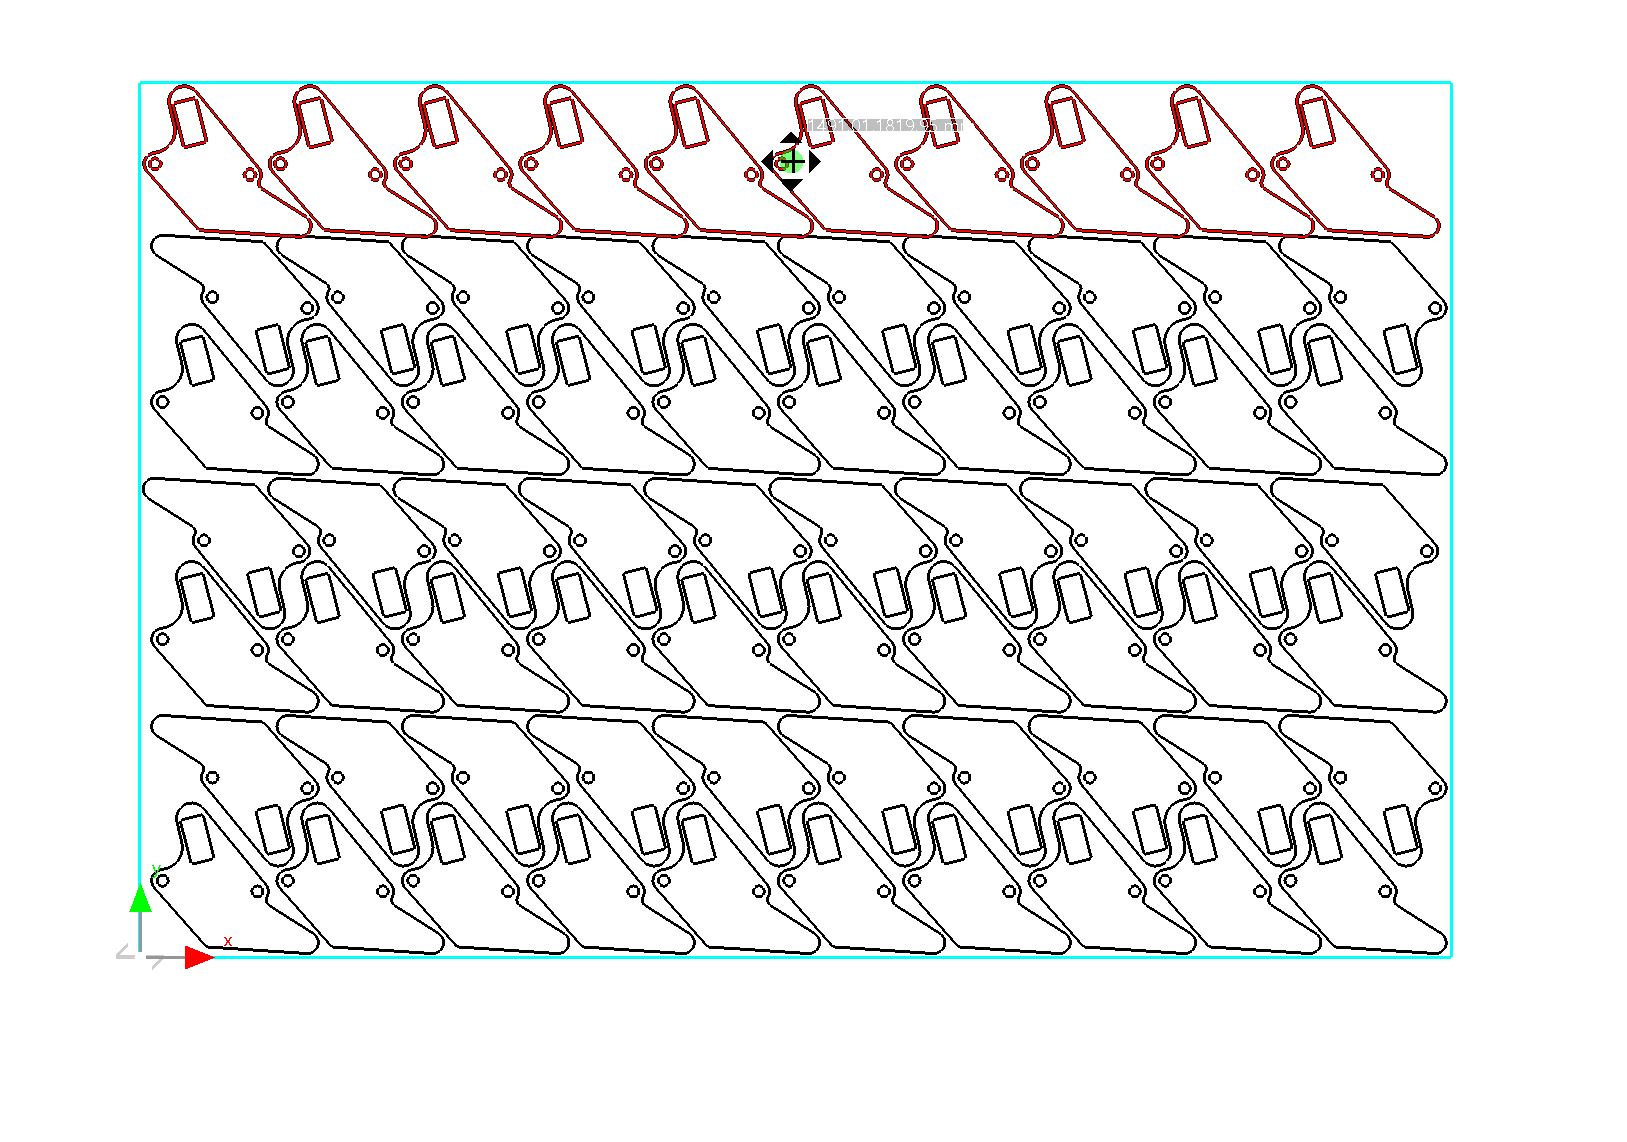
19Select the main cluster, right-click and Click Explode Cluster from the popup menu.
20Counting from the bottom, using the bump-nesting or sliding techniques from above, for each cluster, if there is an odd number of clusters from the bottom, nest it as far down and to the Right as possible, or if it is an even number of clusters from the bottom cluster, nest it as far down and to the Left as possible. The following diagram makes it clearer.
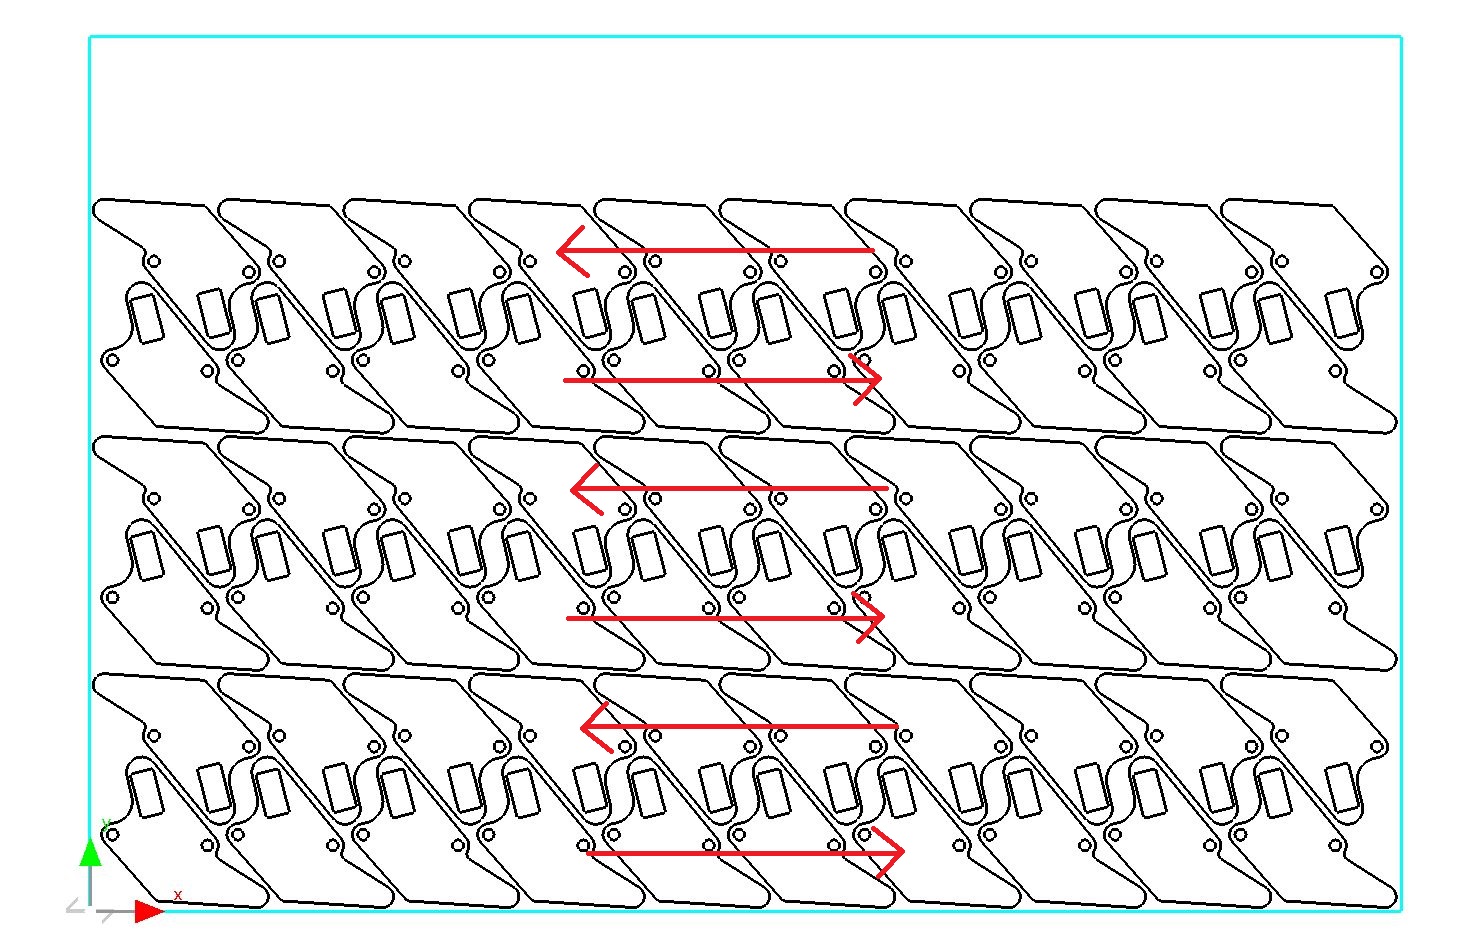
21Use CTRL and Drag to make a copy of the bottom cluster and drag it to the top of the plate. It should now fit; all parts should appear green to show they have been nested.
By manipulating the arrangement we have managed to nest an additional ten part inserts.
22Close the mode without saving so the tutorial is ready for reuse.