Tutorial videos like the one linked to at left are available on the web to assist with your learning. We do however recommend working through the tutorials on your own computer as opposed to watching the videos only.
They may be useful if you get stuck! All of our videos can be found at https://kineticusa.com/cutting-machines/software/tutorial-videos/.
This Tutorial is to show how to navigate PrimeCut NE from start to finish for a simple plate example.
In this first example we will:
▪Create a workorder (Job)
▪Add 4 parts with quantities
▪Nest them onto a single plate
▪Process the plate and schedule it
▪“Cut” the plate and reconcile it- an important step often missed by new users!
▪Close the completed workorder
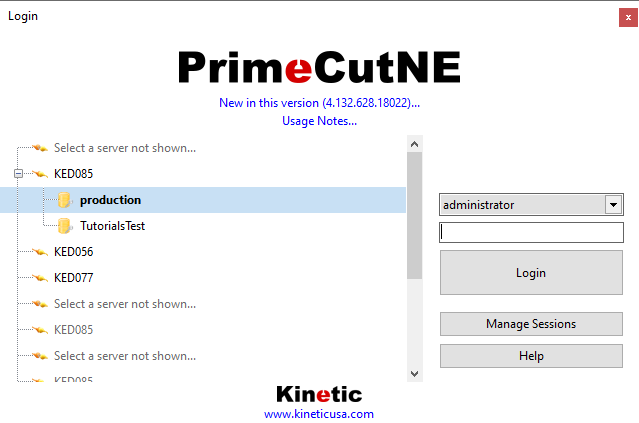
Open PrimeCutNE. Use the administrator user for these tutorials. Select the Tutorials database from your SERVER computer (KED085 in the example below).
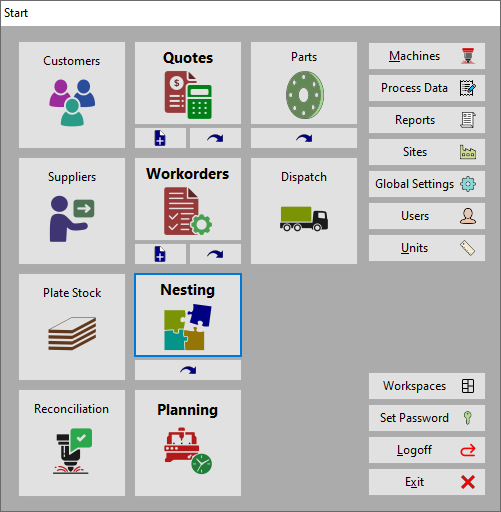
This will take you to the PrimeCut NE start screen, from where you can access all of the modes that make up PrimeCut NE. Note that if you are using custom naming then your modes may have different names to those shown below. If this is the case, match your modes to the ones shown based on their position on the start screen. e.g. 'Workorders' might be renamed 'Jobs'.