The Break Bevel Segment feature is unlikely to be used frequently, but when it is required it has the potential to save time and effort. It has its main application where a graduated, nonlinear progression into a bevel angle is required. Generally this should be taken care of when the part is drawn, because at that stage you have greater control over the exact length of the segments, but if this has not been done you may be able to use Break Bevel Segment to get the desired effect.
1Open the Workorders mode, and open the Beveling Tutorials workorder.
2Double-click on the Segment Bevel Rectangle part.
3Open the part in the Processing editor and click on the Process All button.
▪Use Plasma Bevel on Closed Paths.
▪Click the ... button to the right of the Closed Paths field.
▪Enter zero for the Leadins and Leadouts sizes; this is simply to make things more clear on the screen.
▪Enter zero degrees as the Initial Bevel Angle.
4Click OK to apply the processing.
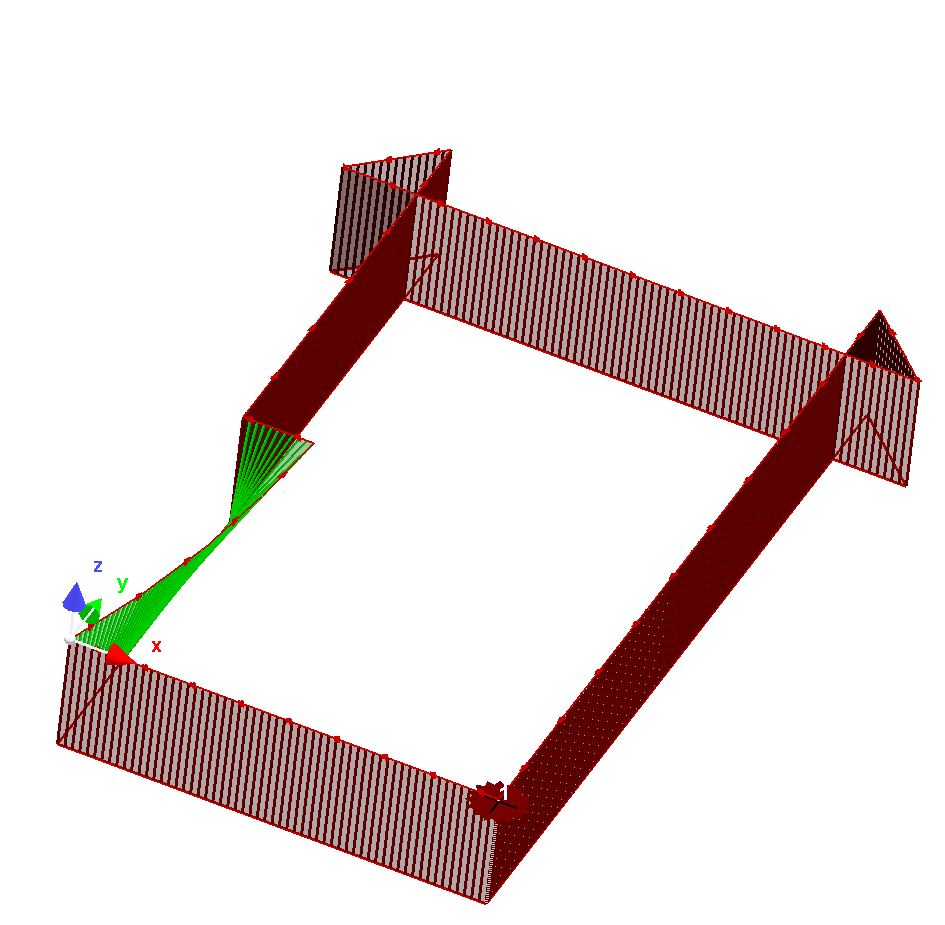
5Select the corner loop at the bottom right of the the part and delete it. (This is only if corner loops have been applied, otherwise you should see image on right.)
6Select the left hand side of the rectangle and right-click to display the context menu.
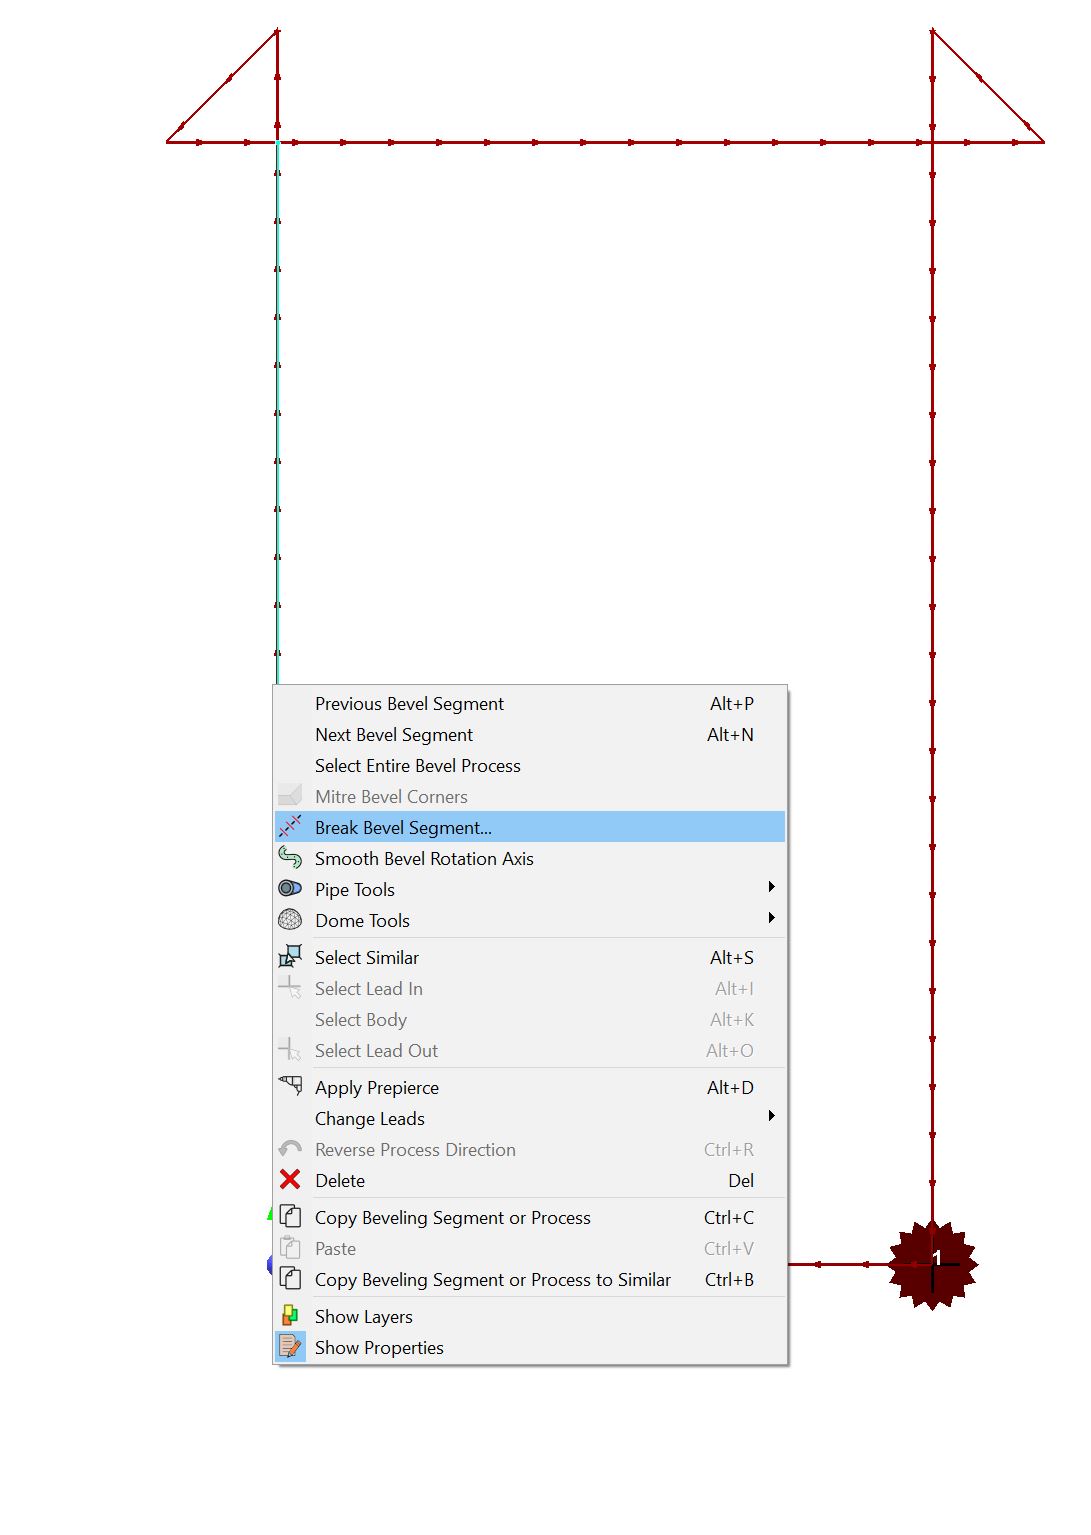
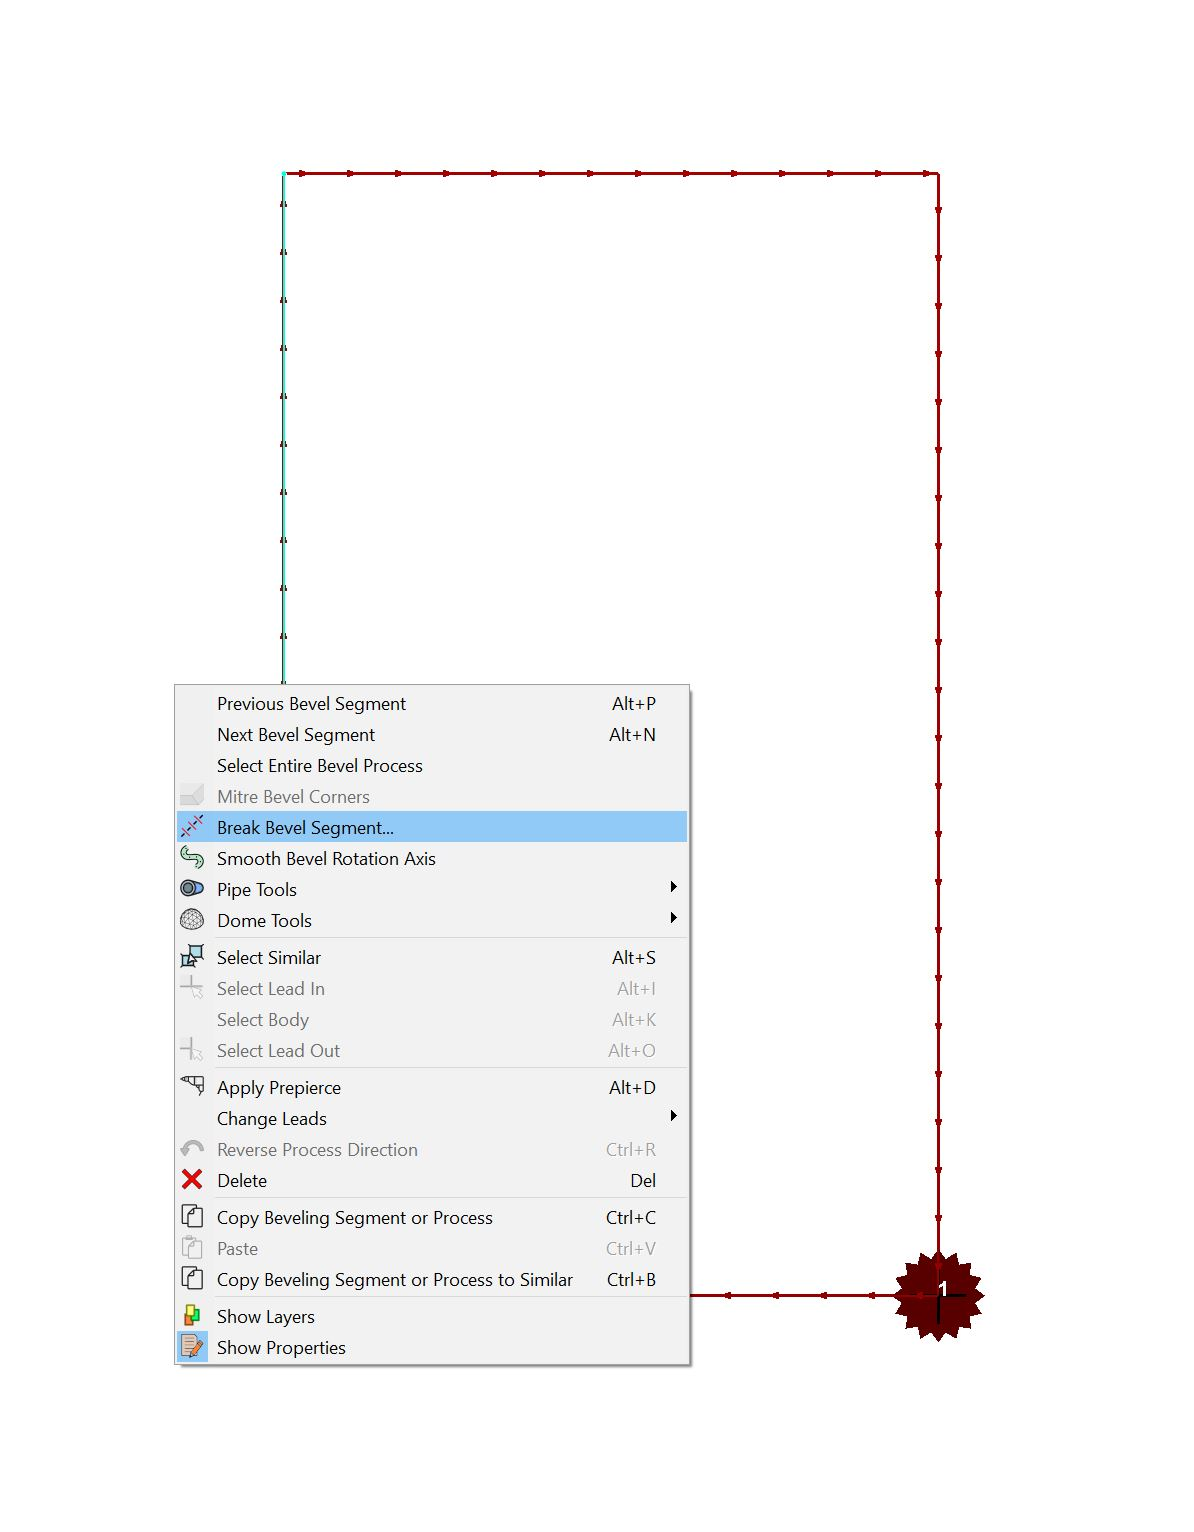
Select Break Bevel Segment from the menu.
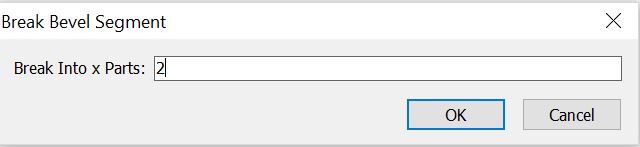
7Enter 2 as the number of segments and click OK.
8Do the same for the right hand side.
9Select the bottom segment of the left hand side. Following the steps you have just performed break it into four segments.
10Do the same for the right hand side.
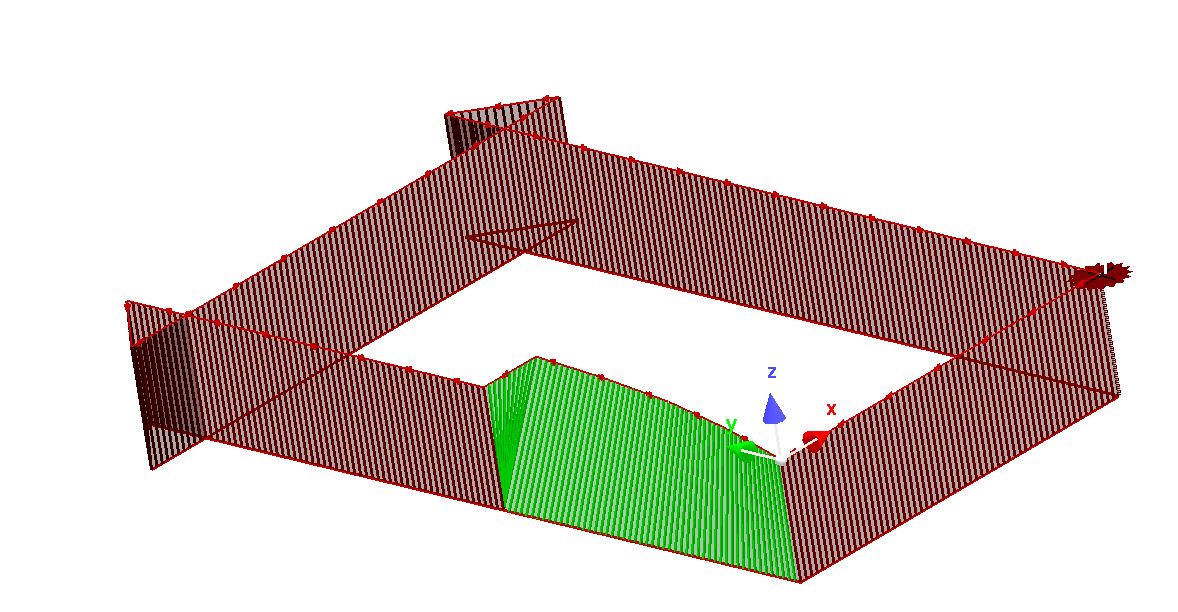
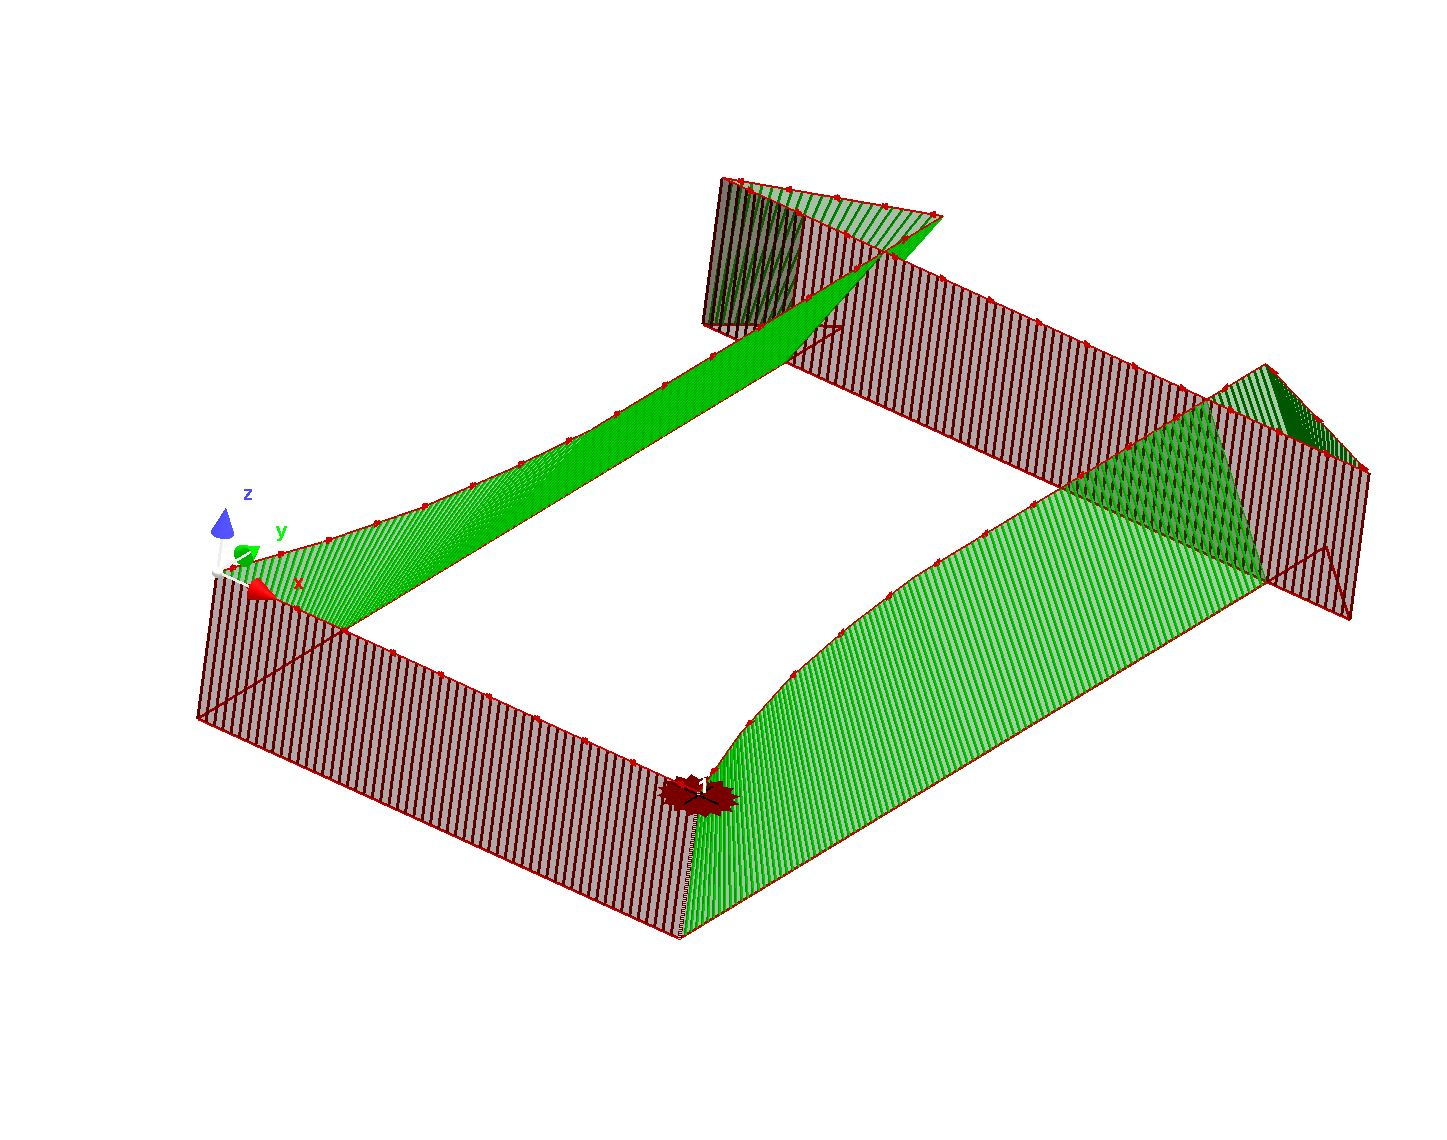
You can now change the characteristics of each of the segments you have created independently.
11Select the bottom segment on the left hand side so that you can view its properties.
▪Change the Bevel Angle Change value to 13º
12Select the next segment up to view its properties.
▪Change the Bevel Angle Begins to 13º
▪Change the Bevel Angle Change value to 9º
13Select the next segment.
▪Change the Bevel Angle Begins to 22º
▪Change the Bevel Angle Change value to 5º
14Select the next segment.
▪Change the Bevel Angle Begins to 27º
▪Change the Bevel Angle Change value to 3º
15Select the final (longer) segment on the left side, and change its Bevel Angle Begins value to 30º.
16Select the bottom segment on the right hand side.
▪Change the Bevel Angle Begins to 13º
▪Change the Bevel Angle Change value to -13º
17Select the next segment up.
▪Change the Bevel Angle Begins to 22º
▪Change the Bevel Angle Change value to -9º
18Select the next segment up.
▪Change the Bevel Angle Begins to 27º
▪Change the Bevel Angle Change value to -5º
19Select the next segment up.
▪Change the Bevel Angle Begins to 30º
▪Change the Bevel Angle Change value to -3º
20Select the final (longer) segment, and change its Bevel Angle value to 30º.
Reminder: ALT + Right click rotates the view.