1Create a new workorder with the invoice number (or purchase order) "Communicating with TouchCut" and select "Tut Customer 1" as the customer. Using Open Part from Database, add the MildSteel2 part to the workorder, with Number Required as 2.
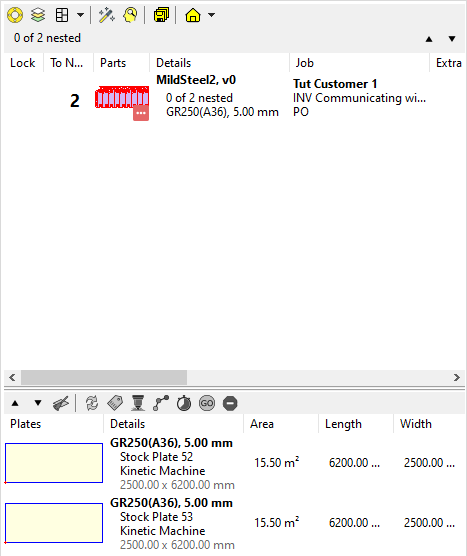
2Open the workorder in nesting, saving when prompted. Click Open Plate and then click Create New Plate ![]() . Set the material to GR250(A36), 5.00mm, Num Plates to 2, and dimensions as 2500mm wide and 6200mm long. Add the plate to stock.
. Set the material to GR250(A36), 5.00mm, Num Plates to 2, and dimensions as 2500mm wide and 6200mm long. Add the plate to stock.
3Click Auto Nest in the top left hand corner of the screen to nest both parts onto the two plates you just created.
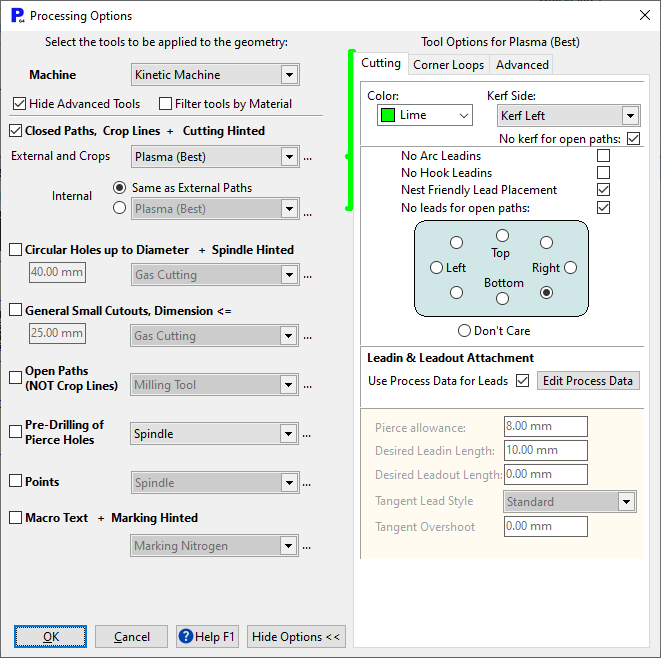
4Select both plates in the explorer on the left and click the Process button. Process both plates using the settings shown below.
5Select both plates again and Click the Schedule button ![]() .
.
6Tick the Ask For Filenames box, and click OK.
7Home.
8Click on the Planning mode to open it.
In the screen that opens, you should be able to see the time bars representing plates scheduled to be cut. Drag the bars around to reorder the cutting schedule. For example you can order the plates to be in groups of their plate type:

The order in TouchCut would be as follows:
You can drag the plates between machines.
9Select one of the plates and drag it to the flame table timebar. The following dialog should open.
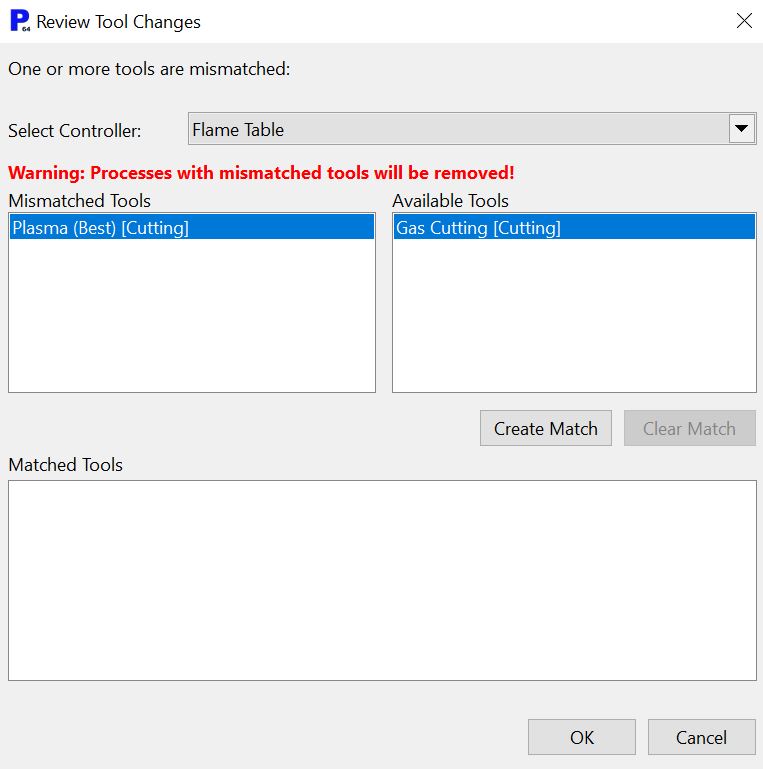
10Select Plasma (Best) and Gas Cutting, and click Create Match. Click OK and OK again on the popup.
11The timeline bars will now look like this.

12Drag the plate from the flame table back down to the Kinetic Machine.
13Once again the dialog should open.
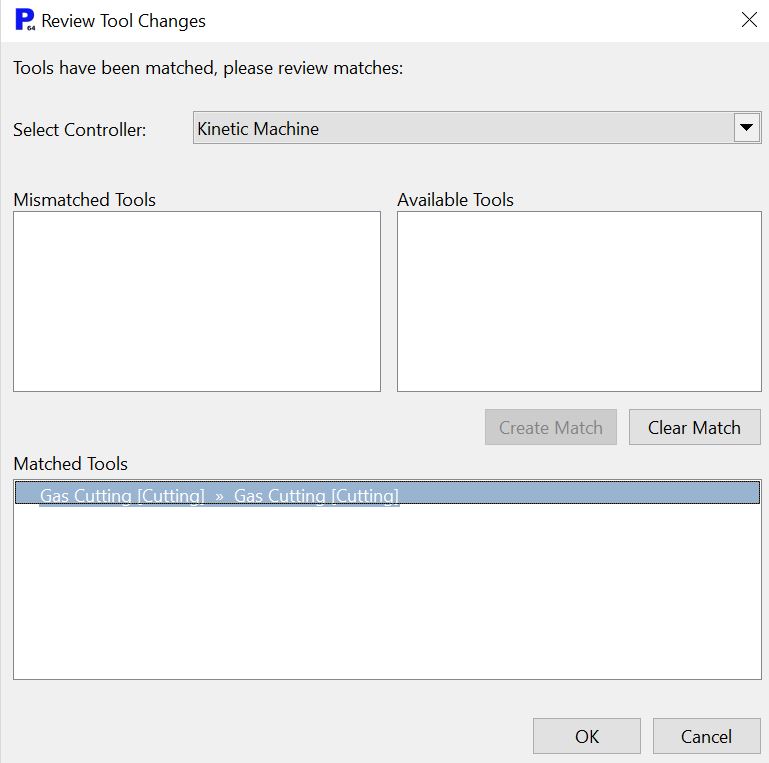
14Clear the match and Select Gas Cutting on the left and Plasma (Best) on the right.
15Click Create Match. Select the checkbox to the left of the OK button. Click OK.
16Within the Detailed Plan tab, select the Kinetic Machine tab and Click the Auto Schedule button ![]() . This rearranges the schedule by due date.
. This rearranges the schedule by due date.
If there are a mixture of workorders on a plate, and the soonest one is the due date given to the whole plate.
When the kinetic machine schedule timebar background in the screenshot is blue, it is to show the machine is on (nothing to do with the Auto Schedule button).
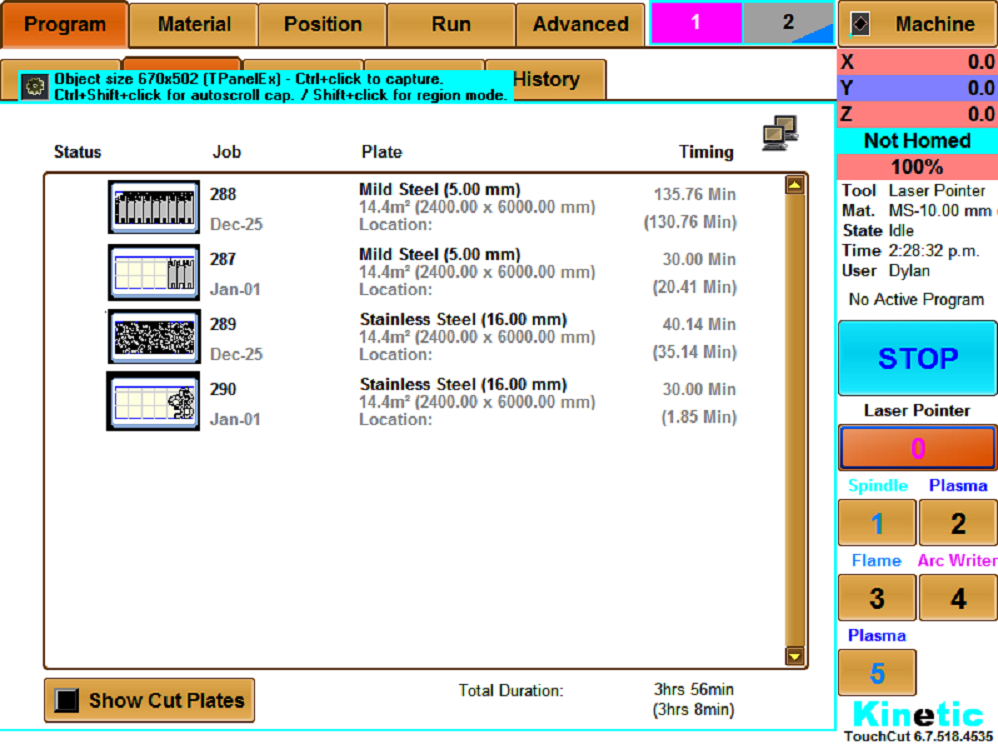
TouchCut now displays the updated schedule:
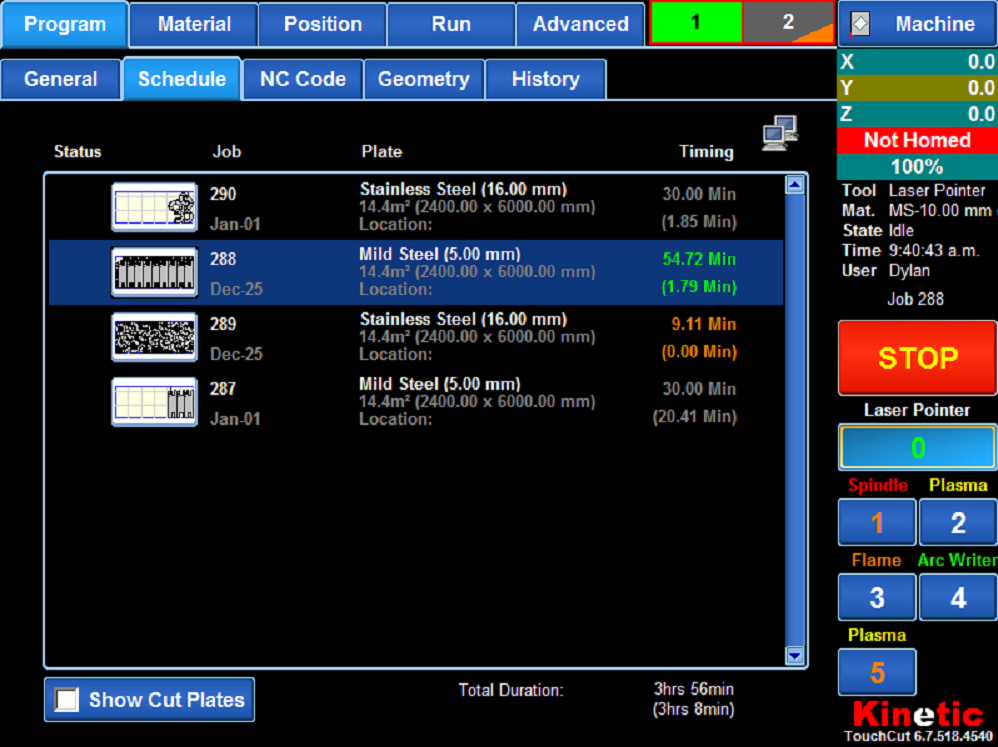
So the machine operator can see the order you want them cut, but can activate any of the scheduled plates.
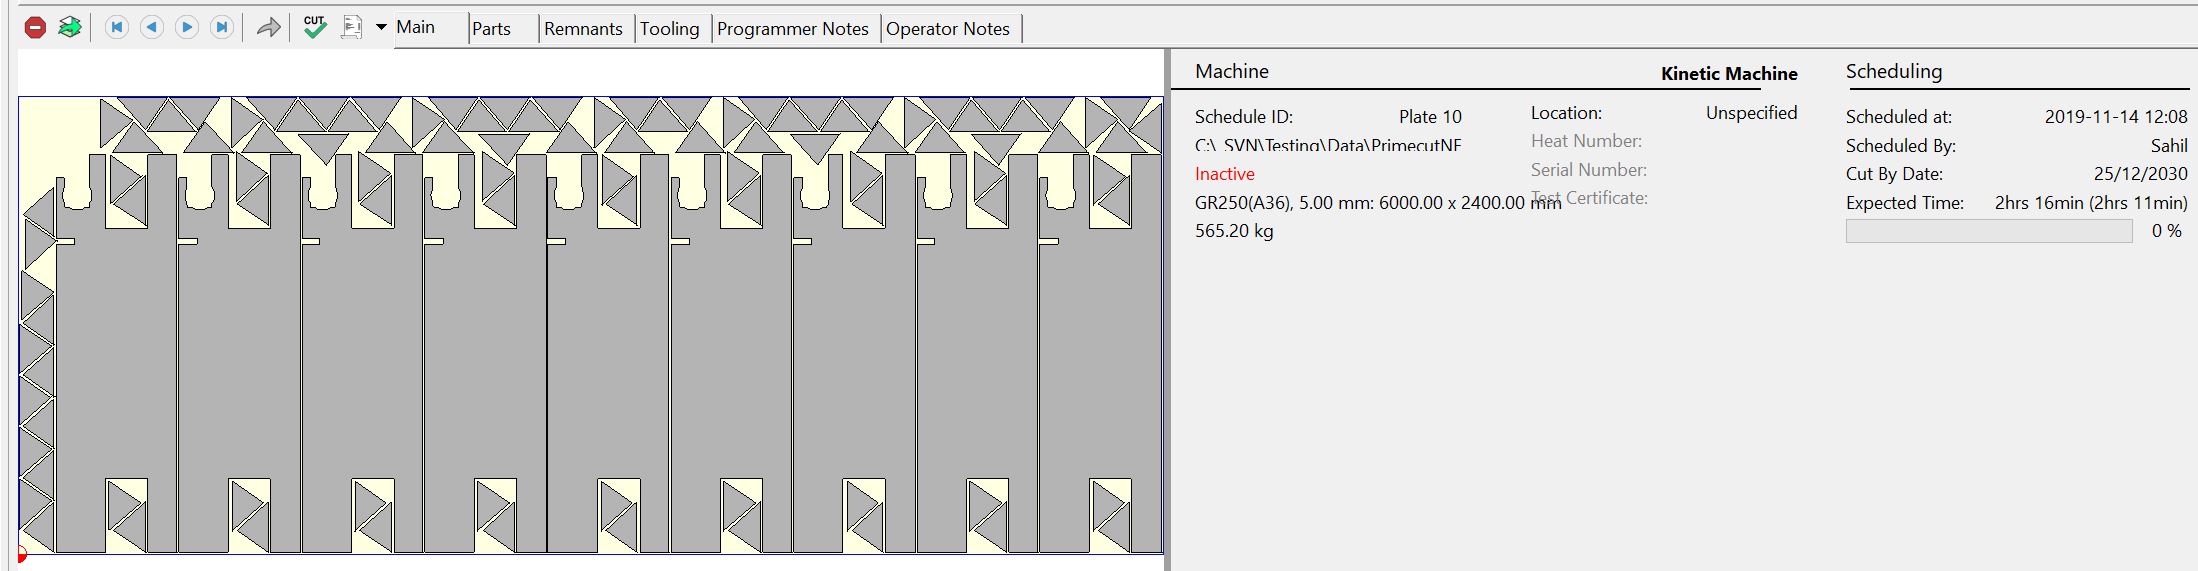
17In the bottom window, you can see the selected plate, and its details.
18In the top left corner we can see the Unschedule ![]() button, which removes the plate from the schedule.
button, which removes the plate from the schedule.
19Open Plate in Nesting ![]() , opens the plate in nesting mode, without unscheduling the plate. This is useful if you want to review the plate in more detail.
, opens the plate in nesting mode, without unscheduling the plate. This is useful if you want to review the plate in more detail.
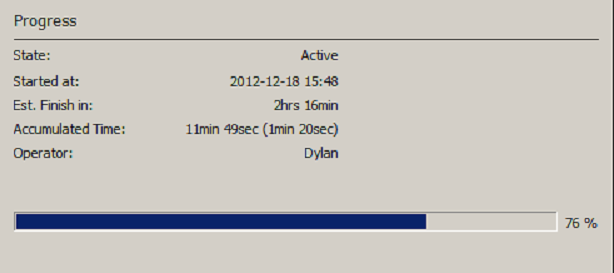
20Once the TouchCut operator has activated the plate, the plate becomes locked, and cannot be unscheduled. The timebar now is a blue/green, and has a key symbol. The Unschedule button is now grey.

In the above image the thin bar at the bottom of the activated plate shows how far the plate is through it's cutting processes.
This bar is repeated in the plate summary at the bottom of the screen
If the emergency stop button is pressed then the timebar looks like this.

When a plate is cut and reconciled, it should appear in the list of closed plates, in the right hand window.
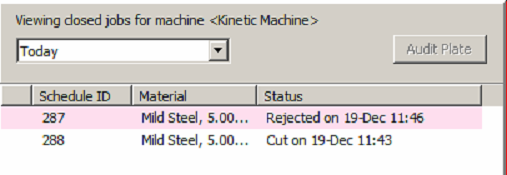
The red highlighting on the top plate is to show that it was rejected.
The plate underneath was reconciled.
Clicking on the cut plate, we see its details appear in the bottom window.
By clicking on the Parts tab we can see how many parts were successfully cut

The red highlighting helps to indicate that a part was rejected - the number rejected can be seen
If the Notes tab is yellow, it is because there is a note written with the plate by the operator.
The operator is forced to write a note before he can reject a plate.
Open Global Settings from the start screen. Click on the Planning tab. Note the settings for the length of time allowed for scheduling.
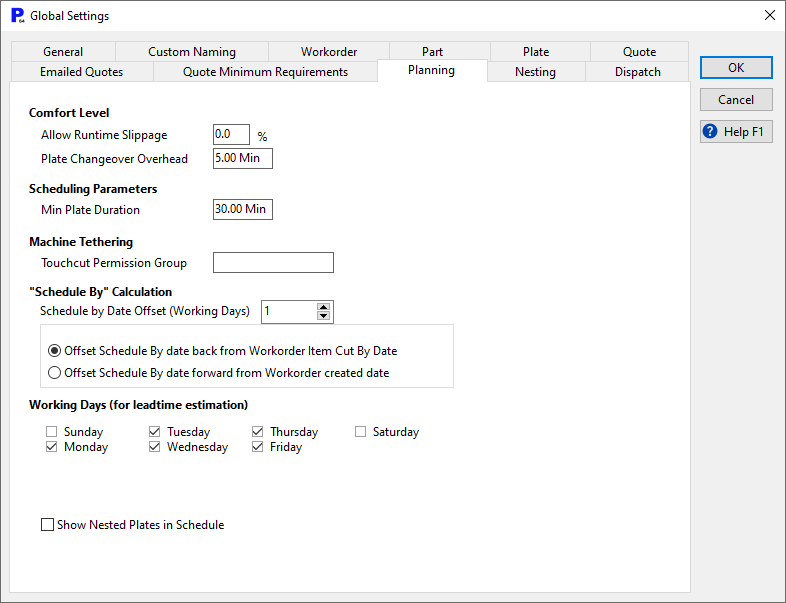
Runtime Slippage is a time allowance per unit runtime.
Plate Changeover Overhead is the time allowance per plate
Min Plate Duration makes each plate take a minimum of time to process.