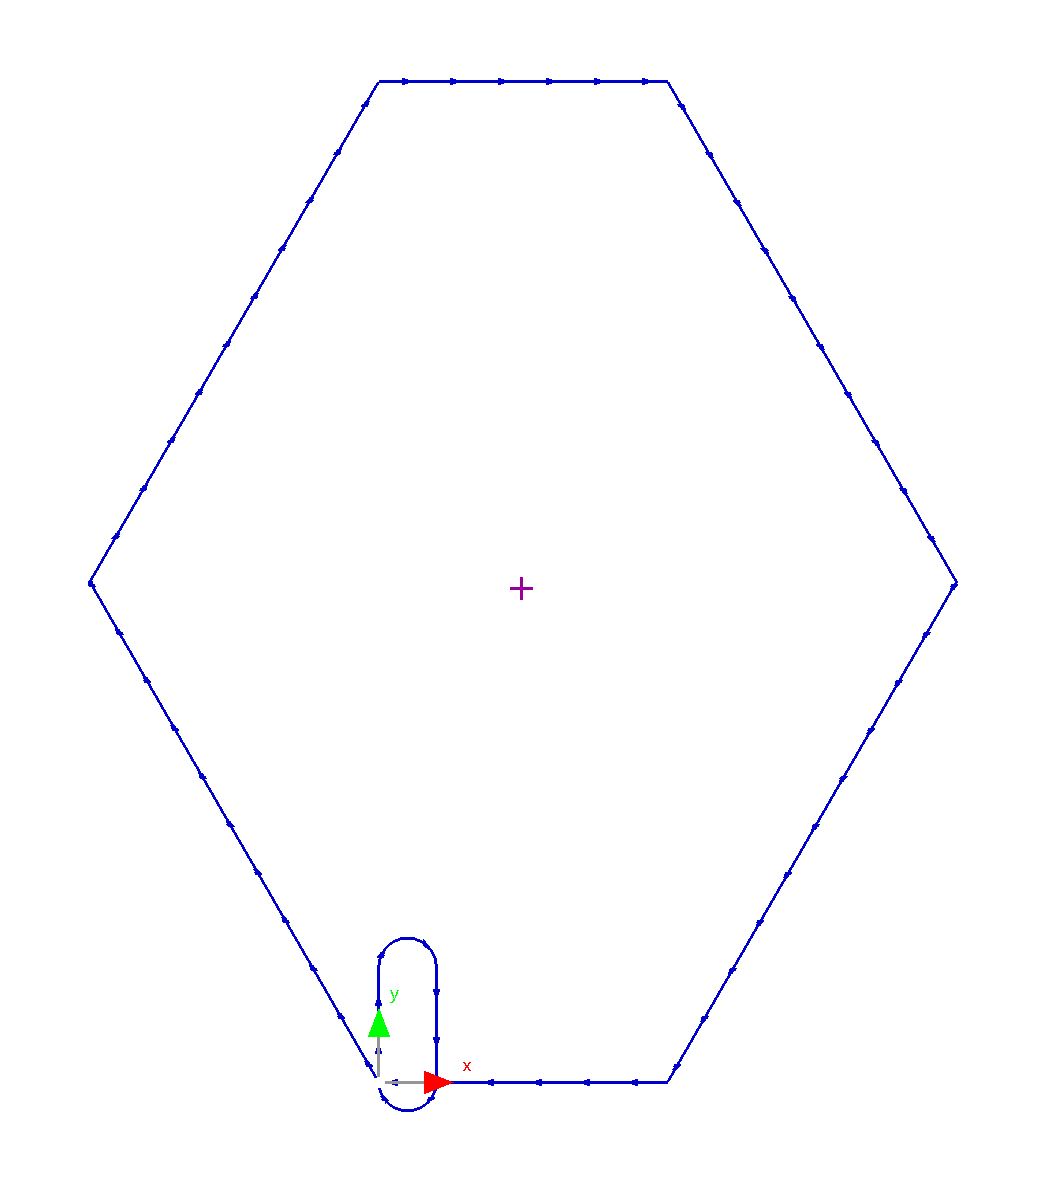
The slot will be created from a rectangle and two arcs. The top and bottom line of the rectangle will be used as construction lines for the arcs and then deleted. The two remaining lines and the arcs will then be joined into a path
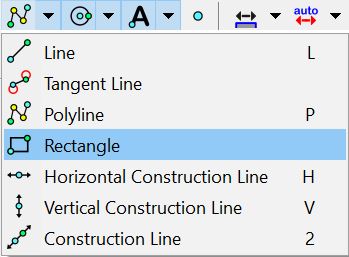
1Select the Rectangle tool:
2Select the start point (0, 0).
3Select the width.
Press the X key, Enter 10mm / 0.4".
4Select the height.
Press the Y key, Enter 20mm / 0.8";
Press the ENTER key.
5Select the Arc Centre-Start-Swept (clockwise) tool:
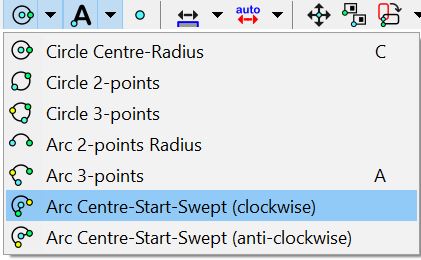
Take note of the 'clockwise' aspect. This should be kept in mind when selecting the points for the arc.
6Ensure the End Point and Mid Point snaps are on. ![]()
7Select the center point of the top line of the rectangle. (Note: you may wish to zoom in to make selection easier)
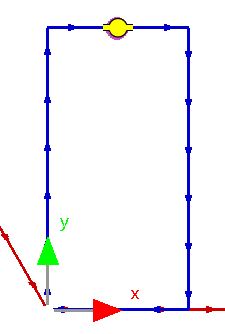
8Select the left end point of the top line of the rectangle:
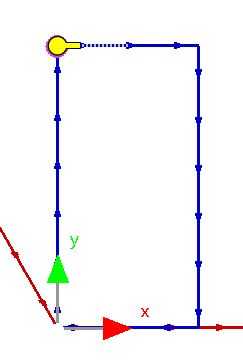
9Select the right end point of the top line of the rectangle:
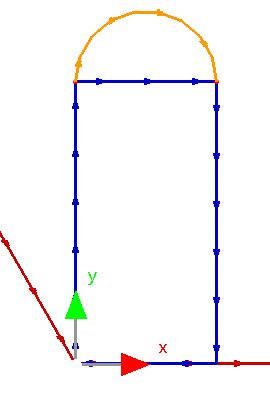
10Repeat steps 7 to 9 for the bottom line of the rectangle (center-right-left).
11Select the rectangle; right-click to view the popup context menu:
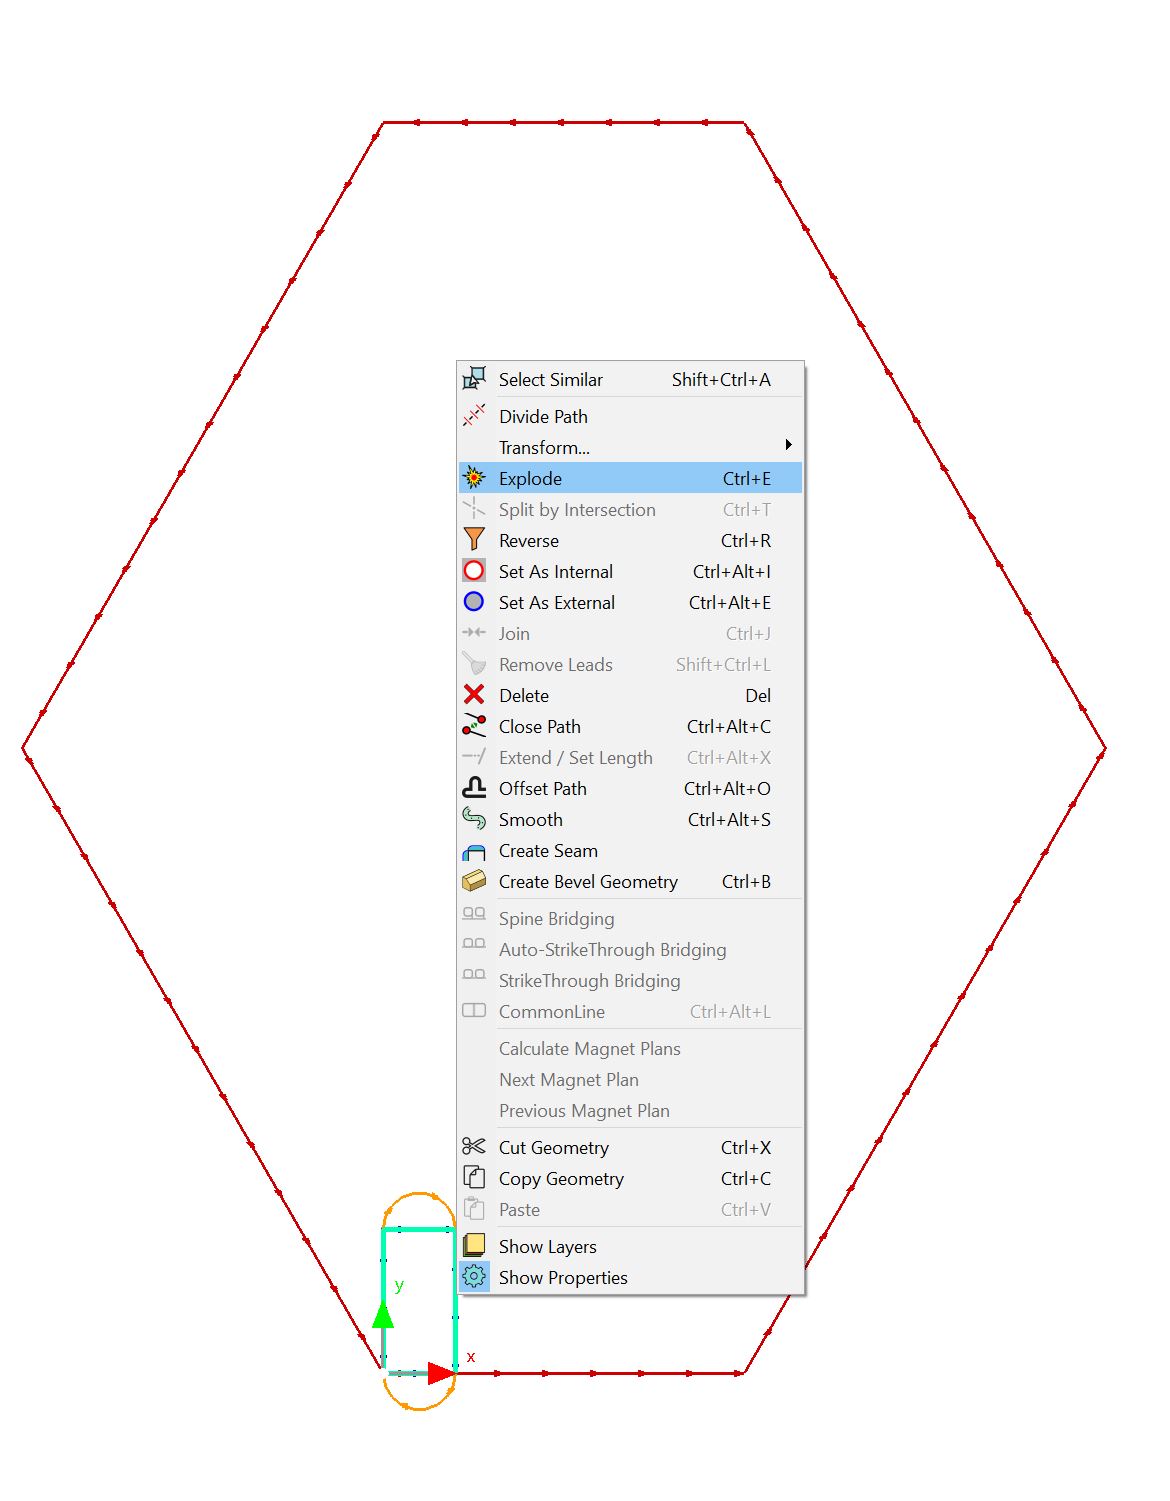
12Click on Explode. This will break the rectangle into its geometric components, which can then be selected individually.
13Select the top and bottom line from the exploded rectangle.
Note: if you have trouble selecting only the two lines (e.g. the hexagon gets selected also) try dragging a left-to-right selection rectangle around each line, or deleting one line at a time
14Press the DELETE Key.
15Select the two side lines and the two arcs; right-click to view the popup context menu.
16Click on Join. These four features are now joined to form one geometric entity.
