Parts on the plate may be arrayed quickly and easily using the array handle. This is the cluster of 4 squares which appears above and to the right of a part when it is selected. This handle will only appear if a single part (or part array) is selected, you cannot array several parts at once this way; you can however create a cluster part which can then be arrayed.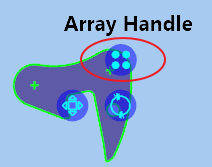
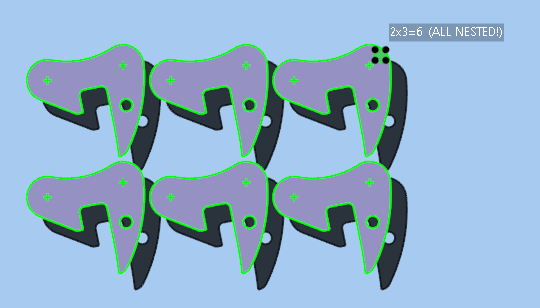
Click and drag on the array handle to modify the number of rows and columns. The initial default spacing is such that the parts are tightly packed with just the plate gap between them; it can compute small interlocks also to make the array as compact as possible. Note it tells you how many in the array and also how many left to nest as you are changing the row and column counts.
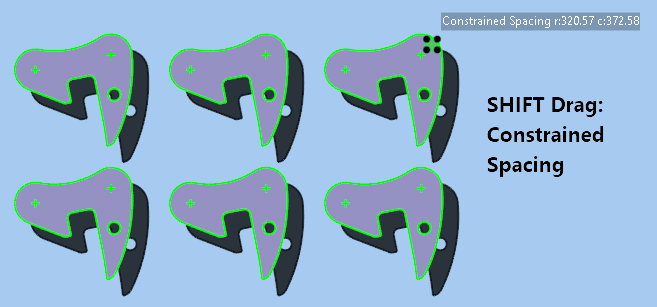
Hold down SHIFT and drag on the array handle to adjust the row and column spacing, within Gap Size constraints. You can increase the spacing, sometimes useful to spread an array to all edges of a plate to increase inter-part spacing, but it will prevent you spacing too close or overlapping.
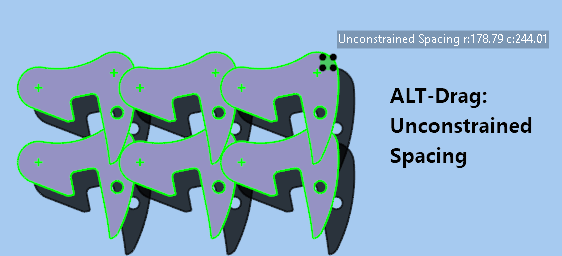
To override this and pack more tightly hold down ALT, ie ALT-Drag the array handle to adjust spacing without constraint.
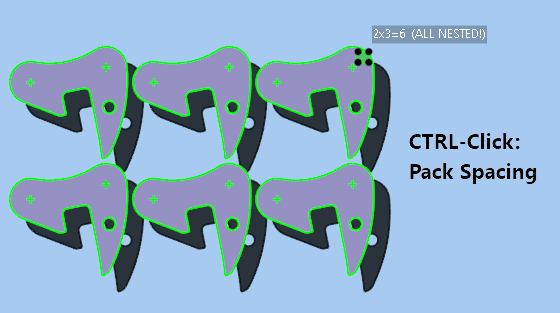
Finally, to restore the default minimum constrained spacing, you can CTRL-Click the array handle.
|
|
|
.