A useful feature of PrimeCut is its ability to 'Bump Nest' parts. If a part slightly overlaps the edge of the plate or another part, PrimeCut will attempt to nudge the part into a valid location.
1With both parts still selected drag then close to the edge of the plate so that only one part hangs slightly over the edge, holding the mouse button:
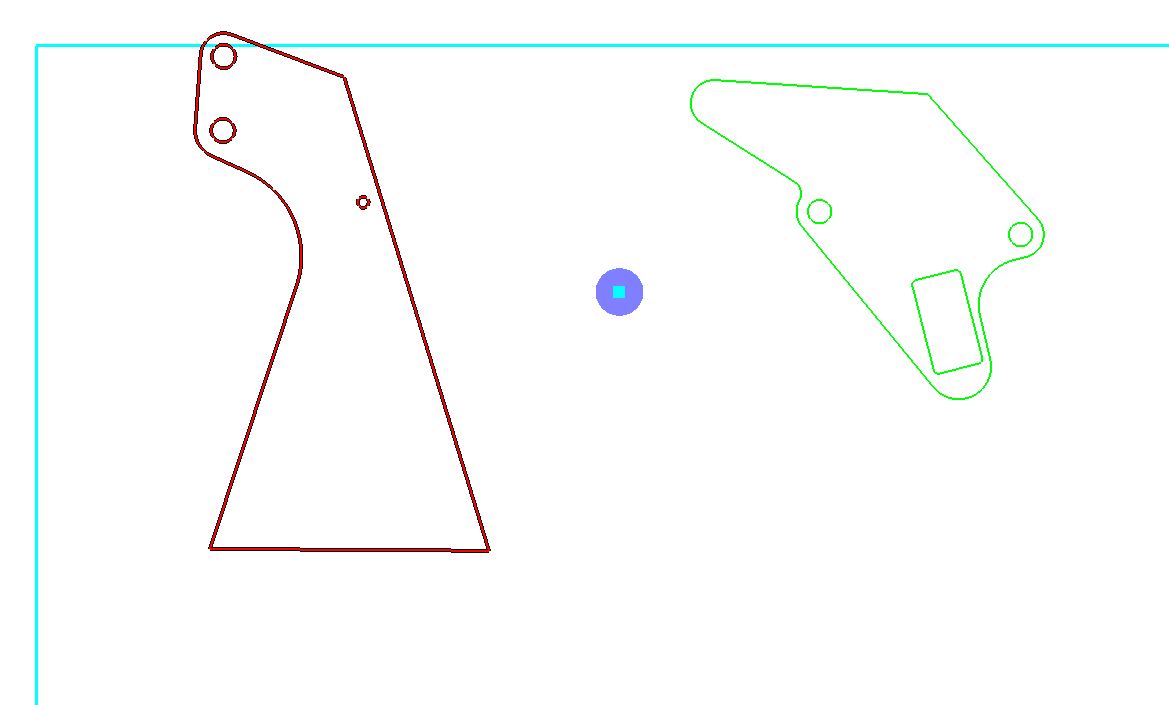
Notice that the outline of Part 3 part insert has turned red, indicating an invalid placement.
2Drop the parts in that location by releasing the mouse button. The Part 3 part insert has been nudged, while the Part 1 part insert has remained in the same position.
3Select only the Part 1 part insert, and move it so that it overhangs the Part 3 part insert:
Release the mouse button. It will be nudged so that it has a valid placement.
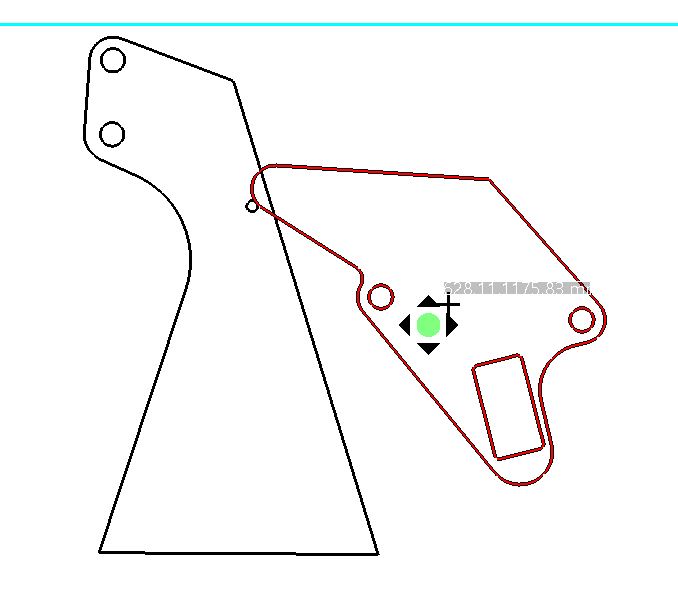
4Move the Part 1 part insert to the position shown below:

In this case too much of the part is overlapping and PrimeCut will not attempt to nudge it. Parts that are left in invalid positions such as this are termed Floating.
In some cases you may wish to place a part in a small space, but PrimeCut prevents this due to the gap settings of the plate. In this situation we can 'Force Fit' the part so that it will nest wherever it is dropped.
5Select the Part 1 part insert right-click to see its popup context menu and select Force Fit.
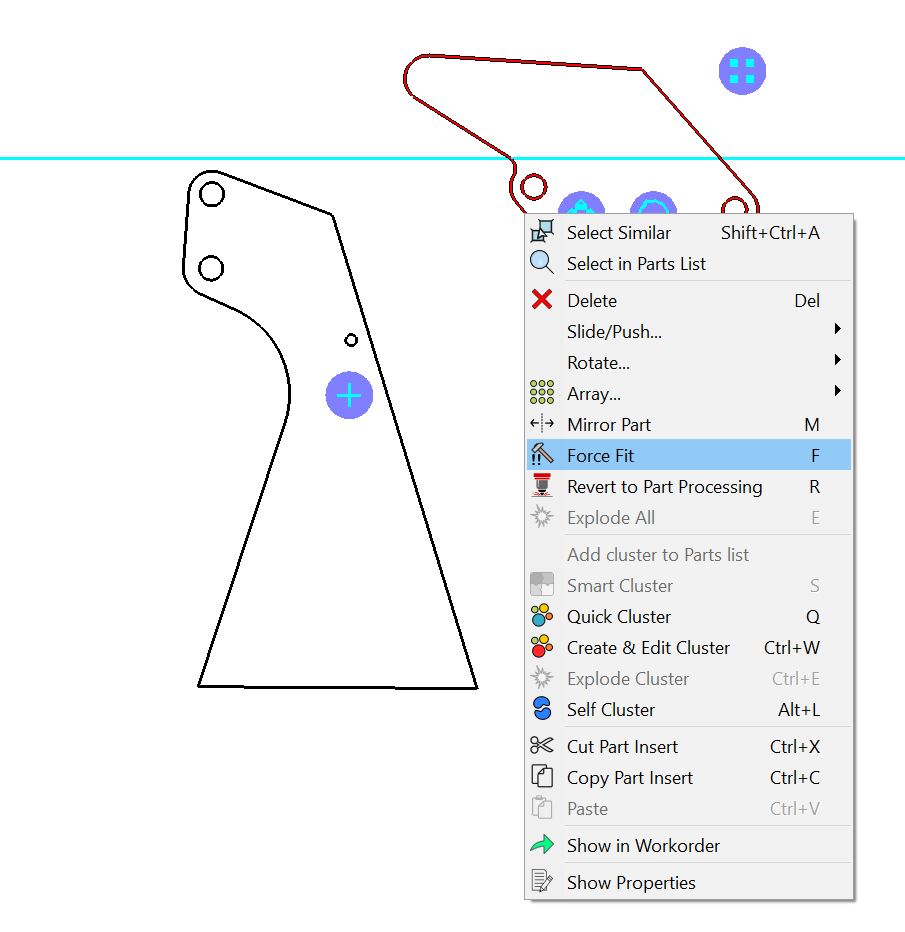
The part is now colored green indicating that it is in a valid position. You could place it over the Part 3 part insert and it will still be treated as a valid placement. Care must be taken when force fitting parts to ensure there are no overlaps.
The Select Items button in the nesting editor will allow you to select all force fit parts, or all floating parts.
6Right click the part again and disable Force Fit.
Note the following nudging keyboard shortcuts:
▪The arrow keys (Up, Down, left, Right) can be used to nudge the part by a single nudge width.
▪Holding ALT + arrow keys (Up, Down, left, Right) can be used to nudge the part by the furthest possible distance before the part placement would violate either the minimum part gap or edge gap of the plate.