In order to create an efficient nest it may be useful to rotate parts. Here we will use rotate to arrange the two parts into a compact pattern suitable for subsequent nesting.
When a part is selected the circle that appears is used for rotation. As with the square used to move a part you can use two methods; either 'click and drag', or Click and release then move and Click to drop. The '+' sign that appears when parts are selected is the pivot point for the rotation.
By holding down the SHIFT key, we limit the rotation to 15 degree increments.
1Select the Part 3 part insert.
2Hold down the SHIFT key and move the circle to rotate the part. You should see the part moving in 15 degree increments.
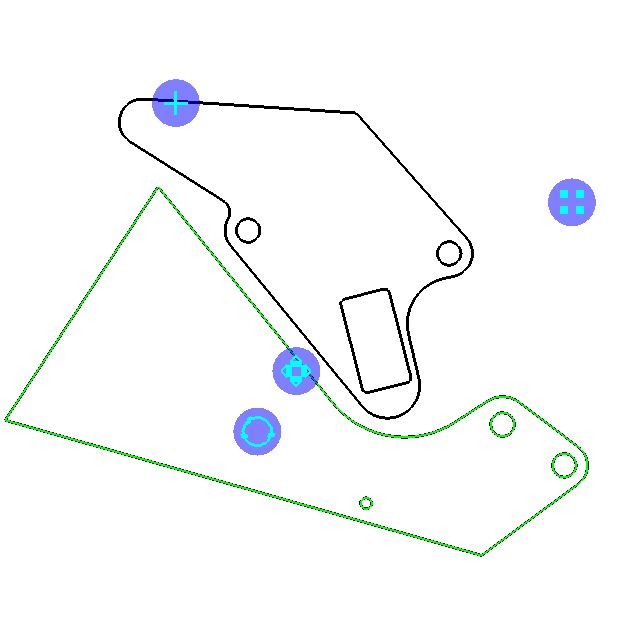
3Without using the SHIFT key rotate and move the part to get the pattern shown below:
Note the following rotation keyboard shortcuts:
▪Parts can be rotated by 90 degrees pressing the square brackets keys. The '[' key results in clockwise movement while the ']' key results in anti-clockwise movement.
▪5 degree rotation is achieved by pressing the square brackets keys while the ALT key is held down. The 'ALT+[' key results in clockwise movement while the 'ALT+]' key results in anti-clockwise movement.
These shortcuts also rotate the cell, not the entire insert, so the array handle remains at the top right. When using them on an array, the array will autospace itself automatically to pack the rows and columns. It will also adjust any flexible leadins automatically to fit the new configuration.