See also DXF and DWG Import of Parts: Working With layers
The Area Layer (if present) has two roles: It is used to define the area and hence ship weight of the part, and it is also used when occupying plate space when nesting. When nesting we use both the area layer and whatever geometry and/or area is defined by the parts and its processing in combination. When calculating Ship Weight ONLY the Area layer is used if it exists.
Area Layers are required when part boundary defining geometry contains Open Path segments, as is common with compound beveled parts (see Create Bevel Geometry ). Part imports which can read bevel information also create Area Layers automatically ( see DSTV (NC1) Part Import , STEP File Import and and 3D CAD Native Part Import Plugins).
It may also be needed if there are additional Closed Paths which do not form part of the part boundary, for example marking regions.
You can create or delete Area Layer using the Area Layer buttons on the main vertical toolbar.
 No Area Layer |
 Part Area is statically represented by closed paths in the Area Layer") Area Layer (Olive green coloring) |
Any edits to the visible geometry do not affect the invisible stored Area Layer (this has always been the case, it is just more apparent using Filled Part Display). For example if the geometry below was selected via a dragged window and then moved; the area layer stayed put, and this can cause unexpected results in nesting and reporting:

Editable Geometry has been changed; the Static Area Layer does not update
Solution: Delete and recreate the Area Layer
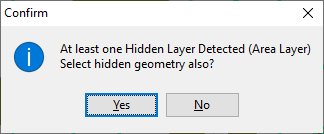
The area layer in this case can be corrected by recreating it using the Area Layer Button. If however before the move you had done a select all (CTRL+A), and answered "YES" to select geometry in hidden layers, then the area layer would also have been selected and moved with the geometry: