Compound bevels are typically used for weld preparation. They involve the bevel cutting torch (flame or plasma typically) making multiple passes at different angles along an edge or edges.
The tutorials contain examples of how to create these bevels manually, see Multiple Bevel Wizard - 'Bottom Bevel + Land' and Multiple Bevel Wizard - 'K-Bevel': In these examples a number of steps are followed by the user, namely:
1.The contour which is to be compound beveled is first exploded
2.The segments making up the edges to be compound beveled are joined (if there are more than one to create a bevel edge).
3.The bevel edge is selected and the Create Bevel Geometry Wizard is invoked.
4.The user selects the bevel type: Top Bevel and Land, Bottom Bevel and Land, Double Bevel or K-Bevel, and specifies the bevel geometry.
5.The wizard creates an area layer automatically, and creates offset multiple bevel-hinted paths as required
6.The user rejoins the geometry, usually resulting in the topmost buts of the compound bevel being joined into a closed path with other usually vertical edge segments.
7.The user goes to processing, and processes the paths. The bevel hints are applied in the background so that the multiple cuts are correctly beveled
8.The user checks the sequence to ensure the cuts are order "bottom-to-top", and checks leadin placement to try to ensure the part is held in the plate by an as-yet-uncut vertical edge when the bevels are being cut.
NOTE PrimeCut 4.132.638 introduced a new feature automating most of these steps, QuickPrep:
The QuickPrep button is found on the main toolbar of both the geometry and processing editors, when working on parts (It is not available when processing plates). The function works much the same in both modes, but in processing mode it gives you the option to select the bevel tool and will automatically apply the bevels, while in geometry mode it just hints the created bevel paths (more like the traditional, manual way described above).
Example 1
We will apply a K-Bevel to the top edge of this part:
1Open the workorders mode and open the workorder with the invoice number QuickPrep.
2Open the QuickPrep K Bevel part.
3Go to the Processing Editor, and select QuickPrep.
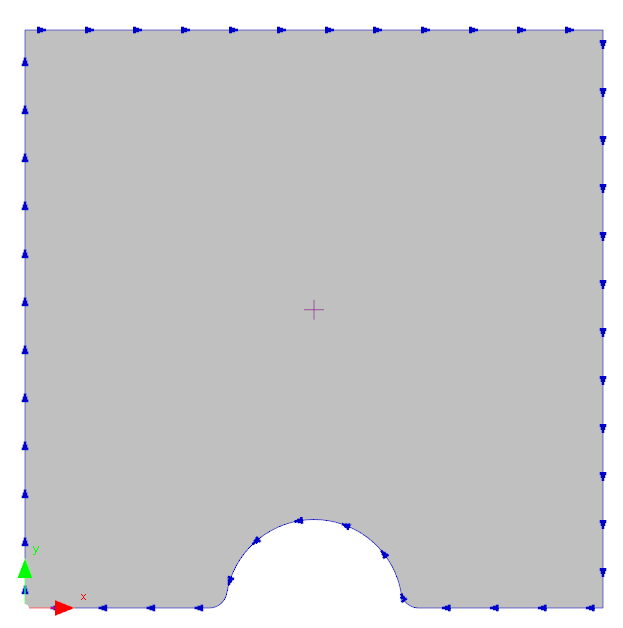
4Select the edge we want to bevel by clicking the top edge segment of the part. You can deselect edges by simply clicking them again.
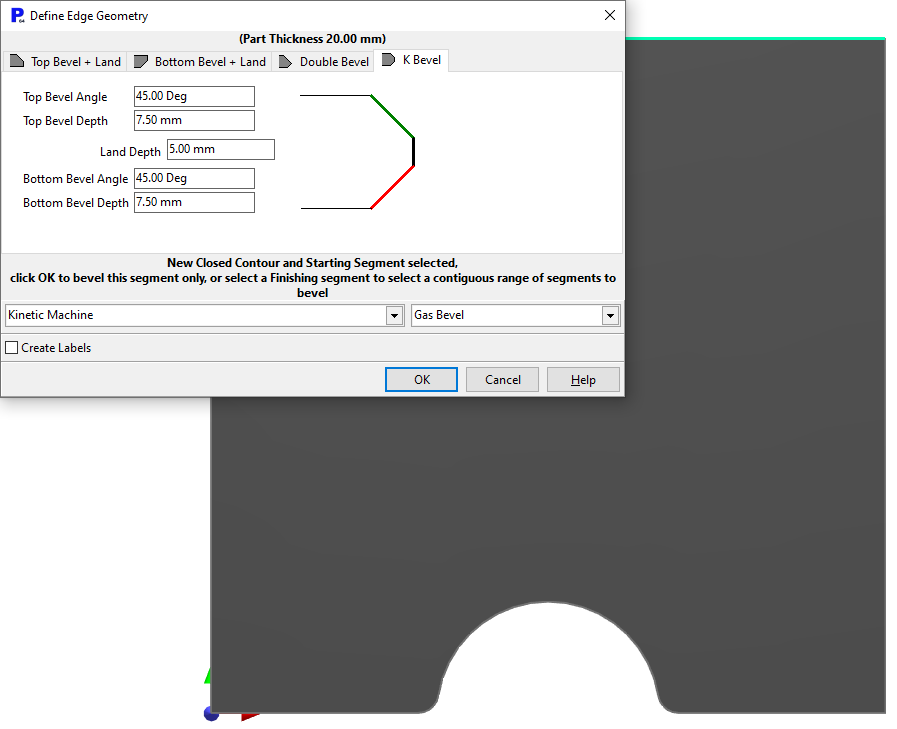
5Select the K-Bevel tab and define the compound bevel geometry we require by typing in the angles and depths as shown in the image below. Also select Gas Bevel as the tool to use.
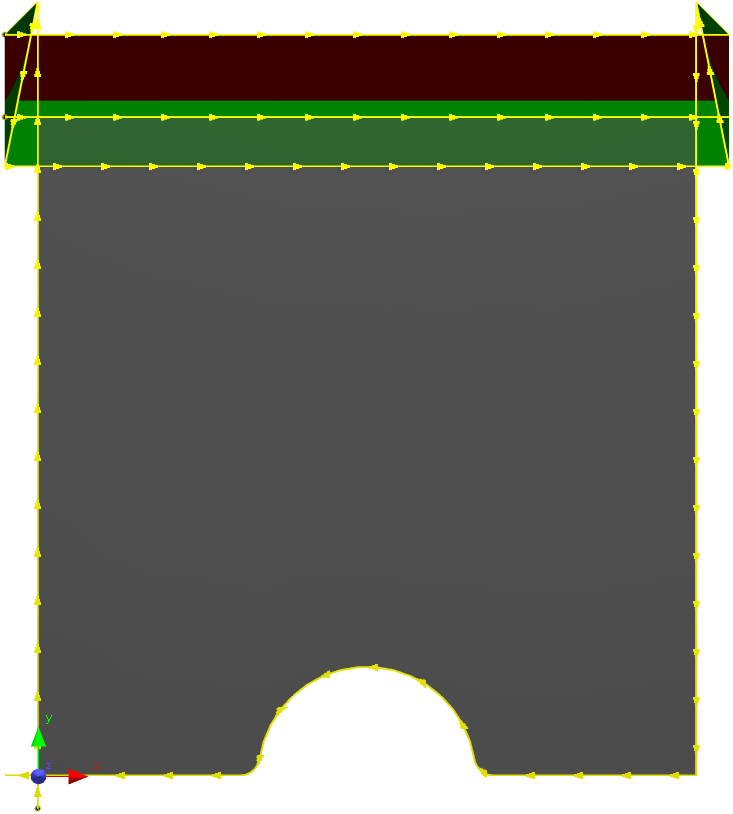
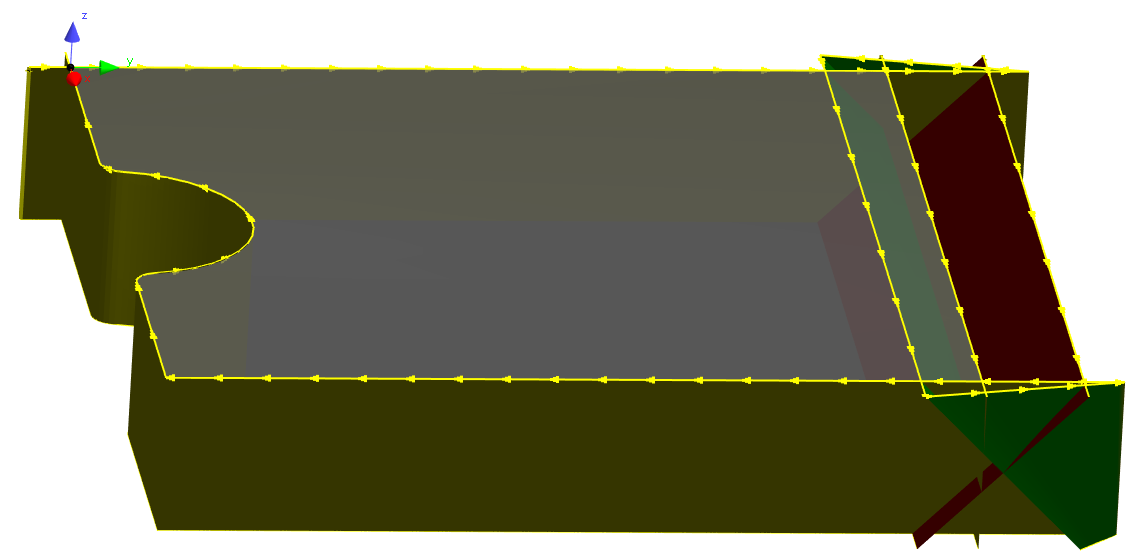
6Click OK and the QuickPrep wizard will perform its magic. It creates any area layers and offset geometries needed, does the joining, applies bevel hints and applies the bevel processes, resulting in:
|
|
Example 2: Compound Bevels
This time we will apply a 45 degree top bevel and 15 mm land to the bottom edge of the part, composed of multiple segments including the notch.
1Remove the beveling processes and geometry QuickPrep created in the previous tutorial by clicking the undo button twice.
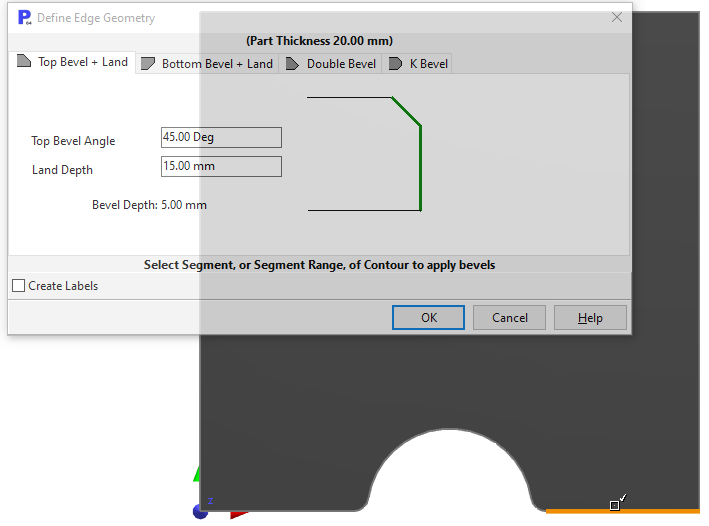
2Click QuickPrep. Select Top Bevel + Land. Choose an angle of 45 degrees and and a land depth of 15mm.
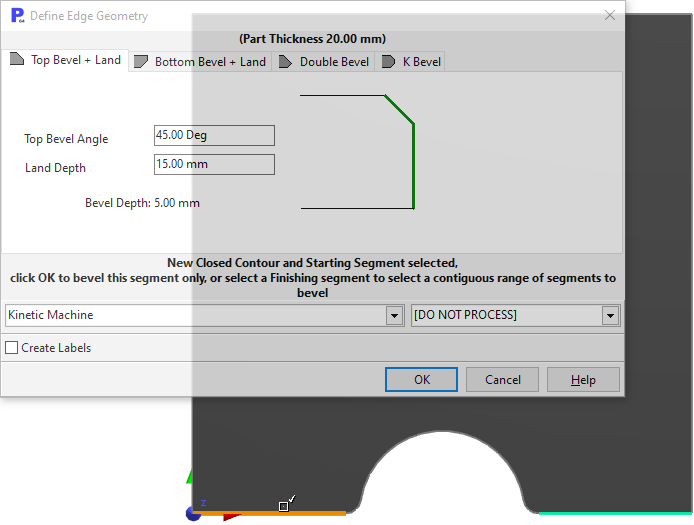
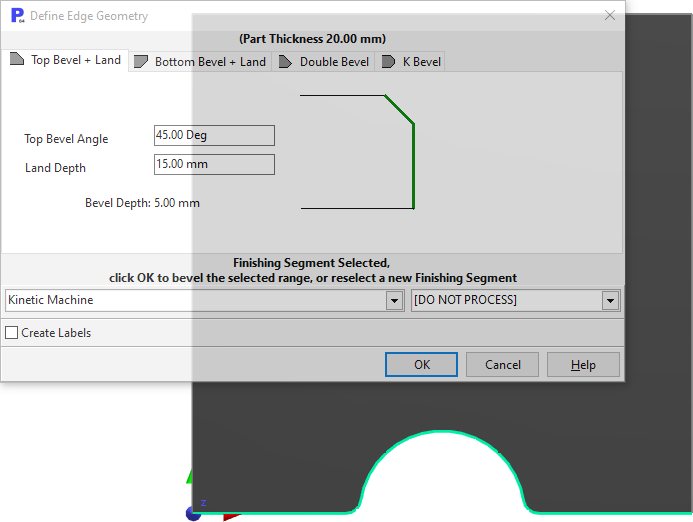
3To select the entire bottom edge of the part, select the bottom right segment, making it the start of chain, and then select the bottom left segment as the finish. QuickPrep will select all of the segments in between, following the usual cutting direction (clockwise for external cuts).
NOTE To select the entire contour select an edge segment as the start, and next select the edge segment immediately preceding it as the finish.
Select the starting segment of the bevel (bottom right) |
Select finishing segment of the bevel (bottom left) |
...QuickPrep automatically add all segments in between |
4Select Gas Bevel as the tool. Clicking OK results in the geometry shown below. This geometry is not ideal for 45 degree bevels, and the fillets get squared off as a result.
")
(looking from underneath)
5Close the mode without saving.