The workorder should be closed when we are done with it, so that it no longer clutters our list of active workorders. Note that it will still be in the database.
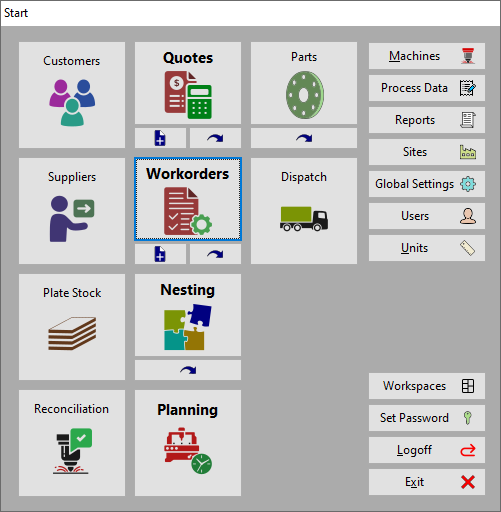
1Open the Workorders mode from the start screen.
2Double-click our workorder (Purchase order: Basic Workflow) from the list or right-click and select Edit.
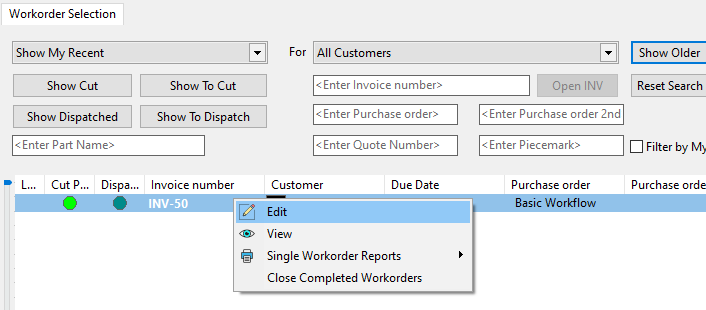
The lime-green colored icon in the Cut Prog. column indicates the nested parts have been cut for this workorder..
Note also the text-input boxes in the upper panel which enable searching of workorders containing values in these fields: <Enter Invoice number>, <Enter Purchase order>, <Enter Quote Number>, and <Enter Part Name>.
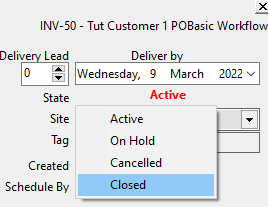
3In the top right hand corner of the screen, the State Field button should read Active. Click on it.
4Click Closed from the drop down list. In general, if Closed is grayed out, this means not all parts are cut yet, or the workorder has no invoice number. In our example this is not the case, and we can close the workorder.
5Click Home ![]() . Save when prompted.
. Save when prompted.
That's it, you've created a workorder, nested the parts on a plate, scheduled the plate to be cut, told the system when the plate was cut and on which plate, and closed the completed workorder.