Newer tools have been added since this tutorial to assist with milling of raised "pads", see Pad Milling Path Creation
This tutorial is to teach you how to facemill a part. When facemilling over an external path, best practice is to first plasma cut the part and then bolt it to a table for facemilling.
1Open the FaceMillingFlange part from the 'Milling Tutorials' invoice number workorder. You should now be in the geometry editor.
2Click the All Snaps button.

3Click on the Line tool ![]()
4Type 'X-400Y-270' and Press ENTER, then type 'X400Y-270' and Press ENTER without moving the mouse, to draw a horizontal line across the bottom of the part from (-400,270) to (400,270)
5With the line still selected select the Array Copy tool.
6The part is 600 mm high, and we can achieve a spacing of 60mm between each pass with our desired milling tool, so create 10 rows and 1 column
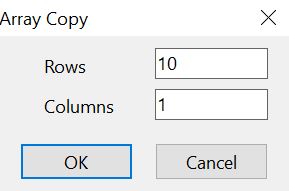
7 Type 'Y 60' and press ENTER to space the lines 60mm apart.
We don't want the mill turning on the part itself, as it might increase the depth of the mill at that point, and make the surface a bit rougher.
8 Select the Centre Radius circle tool
9Place the center of the circle at the origin, and type 'L331' to make a circle of radius 331mm, 31mm bigger than the part. (our tool will have a radius of 31mm).
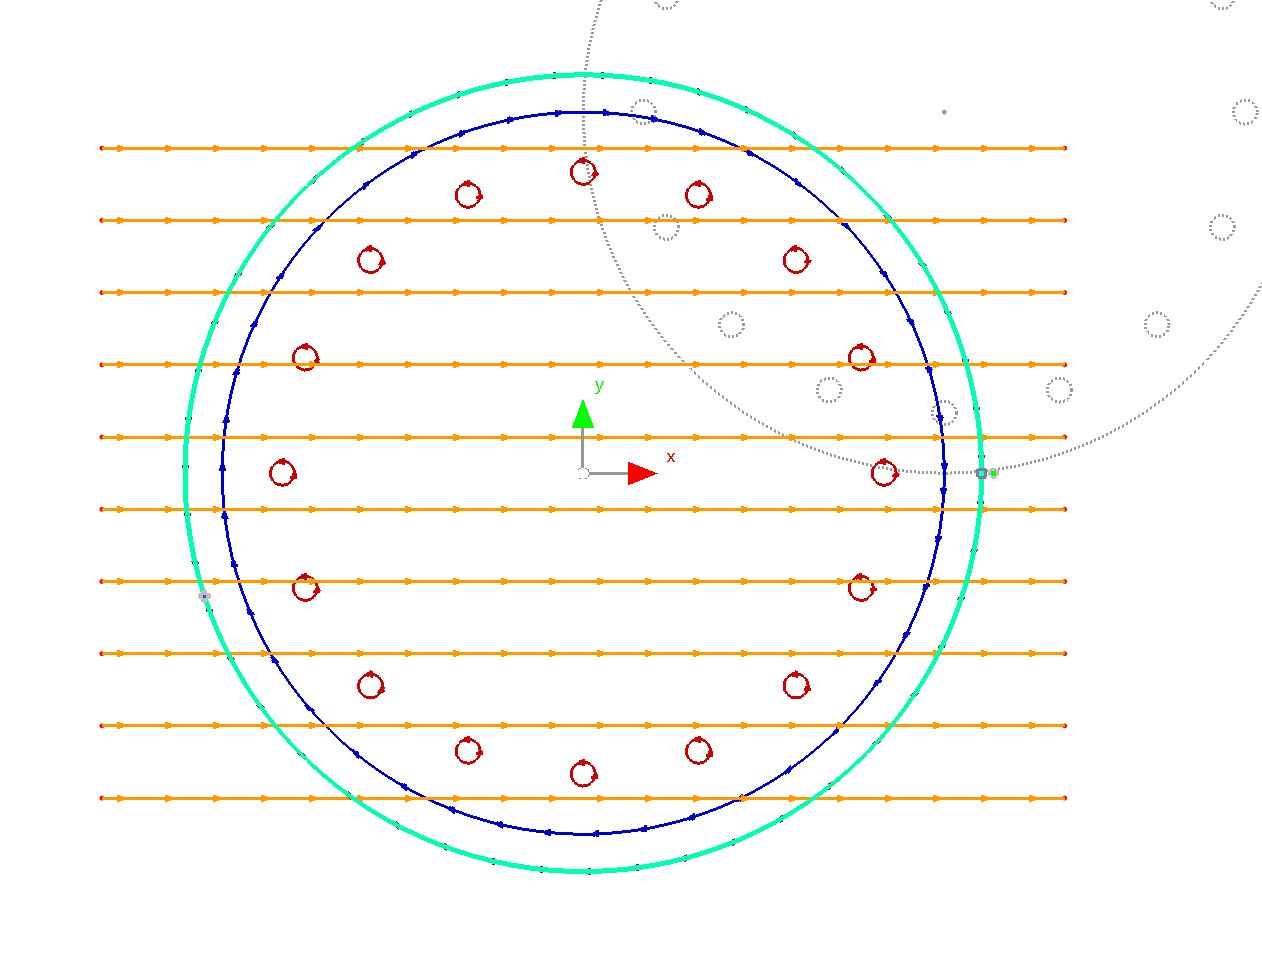
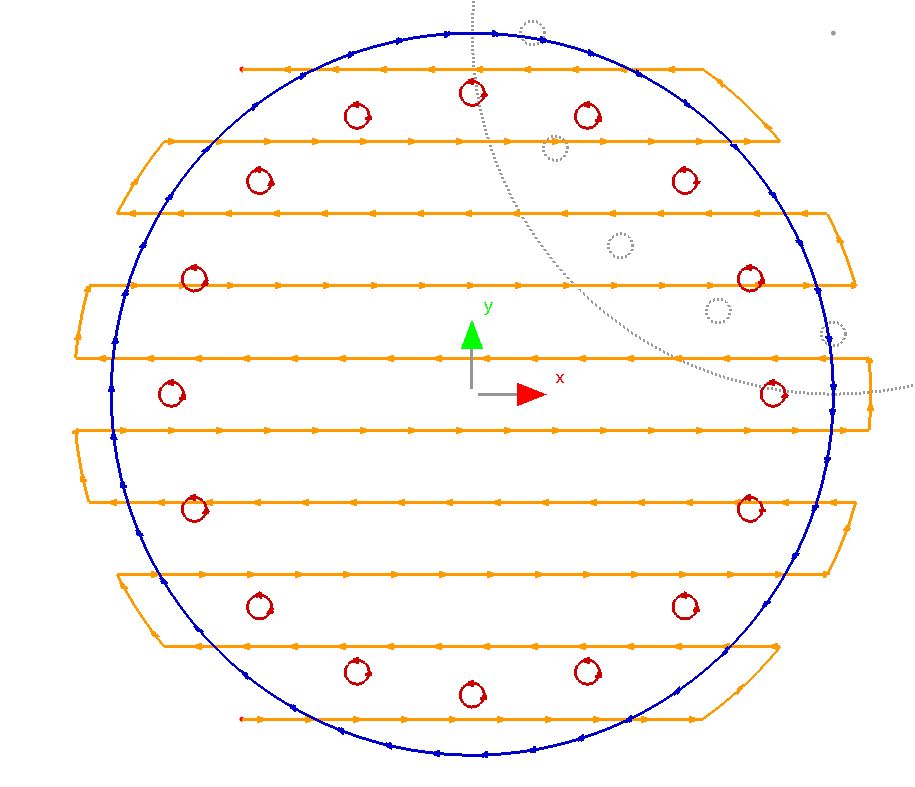
10 Select the trim tool and click on all the protruding lines from outside the outer circle to delete them
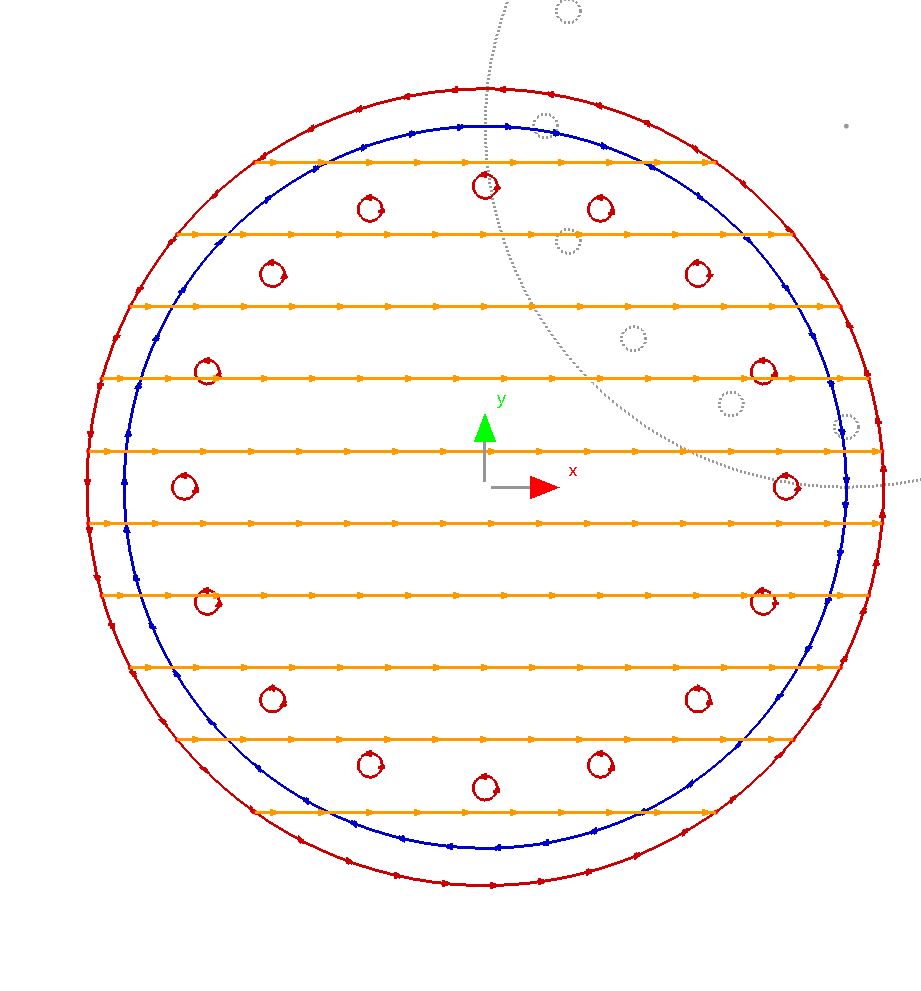
11Trim the top and bottom of the outer circle. You can use the undo button if you trim the wrong segment.
12Trim every second segment of outer circle from the right hand side of the circle,
13Trim every odd segment of the outer circle from the left hand side of the circle to create a zigzag pattern
14Select the bottom line segment and press CTRL+J to join. Click OK to select the tolerance suggested.
15 Click on the Processing tab at the top of the screen
16Click the Process All button
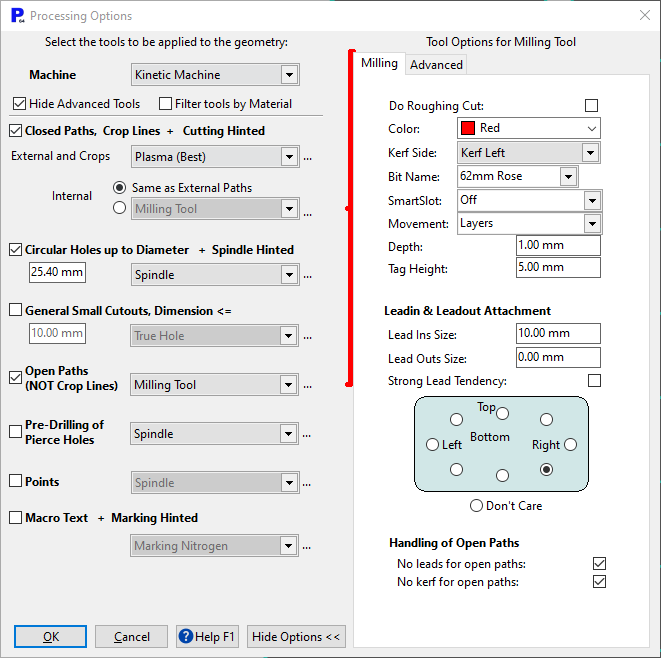
Here the key parameters are the Bit Name: 62mm Rose, and the Depth of the Facemill: 1mm. Ensure the Do roughing cut box is not ticked.
17Match the settings above, and Click OK.
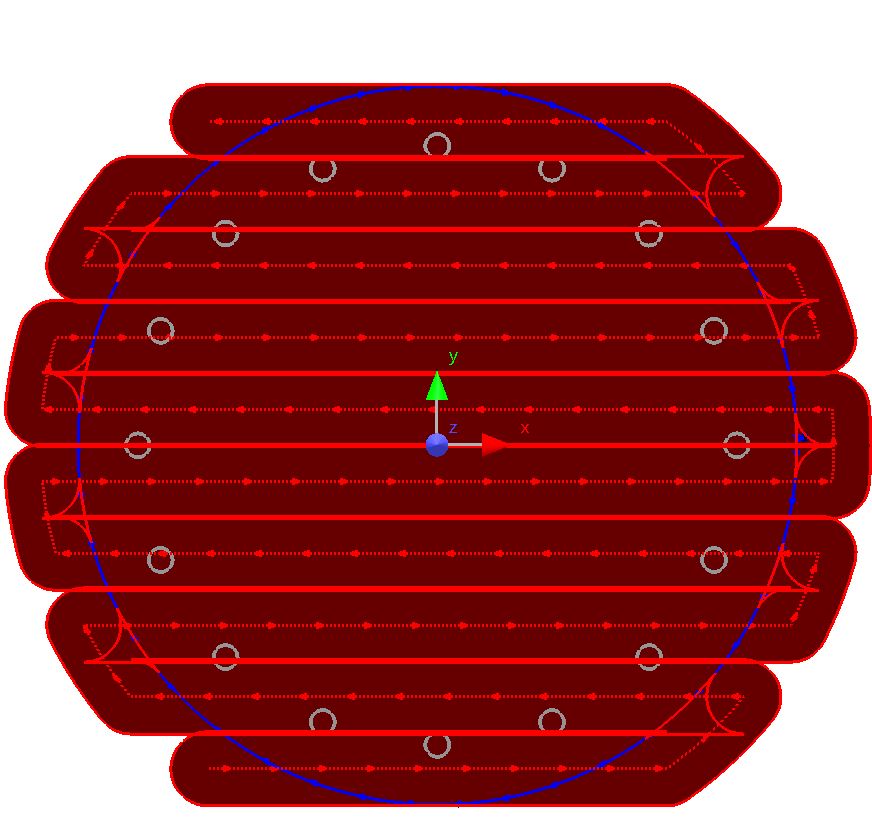
18Our part is now ready for nesting. Close the mode without saving.
Note that face milling can cause problems when we are dealing with tapped holes, as the tapping thread can be bent by the facemill and interfere with the screw thread.