See Part Revisions for more details.
1Open the workorders mode.
2Search for the workorder with ExampleNest as its invoice number. Open it.
3Right-click on the workorder from the workorders explorer in the top left window, and Click Duplicate Workorder. Alternatively press CTRL + W.
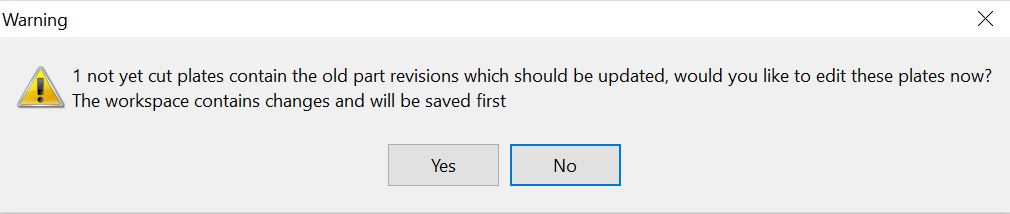
4Right-click on the new workorder in the explorer and click Open Workorder in Nesting. Click Yes to save the workspace.
5Click the Open Plate button ![]()
6Click the New Plate button ![]()
7Enter the following details, and Click Add to Stock
Plate Material |
Aluminium, 20.00mm |
Width |
2400mm |
Length |
3000mm |
8Double-Click on the newly created plate in the plates explorer in the left hand window. This will bring up the plate editor page.
9Click the Autonest button ![]() in the top left corner of the screen.
in the top left corner of the screen.
10Click the Process geometry button ![]() on the left at the top of the plates list window. The following error box should appear.
on the left at the top of the plates list window. The following error box should appear.
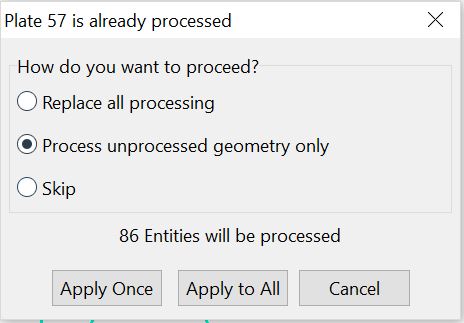
This is because one of our parts already has processing. Check Process unprocessed geometry only, and press Apply to All to process the plate. Note the part with processing doesn't lose its processing. Ensure we are processing with Plasma (Best) and click OK.
11Click the Schedule plates button ![]() on the plate list window on the left.
on the plate list window on the left.
12Tick Ask for filenames. Click OK. Enter 'PartRevisionsTut' for the nc code filename. If a file of that name already exists, add a number to the end, to make it unique. Click Save.
13Right-click on one of the part icons in the part selector and Click the Show in Workorder button on the pop-up menu. Click Yes to save the workorder.
14Note the part version number on the ExampleSpurgear part.
15Double-Click on the spurgear part on the left, in the explorer window to open it for editing.
16Note that the version number of the part has increased by 1 in the parts selector window on the left. (If it has increased by more than this, that's because this tutorial has been done before, and the new number is to be the latest version of the part).
17Click on the Geometry tab at the top of the screen.
18Click the all snaps button at the top of the screen.

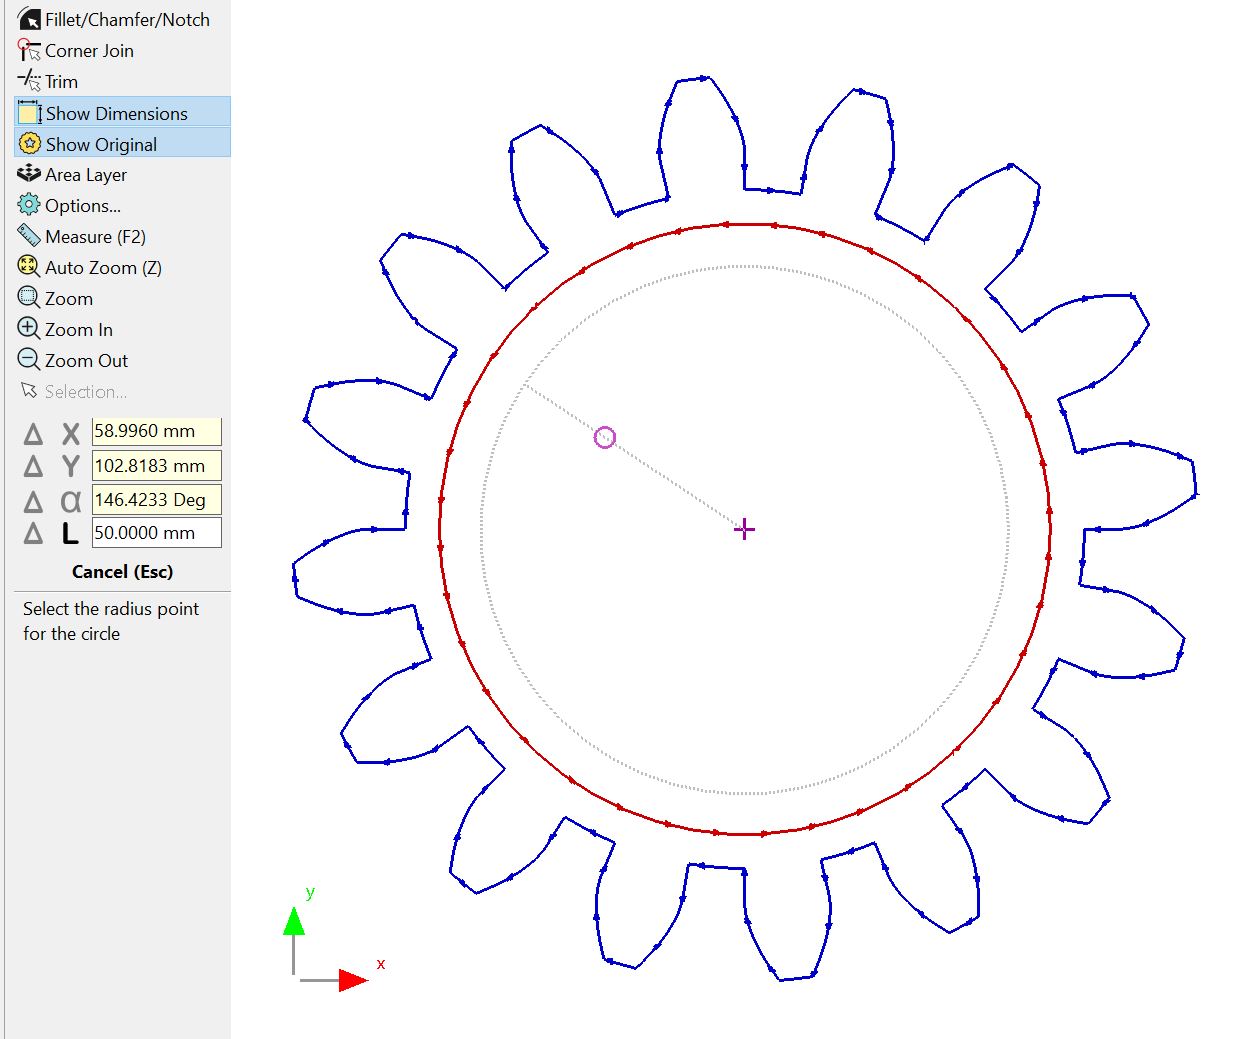
19Select the Circle Centre-radius tool. ![]()
20Place the first point where it snaps to the center of the circle. Press L and type 50, then click. This creates a concentric circle.
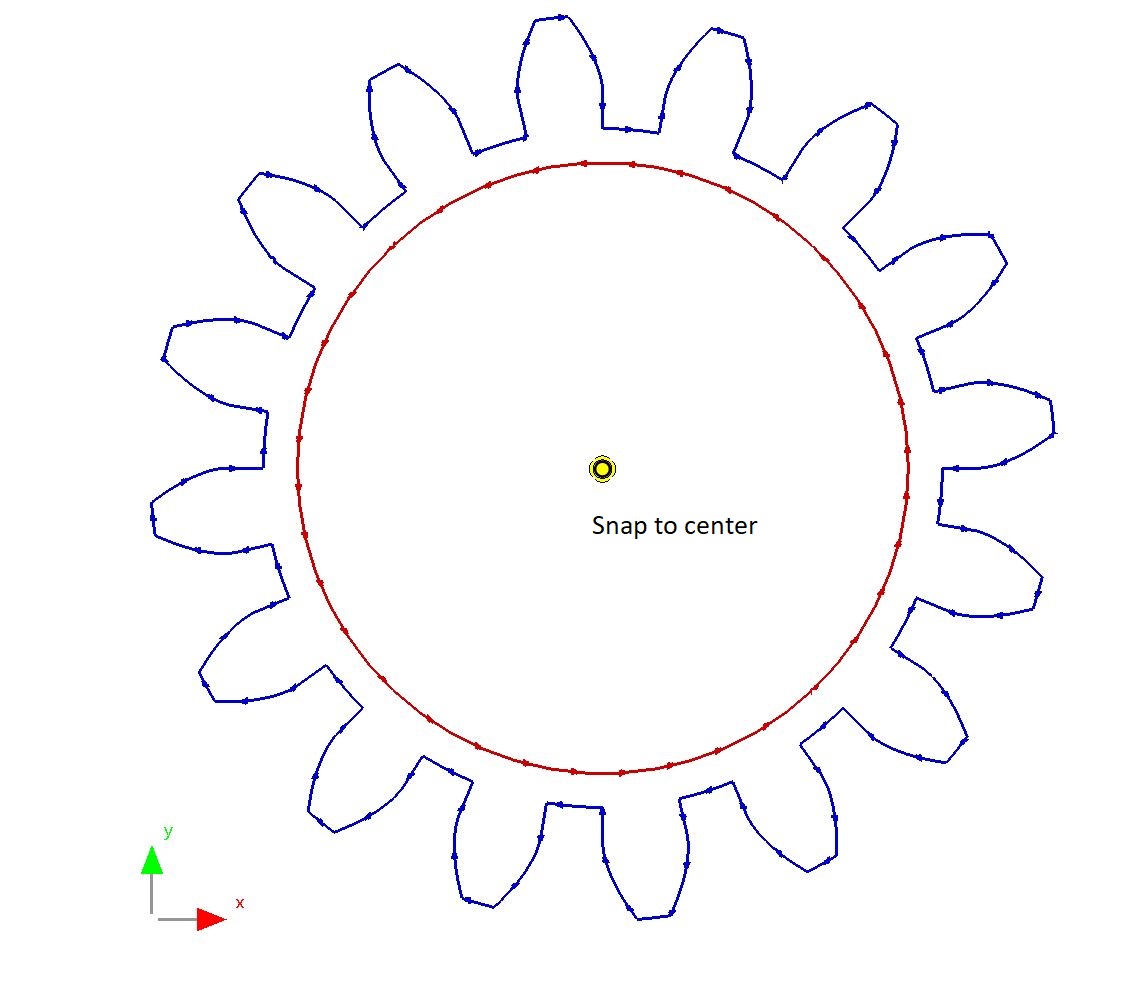
21Select the pre-existing inner circle and press DELETE.
22Double-click on our workorder in the upper left workorder selector window to open our list of workorder line items in the main window. Because we have modified a part in the parts explorer on the left, we now see that there is a refresh symbol ![]() on the line item of the old spur gear we had nested. Note how the new part revision is greyed out because it has no quantity in our workorder yet.
on the line item of the old spur gear we had nested. Note how the new part revision is greyed out because it has no quantity in our workorder yet.
23Click on the update workorder line items button ![]() in the toolbar above the main window. Click Yes to the prompt to save. The following dialog should appear.
in the toolbar above the main window. Click Yes to the prompt to save. The following dialog should appear.
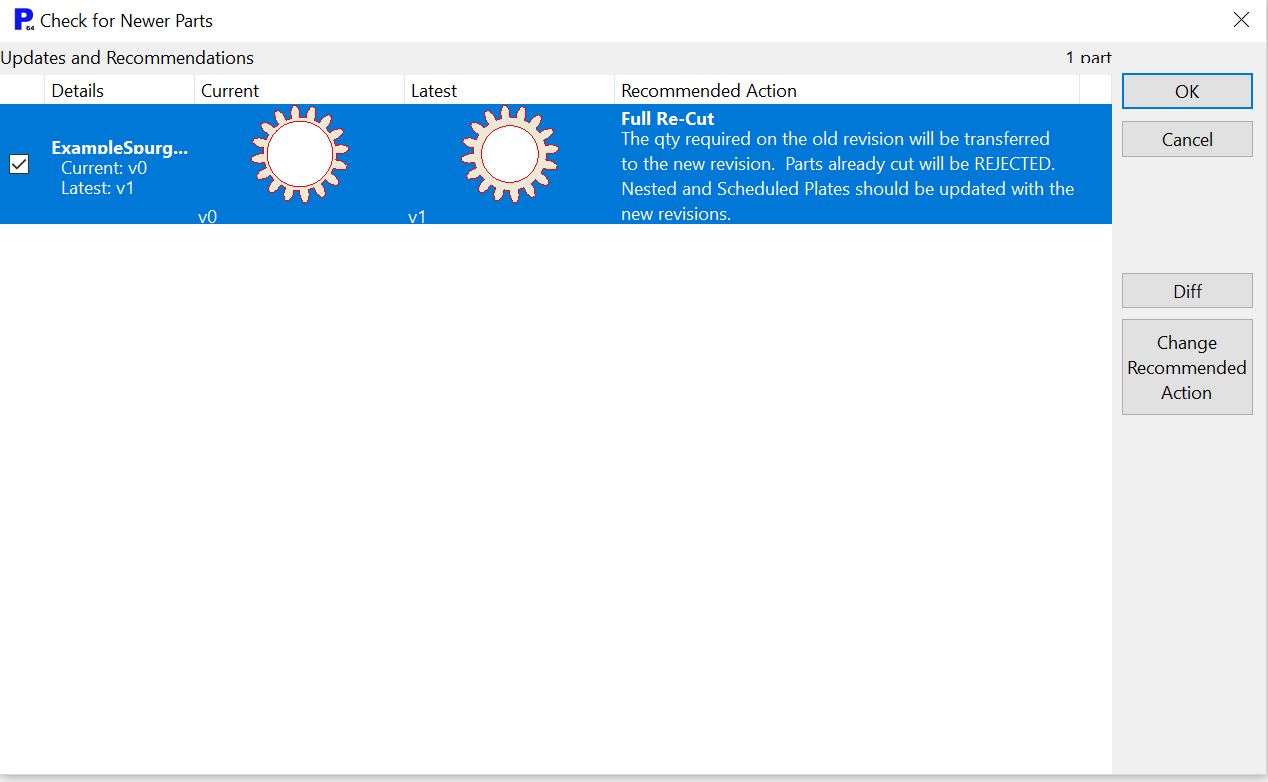
24Click Ok. Click No on the warning message that might appear (we will navigate to plate nesting manually). Now the old spurgear line item should be greyed out because there are 0 to be nested.
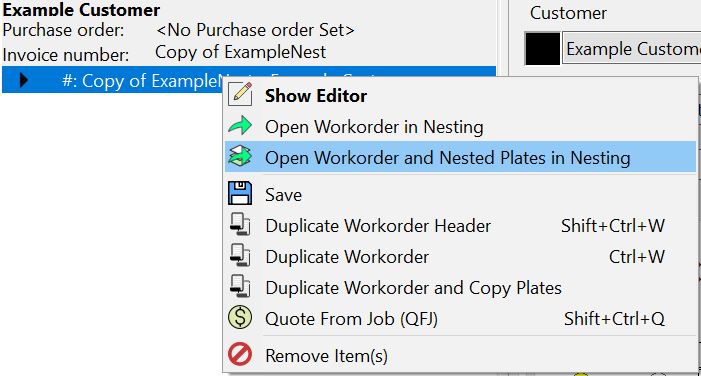
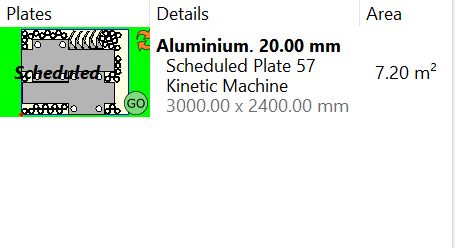
25Right-click on our workorder and select the Open Workorder and Nested Plates in Nesting from the pop-up menu. Click Yes to save. If you look at our plate in the plates explorer in the bottom left window, you can see the refresh symbol in orange.
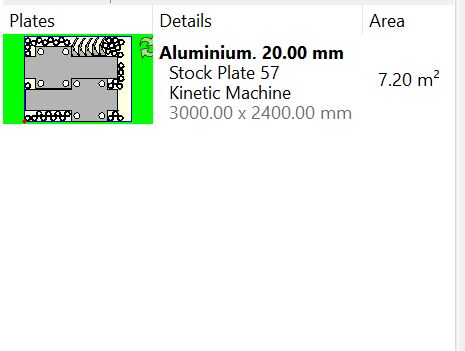
26Select the plate and Click the Unschedule button ![]() . The refresh symbol should now be in green.
. The refresh symbol should now be in green.
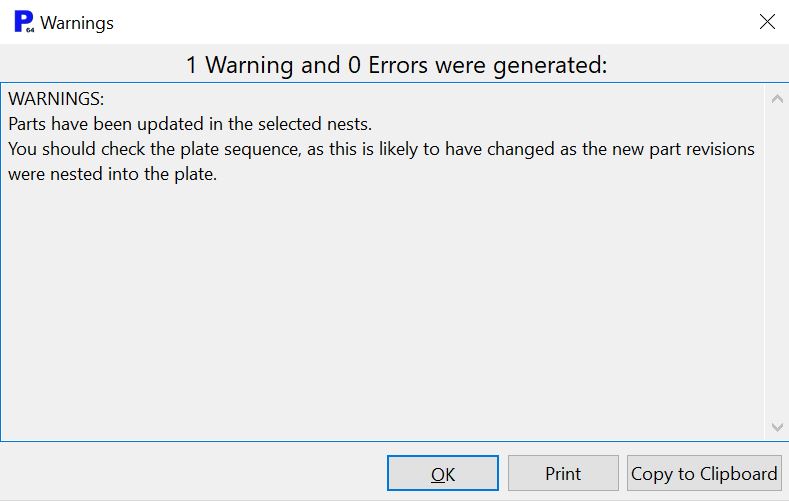
27Click the green refresh plate button ![]() to refresh the plate. The following warning should appear. Click Ok.
to refresh the plate. The following warning should appear. Click Ok.
Note that you should only do this if you are sure that you aren't going to need a new nest, and that geometry won't start overlapping. If external geometry (or internal geometry if parts are nested inside) changes, you will likely end up with a nest that overlaps.
28Click the Schedule plates button ![]() . As this is an amendment to a previously scheduled plate we do not need to Ask for Filenames. Click OK.
. As this is an amendment to a previously scheduled plate we do not need to Ask for Filenames. Click OK.
29Right-click on any part in our parts explorer and Click Show in Workorder ![]() from the popup context menu. Click Yes if prompted to save.
from the popup context menu. Click Yes if prompted to save.
30Delete the old (Revision 0) ExampleSpurgear workorder line item, by selecting it and pressing DELETE.
31Click on the Select Workorder button ![]() in the top left corner of the screen.
in the top left corner of the screen.
32Open the workorder ExampleNest.
33Note the spurgear used here is old too, so there is a green refresh symbol

We don't want to change this nest, however.
34Home. Press Yes to save the deletion of the old revision of Examplespurgear in our copied workorder.
To restore our database: reconcile the plate we have scheduled, and close the completed workorder.
1.Click on the Reconciliation mode. Double-click on our plate, Enter a heat and serial number, and click reconcile. Home.
2.Click on the Workorders mode. Click Refresh. Select the workorder from the list and right-click and Click Close Completed Workorders.
3.Home.