You are now in the nesting mode of a PrimeCut NE. You should see the following blank 6000mm x 2400mm plates appearing at the bottom of your plates selector list. These are the plates you have in stock (your supply) which the open parts (the demand) can be nested onto. The filters at the top of the plate selector control which plates in the stock database are shown, and if there are parts open the filters are automatically set to show plates for workspace materials, i.e. suitable for the parts.

1If your window looks different, click the Open Plate button ![]() in the upper left hand corner to make sure the Plate Selector is open. Then make sure the filters at the top of the Plate Selector are set to All Available and Workspace Materials and click refresh. If there are other plates at the top of the list, select the blank plates and press the up arrow (top right of the window)
in the upper left hand corner to make sure the Plate Selector is open. Then make sure the filters at the top of the Plate Selector are set to All Available and Workspace Materials and click refresh. If there are other plates at the top of the list, select the blank plates and press the up arrow (top right of the window) ![]() to move the plates to the top.
to move the plates to the top.
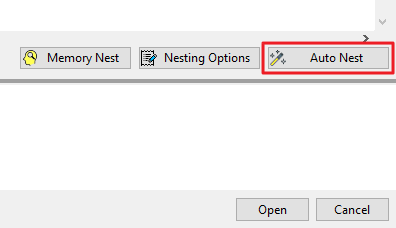
2Click the Auto Nest button in the bottom right corner of the screen.
This nests the parts on plates, first on the plates at the top of the list. Press DONE to close the Autonest Progress window.

The autonest progress window when completed.
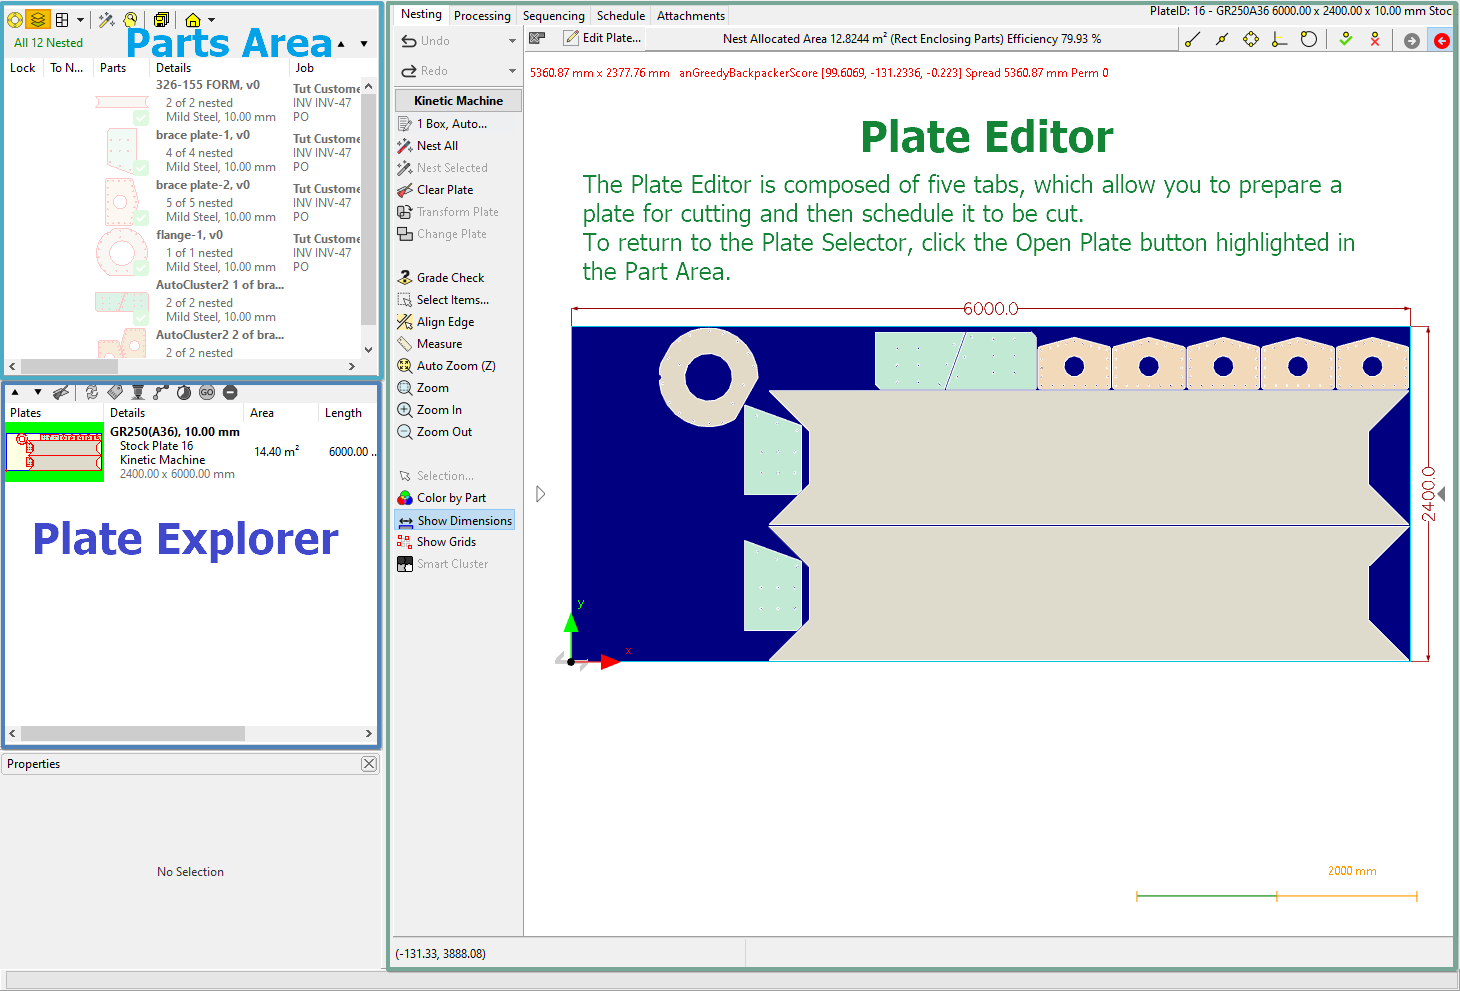
3 The nested plate is now open in the nesting editor.
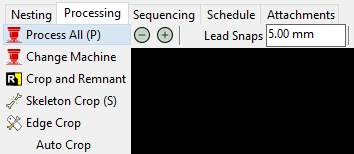
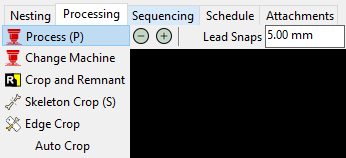
4Click on the Processing Tab at the top of the screen to open the Processing Editor.

5Click Process All (or hit 'P') to process all the geometry on the plate.
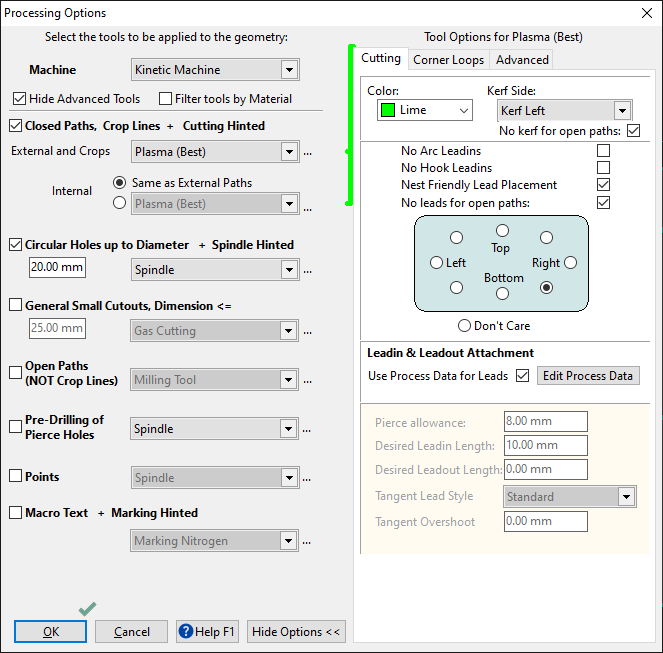
6The following Processing Options box should appear as shown. Change the values on the left half of the window to make sure they match with the example below. The Tool Options section on the right half of the window can be ignored for now. Click OK.
| Note: If the spindle processor window appears, Click OK. Go to the Tools tab at the top of the window, click user options. Under the Processing tab, ensure that the "Use custom diameter matching tolerance" box is checked and is set to 0.013mm (0.0005"). |
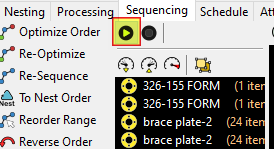
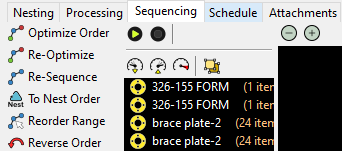
7 Click on the Sequencing Tab at the top of the screen to open the Sequencing Editor.
8 Click the play button ![]() to preview the sequencing. Note that it is currently processing part by part.
to preview the sequencing. Note that it is currently processing part by part.
9Click the Schedule tab at the top of the screen.
10Click the button ![]() Schedule at the top of the sidebar that appears.
Schedule at the top of the sidebar that appears.
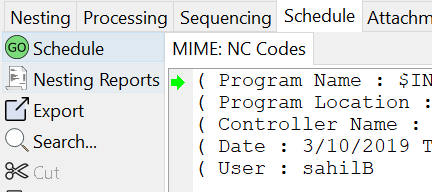
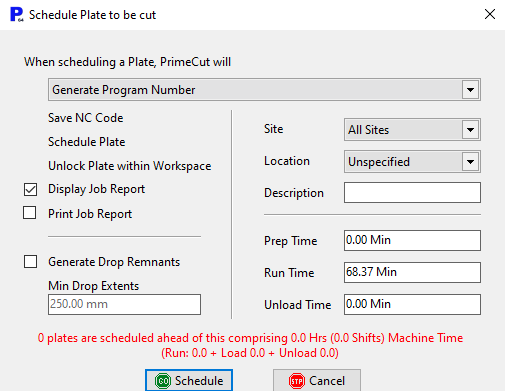
11Check the Display Job Report box is ticked, then click ![]() Schedule. PrimeCut will bring up a print dialog box and a work report.
Schedule. PrimeCut will bring up a print dialog box and a work report.
12Save the NC code e.g. 'Basic Flow Tut' when prompted. If we wanted to cut these parts, these files could be sent to the machine and manually opened. If TouchCut has been connected to PrimeCut, we don't need to manually load these files.
13Look through the work report.
Reports are divided into sections by the tabs along the top; be sure to view all the tabs. These reports are user configurable
14 Click Home ![]() when you're done.
when you're done.
15 Click Yes when asked to save the workspace.