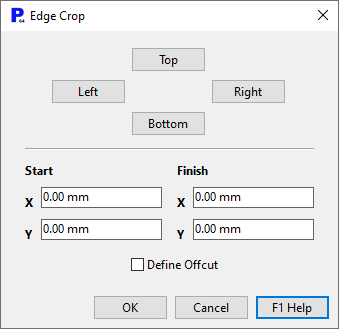
In the real world plates seldom match their specified dimensions. This can cause a problem when performing plate stripping, and the edge crop function is used to square up a plate so that it will match its specified dimensions.
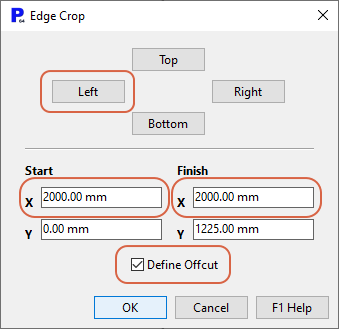
When you press the Edge Crop button a dialog will appear that has buttons allowing you to select from Left, Right, Top and Bottom. Generally if you are performing plate stripping you will either select the top or right side of the plate. These buttons set up the X and Y coordinates of the Start and Finish points to lie across the nominal edges of the plate.
The X and Y coordinate boxes at the bottom of the dialog allow you to further customize the location of the line.
If Define Offcut is checked then the the crop will split the plate into two new plates, otherwise the crop acts as a skeleton crop.
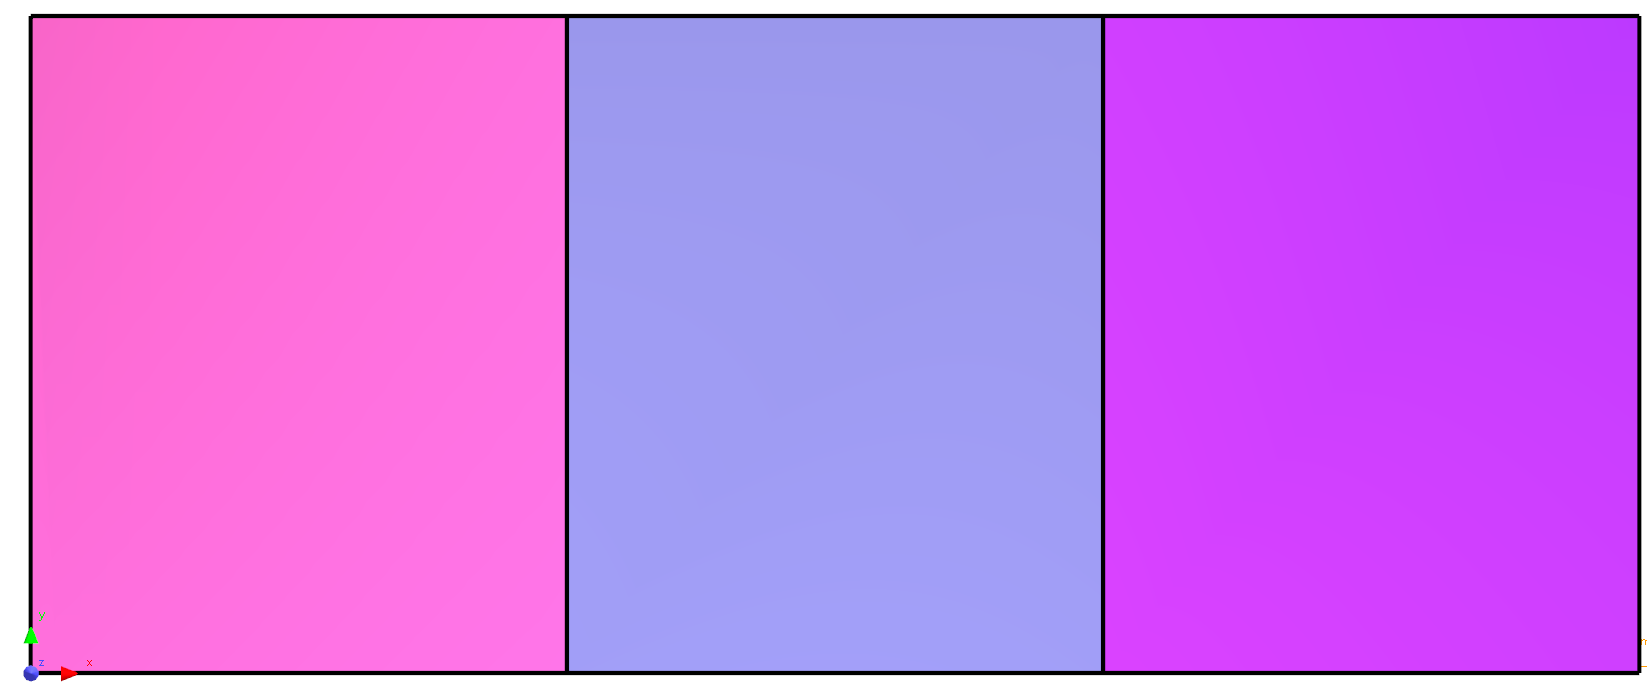
Example- Splitting a Plate into 3 Plates
A 3m x1.225m plate is in stock. We wish to cut it into 3 1mx1.25m sections. Check Define Offcut, and click the Left or right buttons, then edit the Z coordinates to 1m for the first cut, then 2m for the second cut. Process the crops with a cutting tool. the plate can now be scheduled and cut and will return 3 offcuts back to stock.


See also
Defining Offcuts with Crop Lines
Requirements for a Crop to Define an Offcut
Crop Editing: Moving Crop Nodes
Crop Editing: Splitting Offcuts using Tee Handles